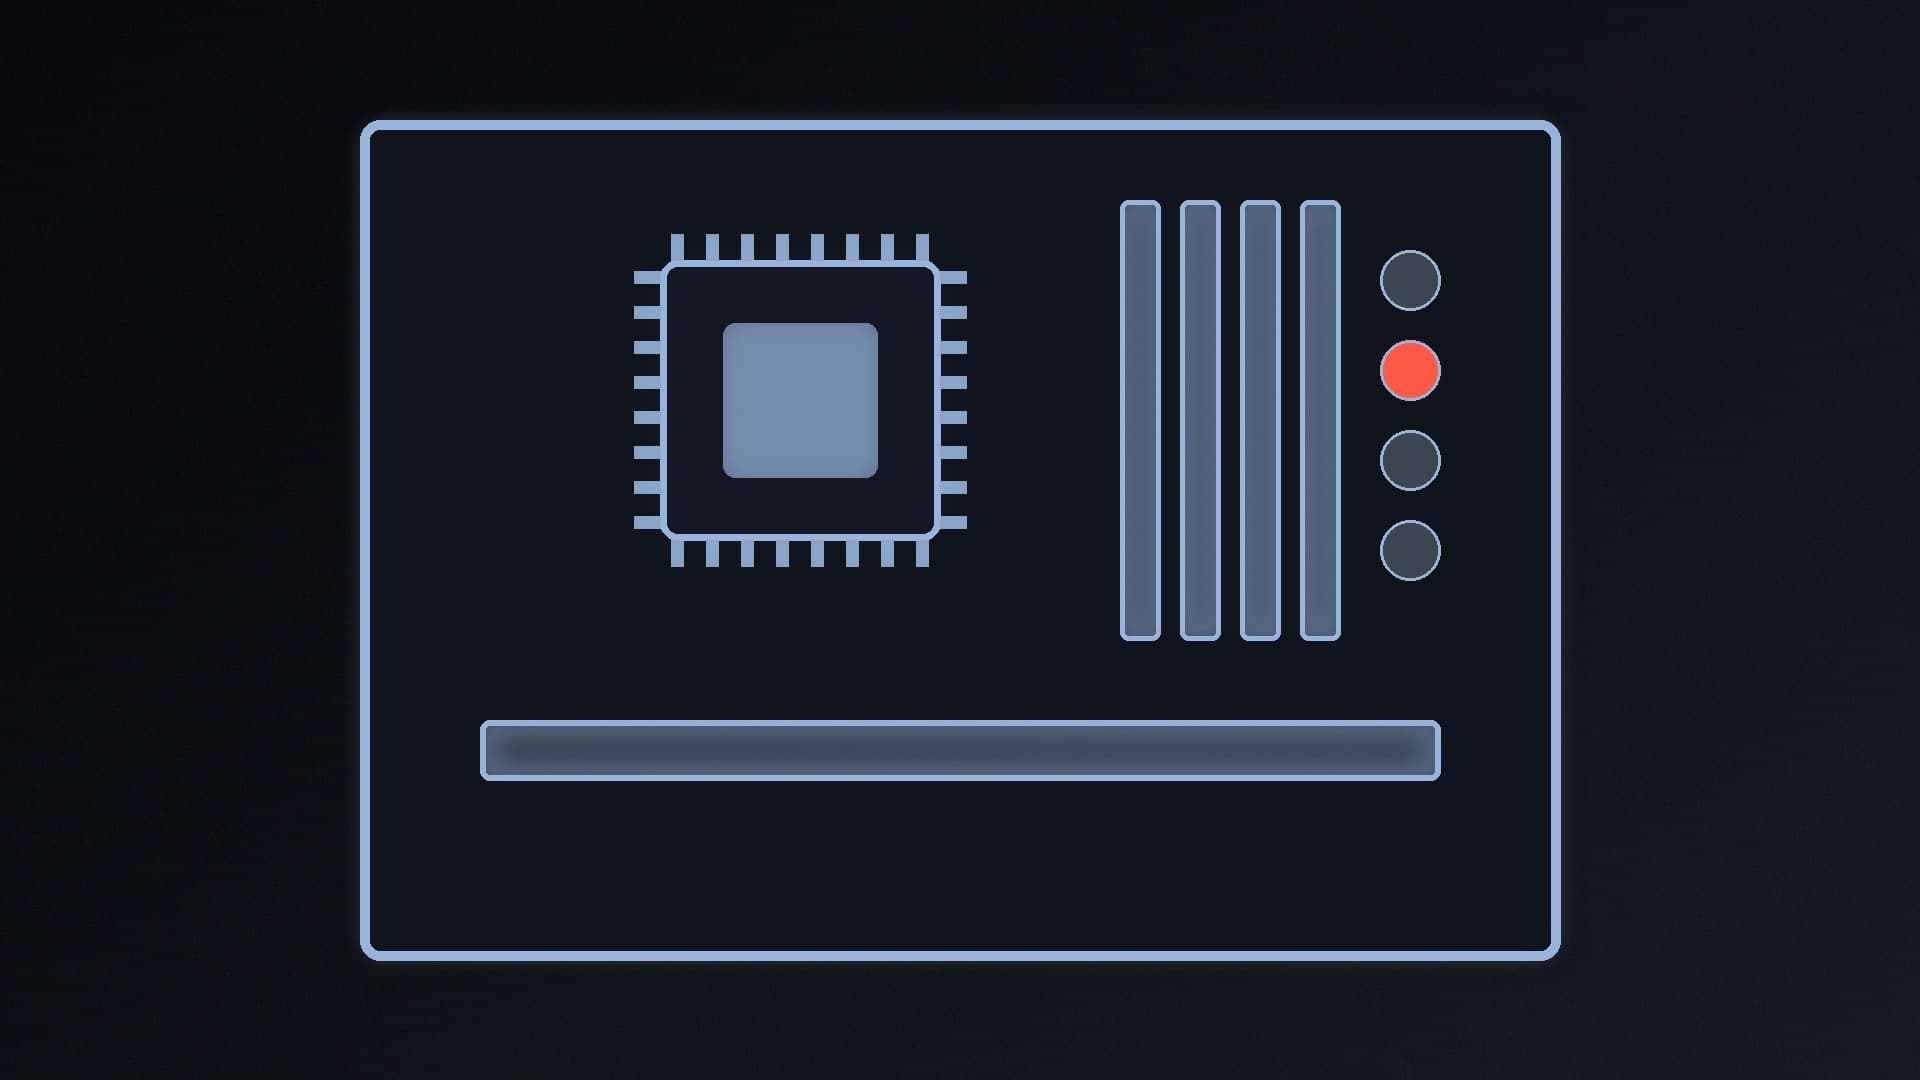
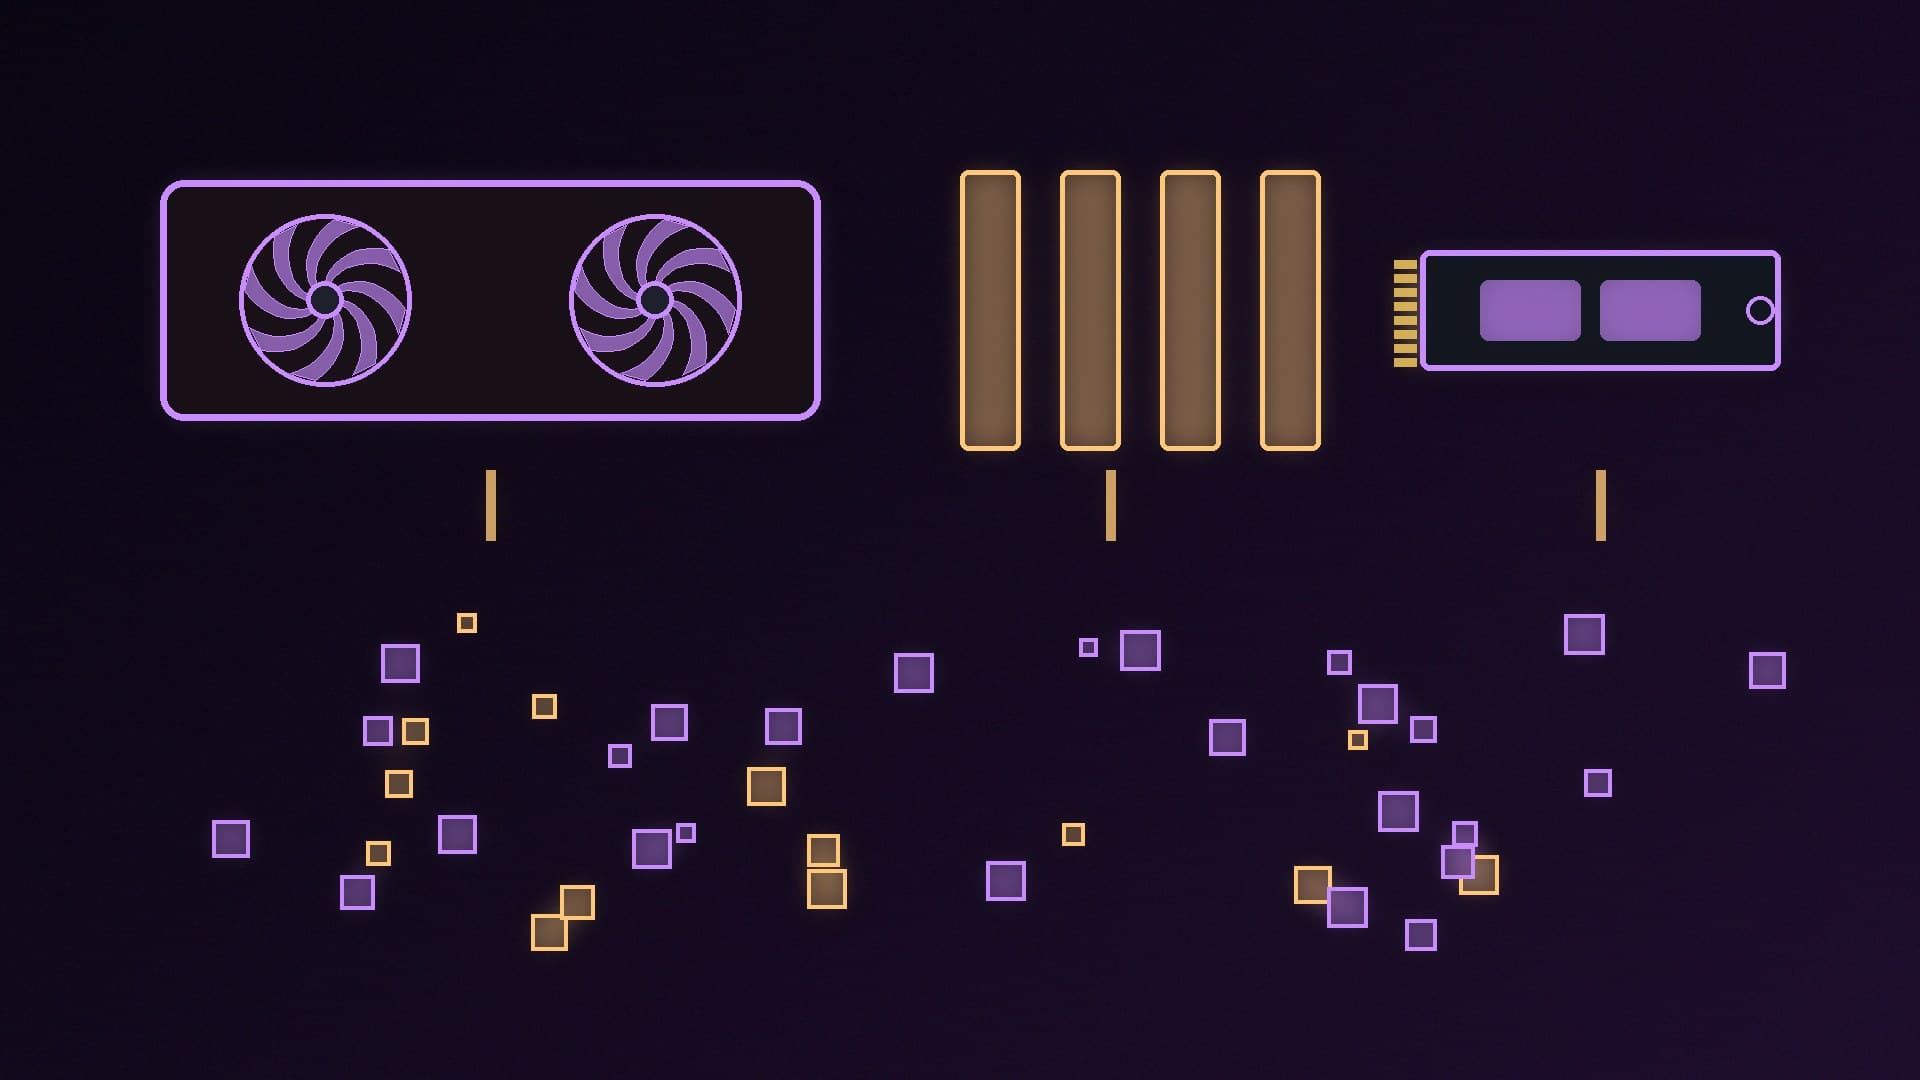
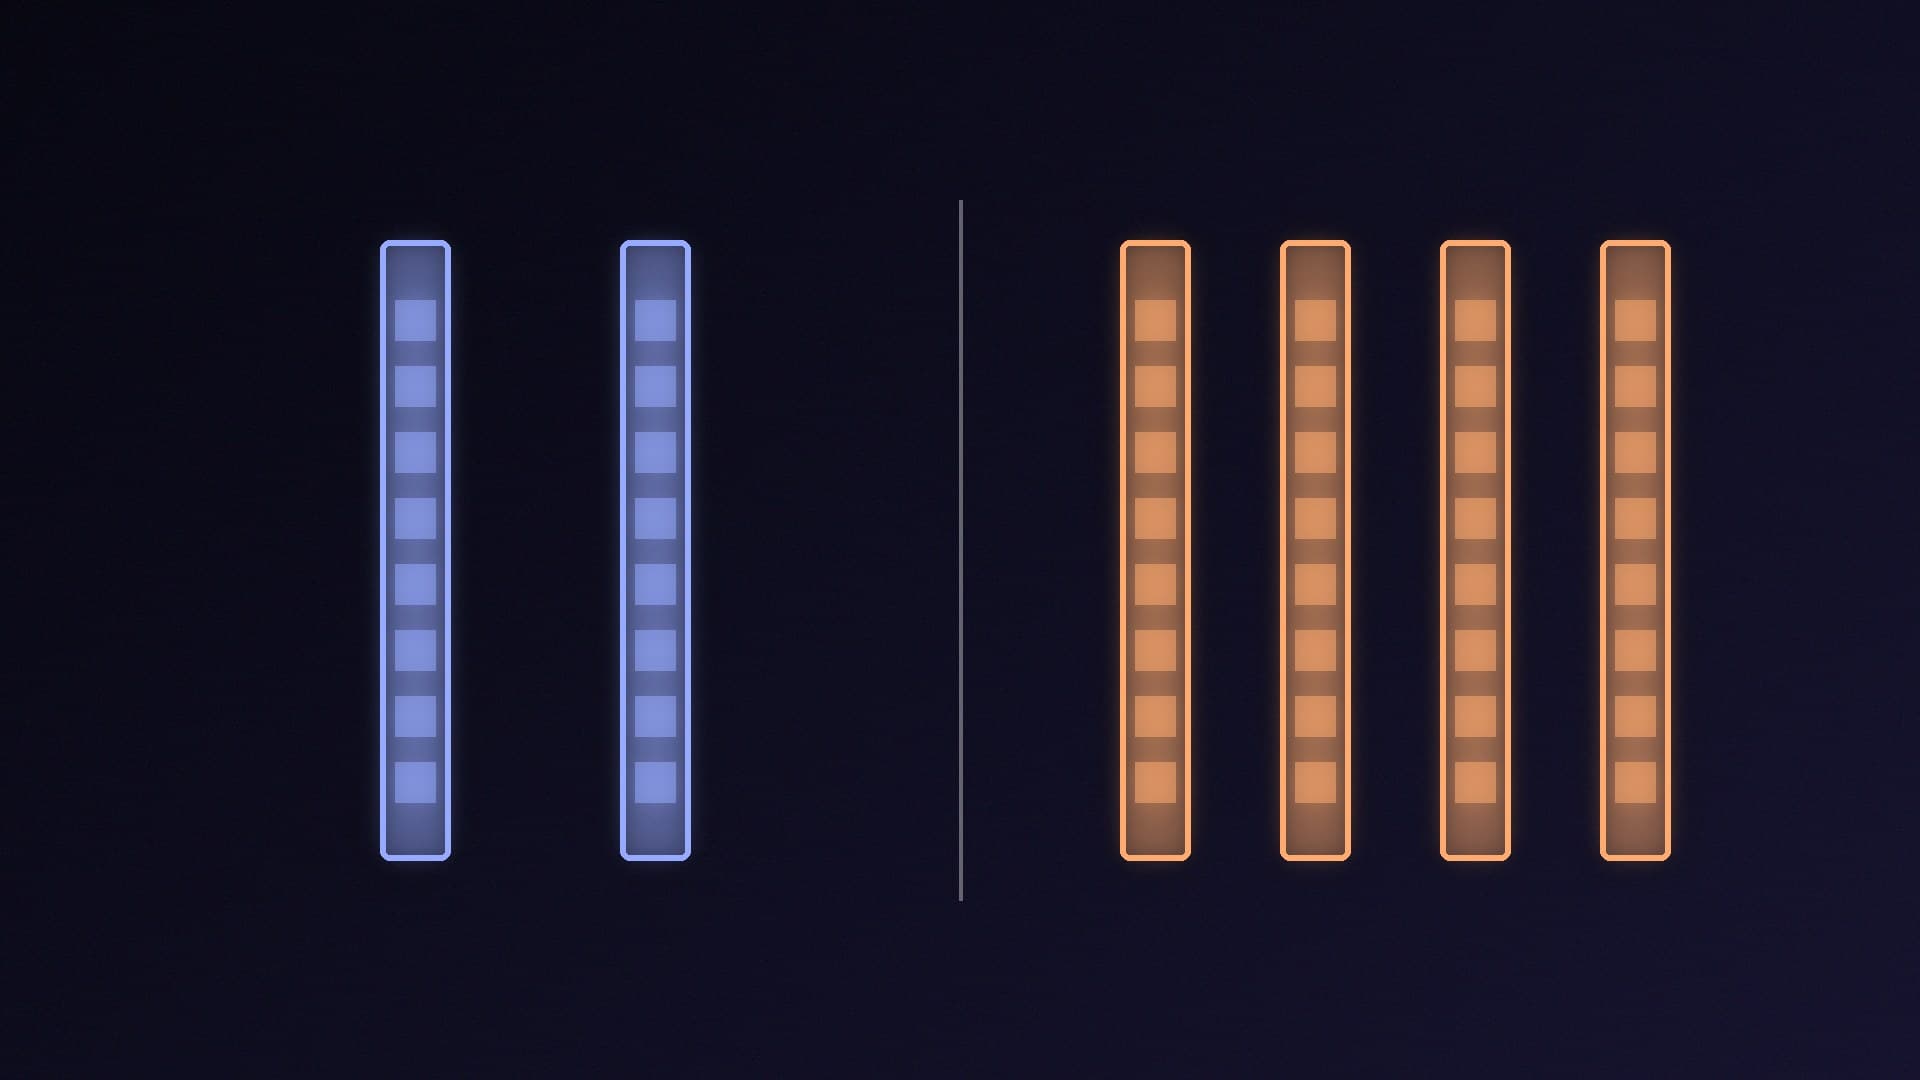
Most modern motherboards have four small status LEDs, usually labelled CPU, DRAM, VGA and BOOT, near the 24-pin power connector or the memory slots. ASUS calls them Q-LEDs, and other brands use similar status LEDs under their own names. During start-up, the board checks each part in turn. If one LED stays lit, that's the stage where the power-on self test (POST) got stuck, and it's the best clue you'll get when a PC powers on but shows nothing on screen.
Forge PC hasn't tested anything for this guide. The steps follow ASUS's official Q-LED and Q-LED Core support pages, checked on 17 November 2026. Other brands' LEDs work in a similar way, but always check your own motherboard manual for its exact behaviour.
Before you start
Switch off at the wall before touching anything inside the case, and handle parts by their edges.
If no LEDs light at all and the fans don't spin, it's a power problem rather than a POST problem. Start with our PC won't turn on guide.
If the PC boots normally but the monitor stays black, see our no display / no signal fix.
CPU LED stays on
ASUS says this indicates no CPU detected or a faulty CPU. Its steps:
Re-install the CPU.
Check the socket pins (or CPU pins) for dirt, and clean them if needed.
Check for bent or broken pins. If any are broken, try another CPU.
If that doesn't help, replace the CPU.
It's also worth checking that the CPU power cable from the PSU is plugged firmly into the board. Our how to install a CPU guide shows the correct seating.
DRAM LED stays on
ASUS says this indicates no memory detected or faulty memory. It's the most common light on a new build, especially with large DDR5 kits. ASUS's steps:
Make sure each module is fully inserted and both latches are closed.
Check the module contacts and slots for dirt.
Use memory from the motherboard's QVL (memory support list).
Use the slot arrangement recommended in your motherboard's manual.
Boot with one module, then add the others one at a time.
If it still fails, try different memory. ASUS's last step is to reinstall the CPU or try another one.
ASUS's Q-LED Core FAQ also lists a failed manual overclock as a cause. If you've just enabled XMP or EXPO, clear the CMOS to return to default settings, then follow our XMP/EXPO guide again. Our RAM installation guide covers seating and slot order.
VGA LED stays on
ASUS says this indicates no graphics card detected or a faulty card. Its steps:
If you're using the integrated graphics, reseat the CPU or try another CPU. ASUS's Q-LED Core FAQ also points out that some CPUs don't have integrated graphics at all, so with those you must use a graphics card.
If you're using a graphics card, reseat it, check the PCIe slot and the card's contacts for dirt, then try another card.
Make sure every PCIe power cable is fully clipped in, and that your monitor is plugged into the graphics card rather than the motherboard's video outputs. Our graphics card installation guide walks through it.
BOOT LED stays on
ASUS says this means no boot device was found, or the boot device is faulty. The hardware has passed the earlier checks, so this is often good news. ASUS's steps:
Reconnect the SATA cable at both ends, if you use a SATA drive.
Reseat the M.2 SSD and make sure its screw or latch is secure.
Check the M.2 contacts and slot for dirt.
Try another SATA cable, port or drive.
ASUS's Q-LED Core FAQ adds that a boot device can also go undetected because of problems with the operating system, so on a brand-new build check whether Windows has been installed yet. If the drive doesn't appear in the BIOS, see our SSD not showing up fix.
Boards with one LED: ASUS Q-LED Core
Some ASUS boards use a single power LED instead of four lights. According to ASUS:
Power LED behaviour | Meaning |
|---|
Fast blinking (about four times a second) | No DRAM detected on Intel boards; no CPU detected on AMD boards |
Slow blinking (once every 2 seconds) | No VGA detected |
Very slow blinking (once every 8 seconds) | No boot device detected |
Solid light | Normal boot |
If the lights don't point to anything
If the Q-LED steps don't solve it, ASUS's next suggestions are to clear the CMOS and, if your board supports USB BIOS FlashBack, to update the BIOS. Our BIOS update guide explains how to do that safely. After that, ASUS says to contact its product support.
Our verdict
The debug LED that stays lit shows where start-up stopped: CPU (reseat it and check the pins and CPU power cable), DRAM (reseat, use QVL memory in the recommended slots, test one stick, clear CMOS after a failed XMP/EXPO overclock), VGA (reseat the card and its power cables, check the monitor is on the GPU) or BOOT (reseat the drive or install Windows). These steps follow ASUS's support pages; check your own manual for your board's exact LED behaviour. Forge PC hasn't tested anything for this guide.