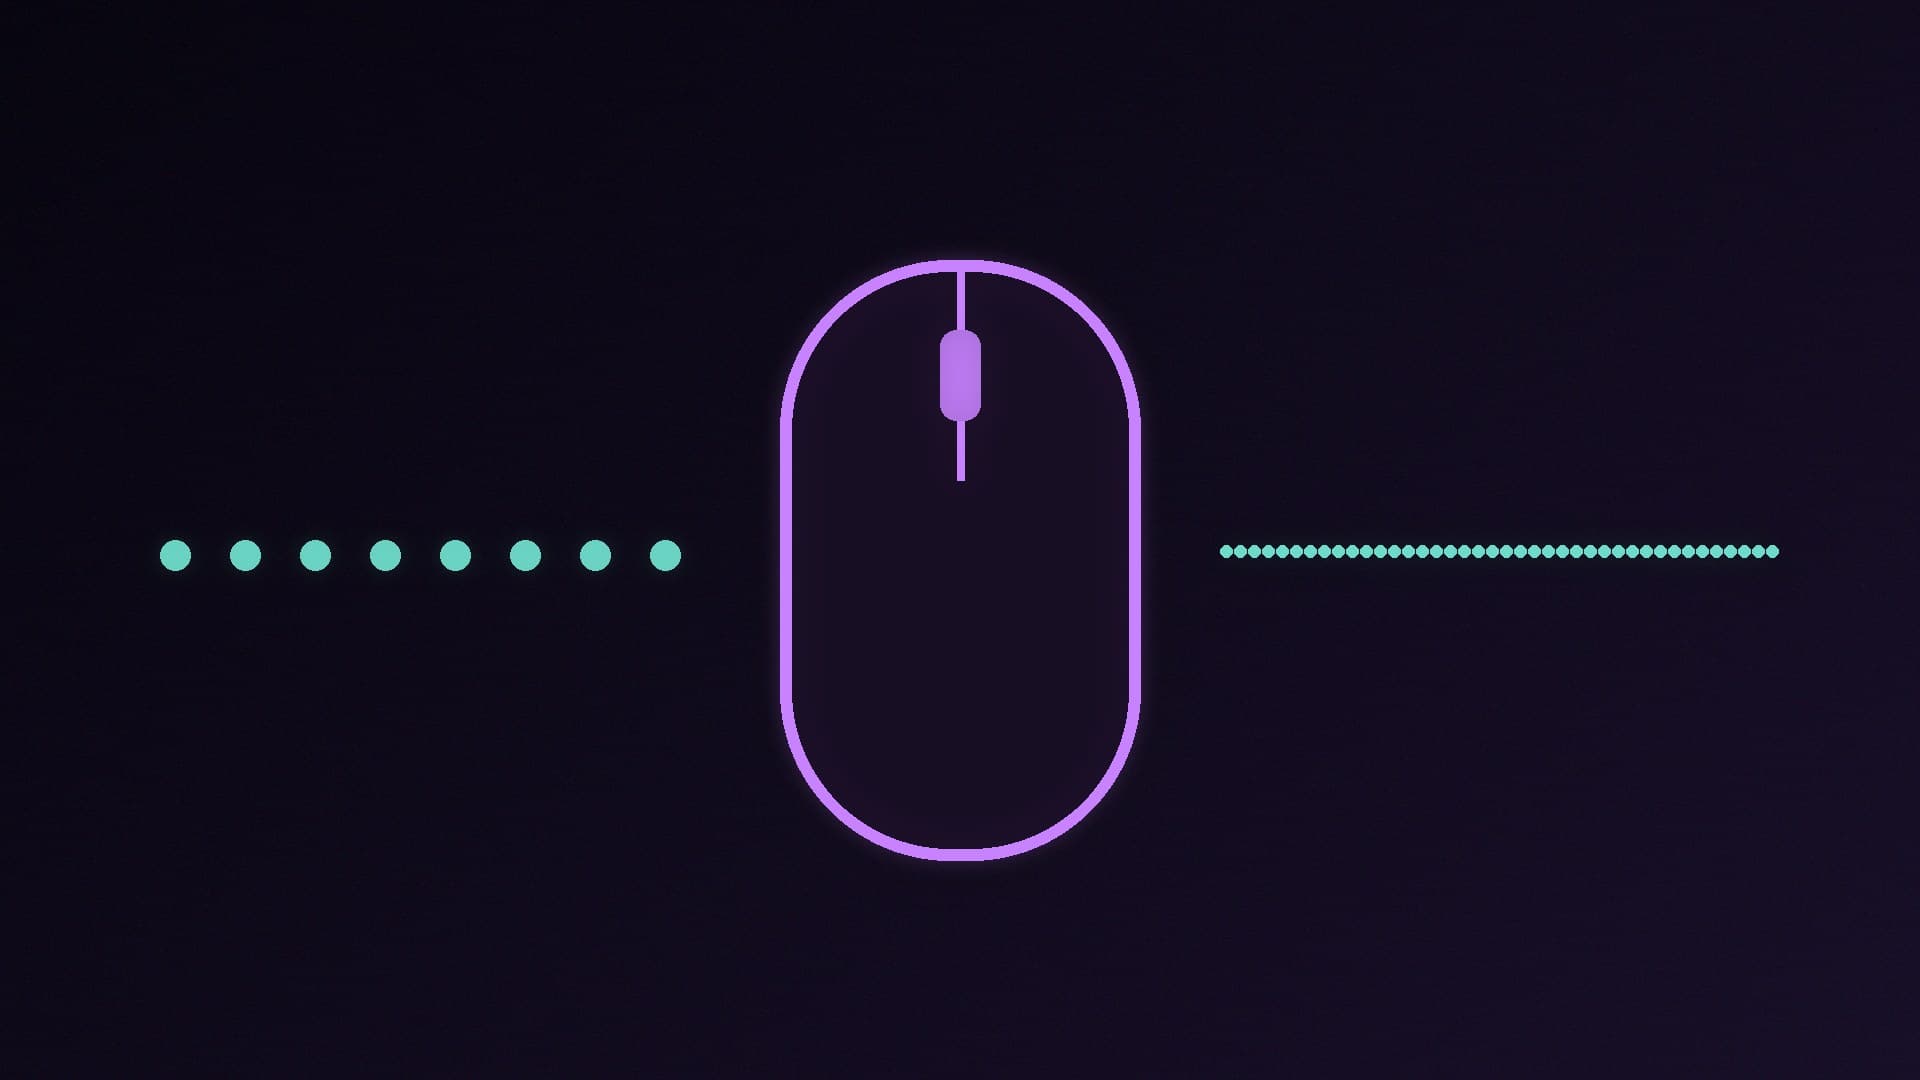
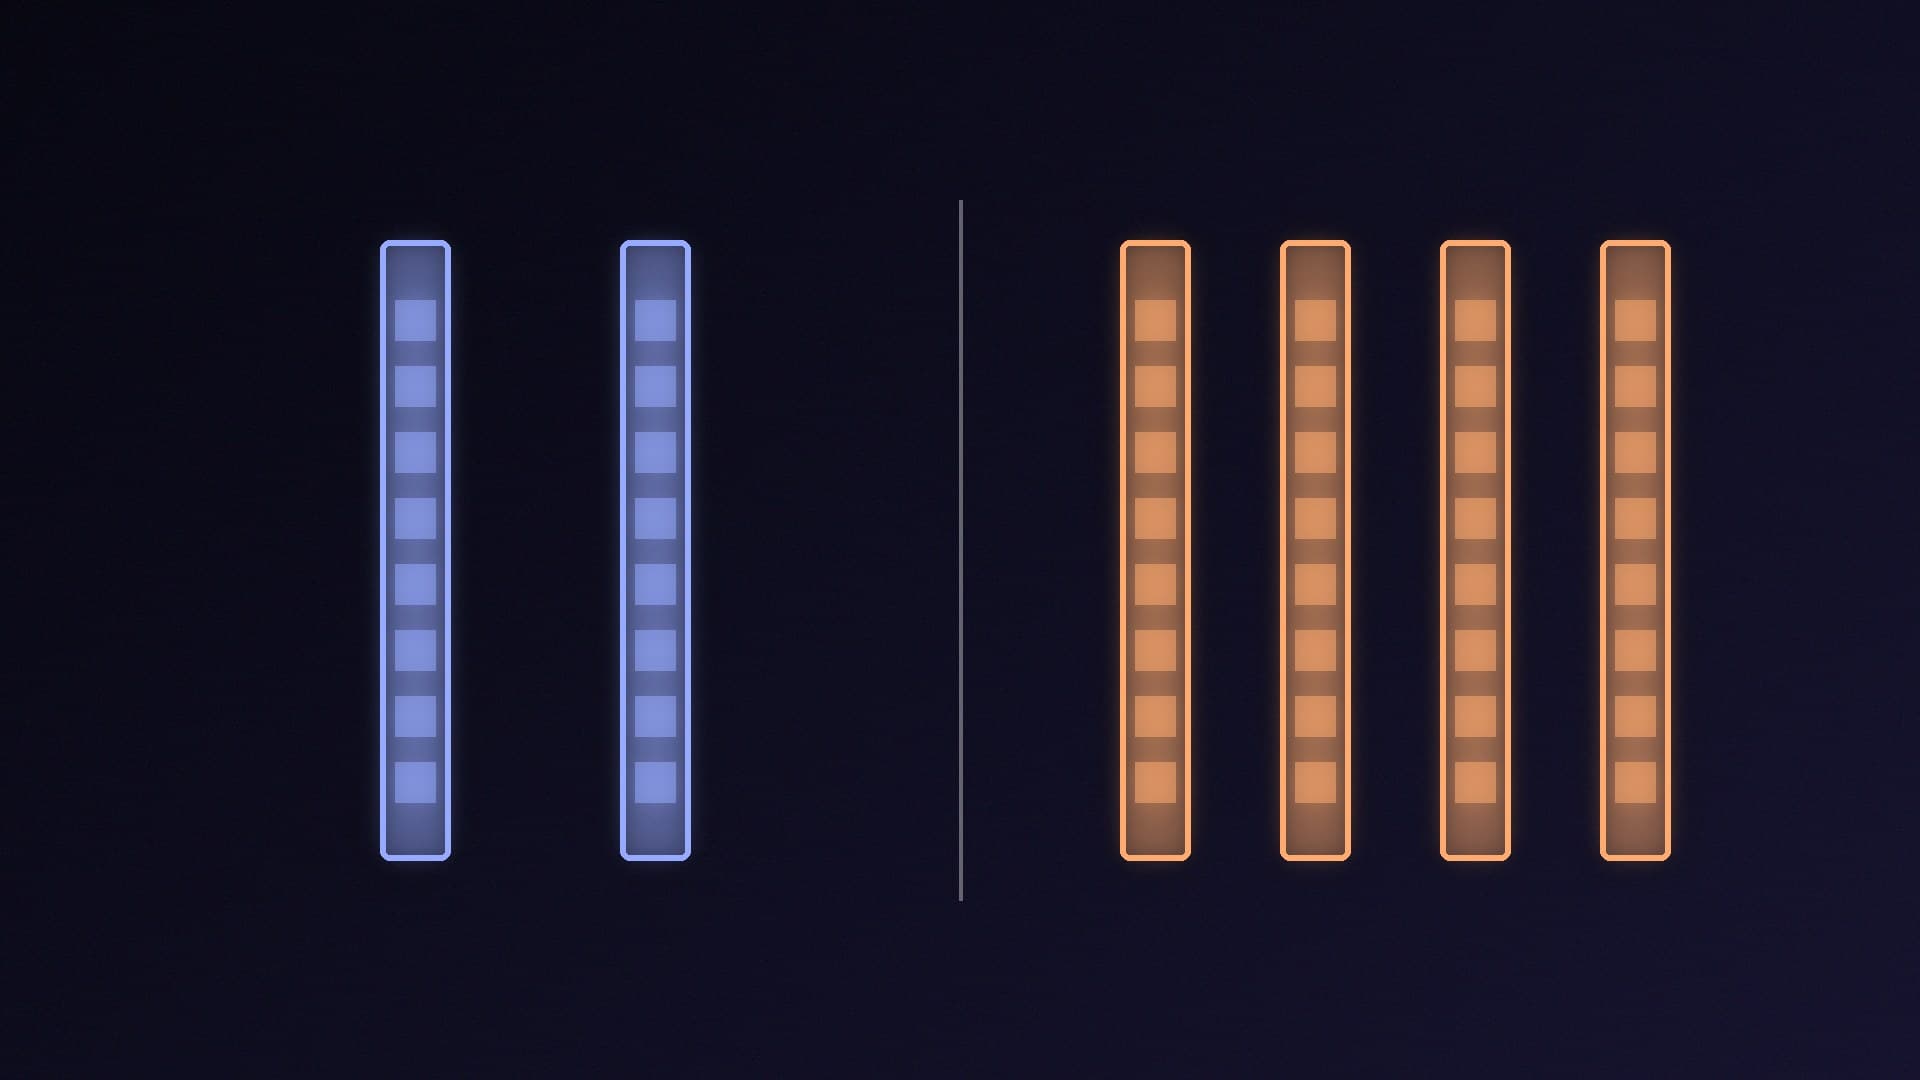
Polling rate is how often your mouse reports its position and clicks to your PC. For years 1,000Hz was the gaming standard, but many flagship mice now offer 2,000Hz, 4,000Hz or 8,000Hz modes. These can make motion slightly smoother and more responsive, but they also put more load on your PC, and on some systems they cause stutter.
Forge PC hasn't tested mice at these polling rates. This guide is based on Razer's HyperPolling technology page and troubleshooting advice, and on TechPowerUp's in-depth testing of 8,000Hz polling on the Razer Viper 8K, as checked on 17 November 2026.
What the numbers mean
The polling rate sets the shortest interval between updates. TechPowerUp gives the figures for 1,000Hz and above; the lower rates follow the same arithmetic (one second divided by the rate):
Polling rate | Time between updates |
|---|
125Hz | 8ms |
500Hz | 2ms |
1,000Hz | 1ms |
2,000Hz | 0.5ms |
4,000Hz | 0.25ms |
8,000Hz | 0.125ms |
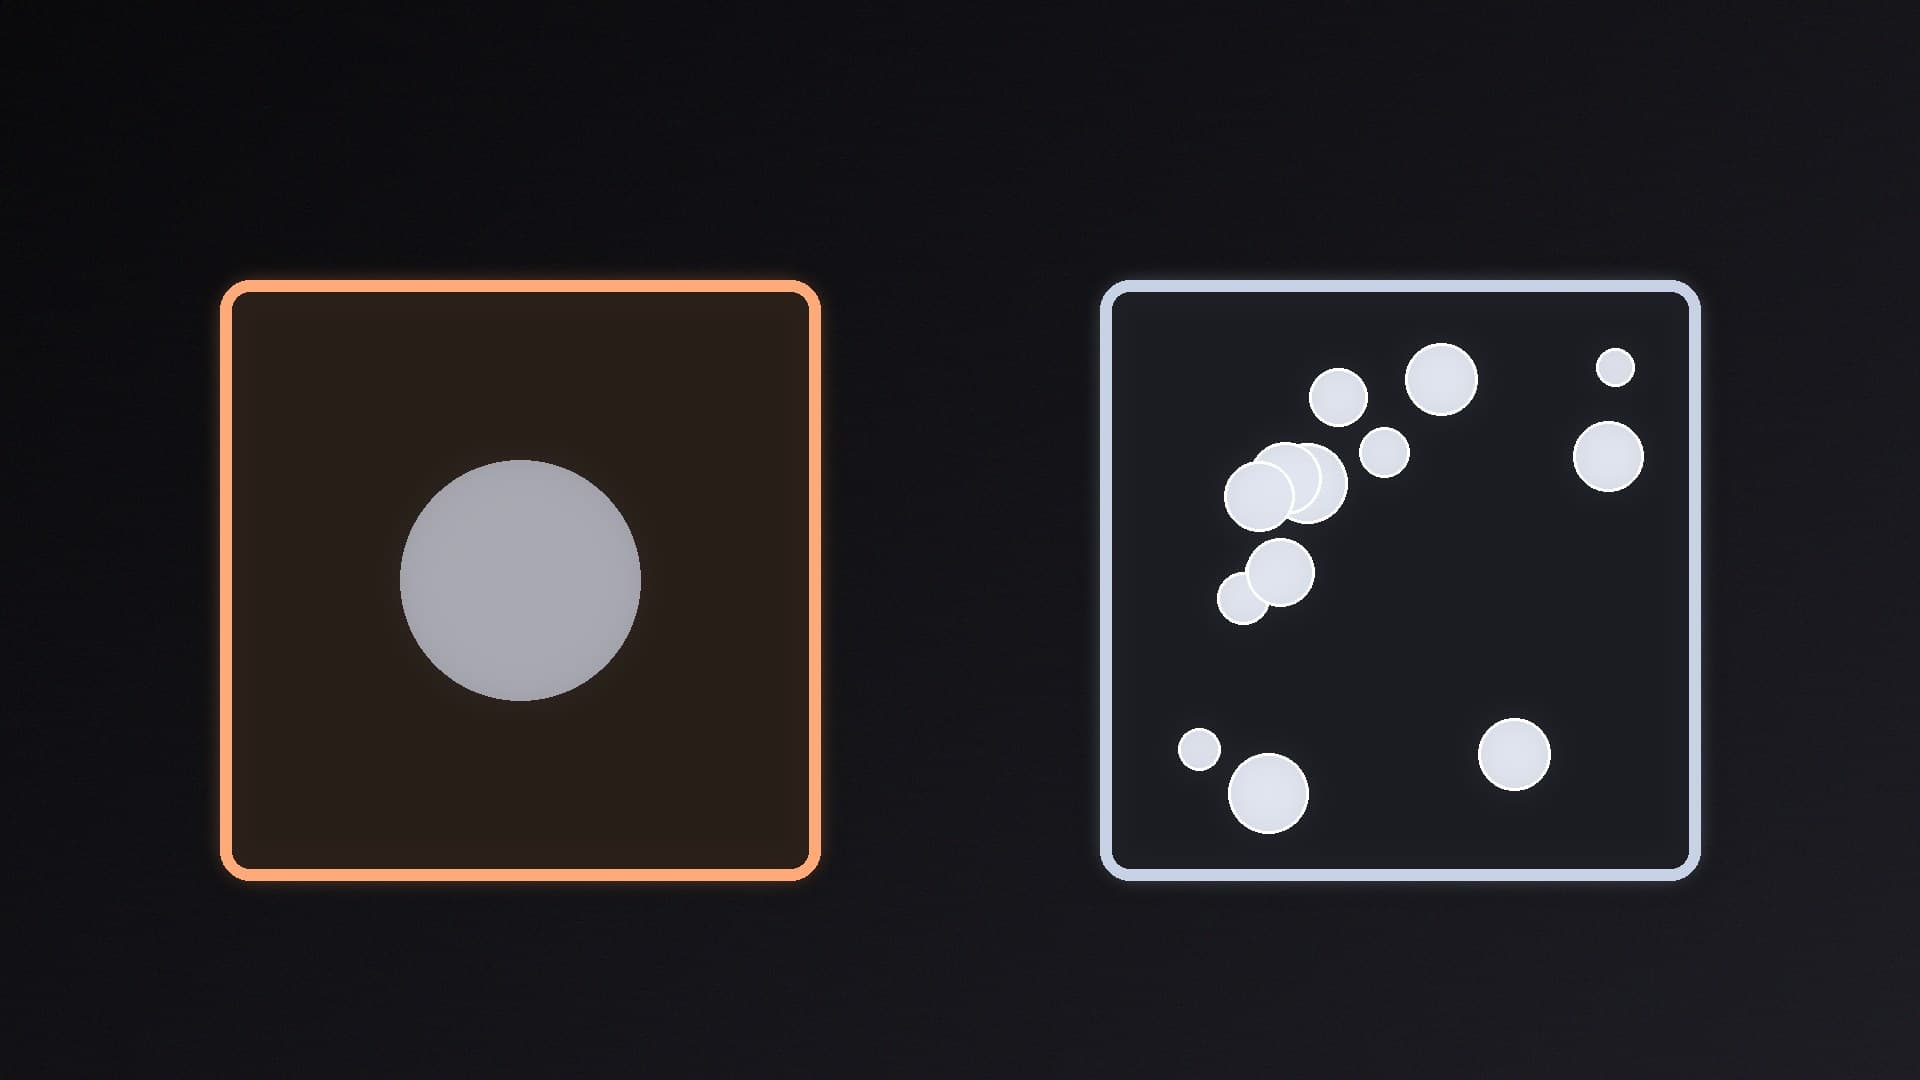
Razer says its 8,000Hz HyperPolling reports up to eight times more data per second than a 1,000Hz mouse, cutting that interval from 1ms to 0.125ms. That's the theoretical maximum gain from polling alone; the difference you feel end-to-end is smaller, because the game, the graphics card and the monitor all add their own delay. In TechPowerUp's motion-delay tests, the Viper 8K was about 0.5ms ahead of a Logitech G403 comparison mouse at 2,000Hz, about 0.8ms ahead at 4,000Hz and almost 0.9ms ahead at 8,000Hz.
One catch TechPowerUp highlights: the rate is a maximum. The mouse only sends more reports if it's moving enough to generate them. To saturate 8,000Hz you need at least 8,000 pixels' worth of motion per second, so TechPowerUp recommends using at least 1,600 CPI (DPI) and possibly higher, then lowering in-game sensitivity to compensate. Our mouse DPI and sensitivity guide explains how to do that without changing how your aim feels.
How to change the polling rate
Polling rate is set by the mouse, not by Windows, so you change it in the manufacturer's software or, on some mice, with a button.
Install your mouse's software, such as Razer Synapse, Logitech G HUB, Corsair iCUE or SteelSeries GG, from the manufacturer's website.
Find the performance or sensor settings for your mouse and look for "Polling rate" or "Report rate".
Choose a rate. Start with 1,000Hz if you're unsure, then try higher.
Check whether it's saved to the mouse. If your mouse has onboard memory, save the setting to it so it still applies when the software isn't running.
Check what your model supports. Not every mouse offers 4,000Hz or 8,000Hz, and wireless support can differ from wired, so check the product page or manual.
What your PC needs for 4,000Hz and 8,000Hz
High polling rates mean thousands of USB interrupts a second, so the rest of your system matters. TechPowerUp's recommendations for 8,000Hz are:
a reasonably powerful CPU with at least six physical cores and high single-thread performance
Windows 8 or later, which supports the USB interrupt timing high polling needs
a USB 3.x port running in xHCI mode, preferably one connected directly to the CPU, with no other high-polling devices on the same hub
a clean, reasonably optimised Windows installation without background bloat
Razer's own troubleshooting advice is similar: close non-essential apps that keep the CPU busy, plug the device or its receiver directly into a native USB port on the PC, keep wireless receivers away from active USB 3 hubs, which can create 2.4GHz interference, and switch nearby wireless devices to 5GHz where possible.
If you get stutter, lag or disconnections
If your mouse, game or whole PC starts to stutter after you raise the polling rate:
Drop to 4,000Hz or 2,000Hz. Razer recommends exactly this if a HyperPolling device lags, stutters or disconnects.
Move the mouse or receiver to a rear motherboard USB port rather than a front-panel port or hub.
Close background apps and check CPU usage with Task Manager; our high CPU usage fix guide can help.
Test in more than one game. If only one title stutters, that game may handle high-rate input poorly; use a lower rate for it.
Which rate should you use?
For most people, 1,000Hz is still a sensible default: it's reliable, light on the CPU and works with every game. If you play fast competitive shooters on a high refresh rate monitor and have a modern CPU, 2,000Hz or 4,000Hz is worth trying. 8,000Hz gives the smallest possible update interval, but TechPowerUp's measurements show the extra gain over 4,000Hz is small, and it's the setting most likely to cause problems. For other ways to cut delay, see how to reduce input lag, and if you're shopping, our best gaming mouse guide and wired vs wireless comparison.
Our verdict
Change your polling rate in your mouse's own software. 1,000Hz (1ms) is the safe default; 2,000Hz-4,000Hz can feel slightly smoother on a fast PC and high refresh rate monitor; 8,000Hz (0.125ms) needs a strong CPU, a direct USB 3 port and a high enough DPI to make a difference. TechPowerUp measured diminishing returns above 4,000Hz, so if you see stutter, drop to 4,000Hz or 2,000Hz as Razer recommends. Forge PC hasn't tested these mice.
The bottom line
Change your polling rate in your mouse's own software. 1,000Hz (1ms) is the safe default; 2,000Hz-4,000Hz can feel slightly smoother on a fast PC and high refresh rate monitor; 8,000Hz (0.125ms) needs a strong CPU, a direct USB 3 port and a high enough DPI to make a difference. TechPowerUp measured diminishing returns above 4,000Hz, so if you see stutter, drop to 4,000Hz or 2,000Hz as Razer recommends. Forge PC hasn't tested these mice.