Installing a processor is one of the quickest jobs in a PC build, and also one of the easiest to get badly wrong. On modern AM5 and Intel boards the delicate pins are in the motherboard socket, so dropping the chip in at an angle or forcing it can bend them. This guide walks through the process for AMD's AM5 and AM4 sockets and Intel's LGA 1851 (Core Ultra 200S), which works the same way as LGA 1700.
Forge PC hasn't run its own tests for this guide. The steps follow ASUS's official CPU installation FAQ, ASRock's PC installation guide and AMD's processor handling guidance.
Before you start
Check compatibility. ASUS says to check the CPU socket before installing and not to fit a CPU into a socket that doesn't support it. Check your board's CPU support list too: a newer processor may need a BIOS update first. See AM5 vs LGA 1851 and how to update your BIOS safely.
Unplug the power. ASUS says to remove the power cord before installing a CPU, and AMD says components should never be installed while the system is powered.
Avoid static. AMD warns that electrostatic discharge can permanently damage processors, and that damage can't be repaired. It recommends a grounded anti-static mat, avoiding static-prone clothing such as fleece or wool, and keeping parts in anti-static bags until you need them. AMD also notes that most gaming cases have painted interiors, so touching the paint won't ground you.
Work on a firm, clear surface. Many builders fit the CPU, memory and M.2 drive before the board goes into the case, as in our gaming PC build guide.
Handle the CPU by its edges and don't touch the contacts underneath or the socket itself.
Installing an AM5 or Intel LGA 1851 CPU
ASUS describes the same steps for AM5 and Intel's LGA 1851 and LGA 1700 sockets:
Release the lever. Press the socket lever sideways to unhook it and lift it up. ASUS advises keeping hold of the lever as you release it.
Open the load plate. Lift the metal retention cover. Leave the plastic protective cover in place for now; it comes off by itself later.
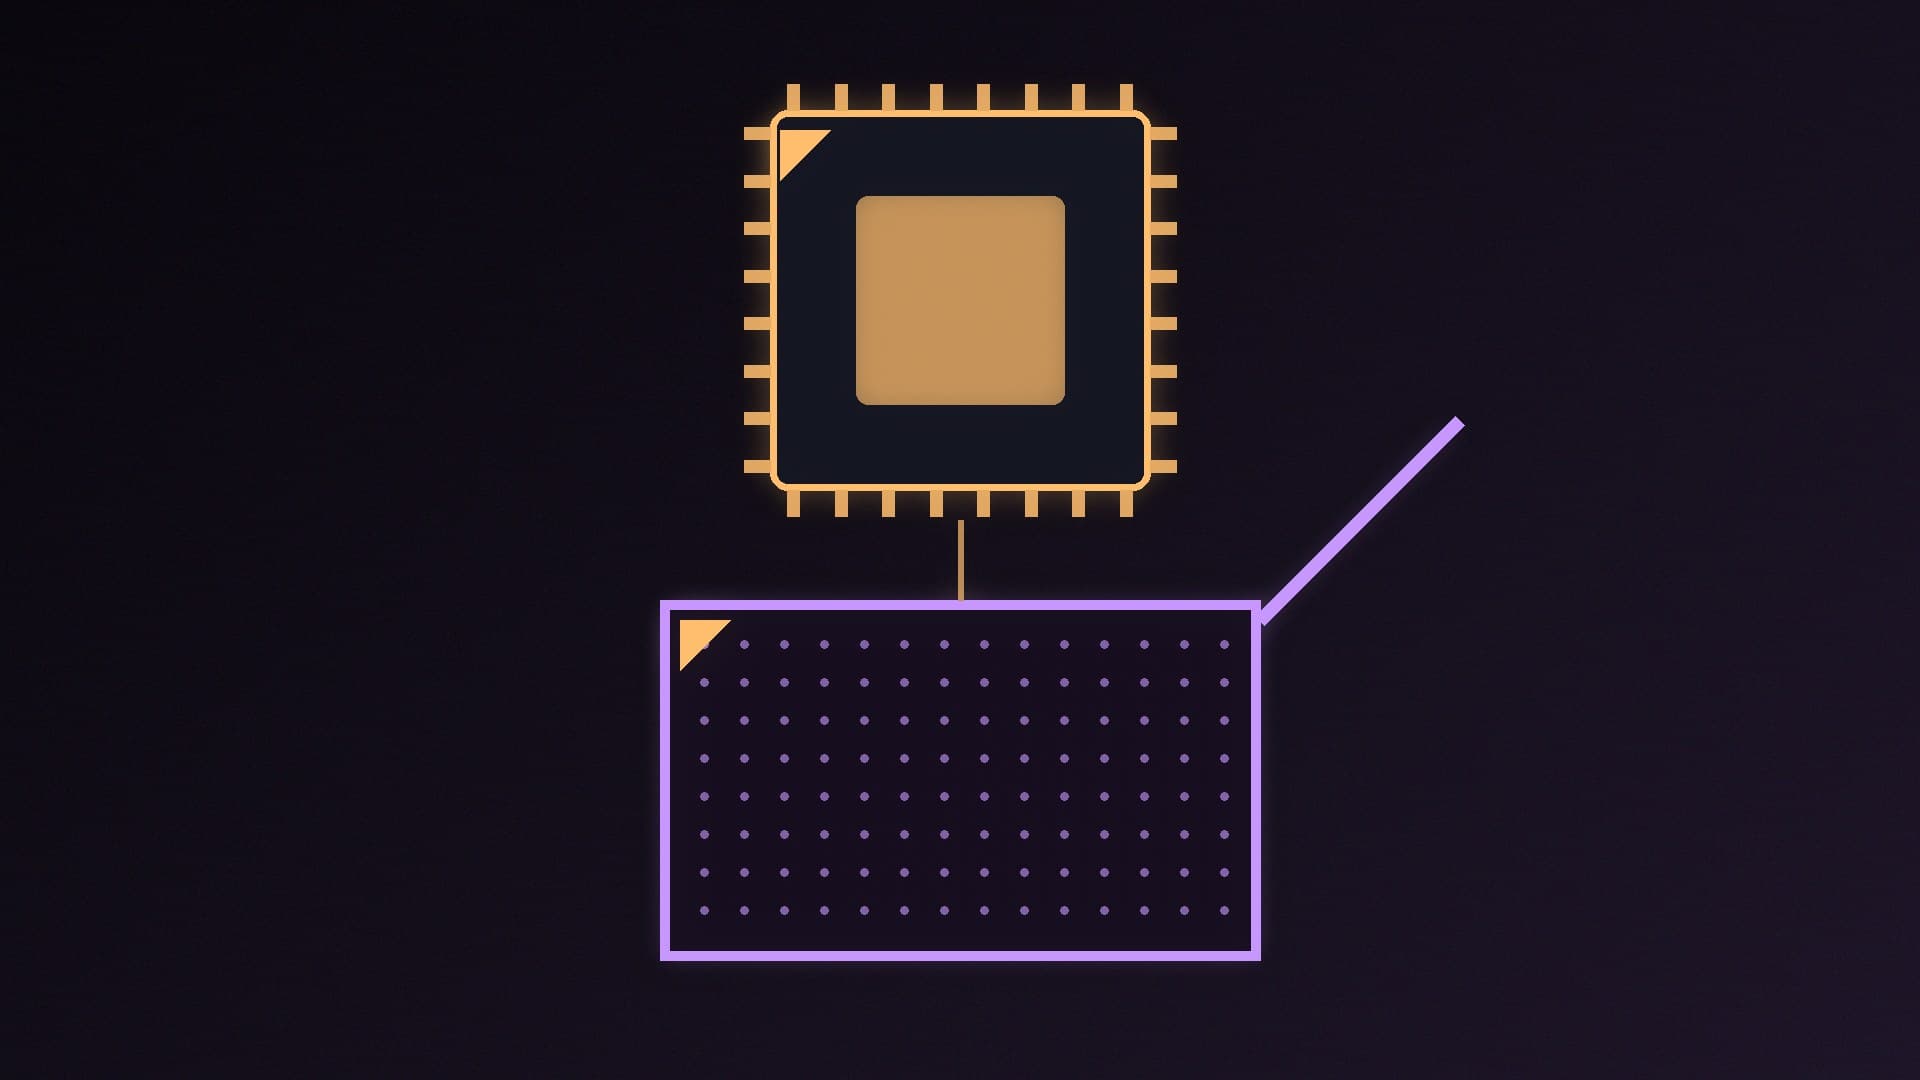
Line up the CPU. ASRock's guide also starts by identifying the triangle marker on the CPU and the socket. Find the small triangle on one corner of the CPU and match it to the triangle marked on the socket or board. ASUS says the triangle goes to the top-left corner on AM5 and the bottom-left on its LGA 1851 and LGA 1700 examples. Also line up the notches on the edge of the CPU with the tabs in the socket.
Lower it straight down. Place the CPU vertically into the socket without sliding it. AMD says a correctly oriented processor should drop into place without any force, and that if it doesn't, it may be misaligned. Never press it in.
Close the socket. Lower the load plate, then push the lever down and hook it under its retaining tab. ASUS says the plastic cover pops off automatically when the lever locks.
Keep the plastic cover. ASUS recommends refitting it to the socket if you ever remove the CPU and send the board off, for example for repair.
Installing an AM4 CPU
AM4 is different because the pins are on the processor, not the socket. ASUS's steps are:
Lift the lever on the side of the socket to a 90° angle.
Line up the triangle on the CPU with the matching corner of the socket, and lower the CPU straight down so it sits flat.
Press the lever back down to lock it.
AMD's handling guidance says the missing pins on the chip mirror the missing holes in the socket, and that a CPU that won't drop in may have bent pins. Check the underside carefully before trying again. For upgrade options on this platform, see our best AM4 CPU upgrade guide.
Fitting the cooler
AMD says a good thermal interface material should be applied in a uniform layer over the processor's lid, and the cooler must be rated for the CPU's power. Many coolers come with paste pre-applied; if yours doesn't, our guide to replacing CPU thermal paste covers how much to use, and our best thermal paste guide has options. Remove any protective film from the cooler's base, then follow its instructions for your socket's mounting hardware.
If the PC won't start
If the system won't boot after fitting a CPU, ASUS points to its no power, no boot and no display troubleshooting steps. Check the processor is on your board's support list and correctly seated, and that every power cable is connected, including the CPU power cable near the top of the board. Our guide to fixing a PC that won't turn on or boot covers the next steps. Once it's running, enable XMP or EXPO so your memory runs at its rated speed.
Our verdict
To install a CPU, unplug the PC, ground yourself, open the socket, match the triangle on the processor to the one on the socket, lower it straight down without force and lock the lever, letting the plastic cover pop off on AM5 and Intel boards. If it doesn't drop in easily, stop and check the alignment rather than pushing. Check your board supports the chip, and update the BIOS first if needed. Forge PC hasn't run its own tests for this guide.