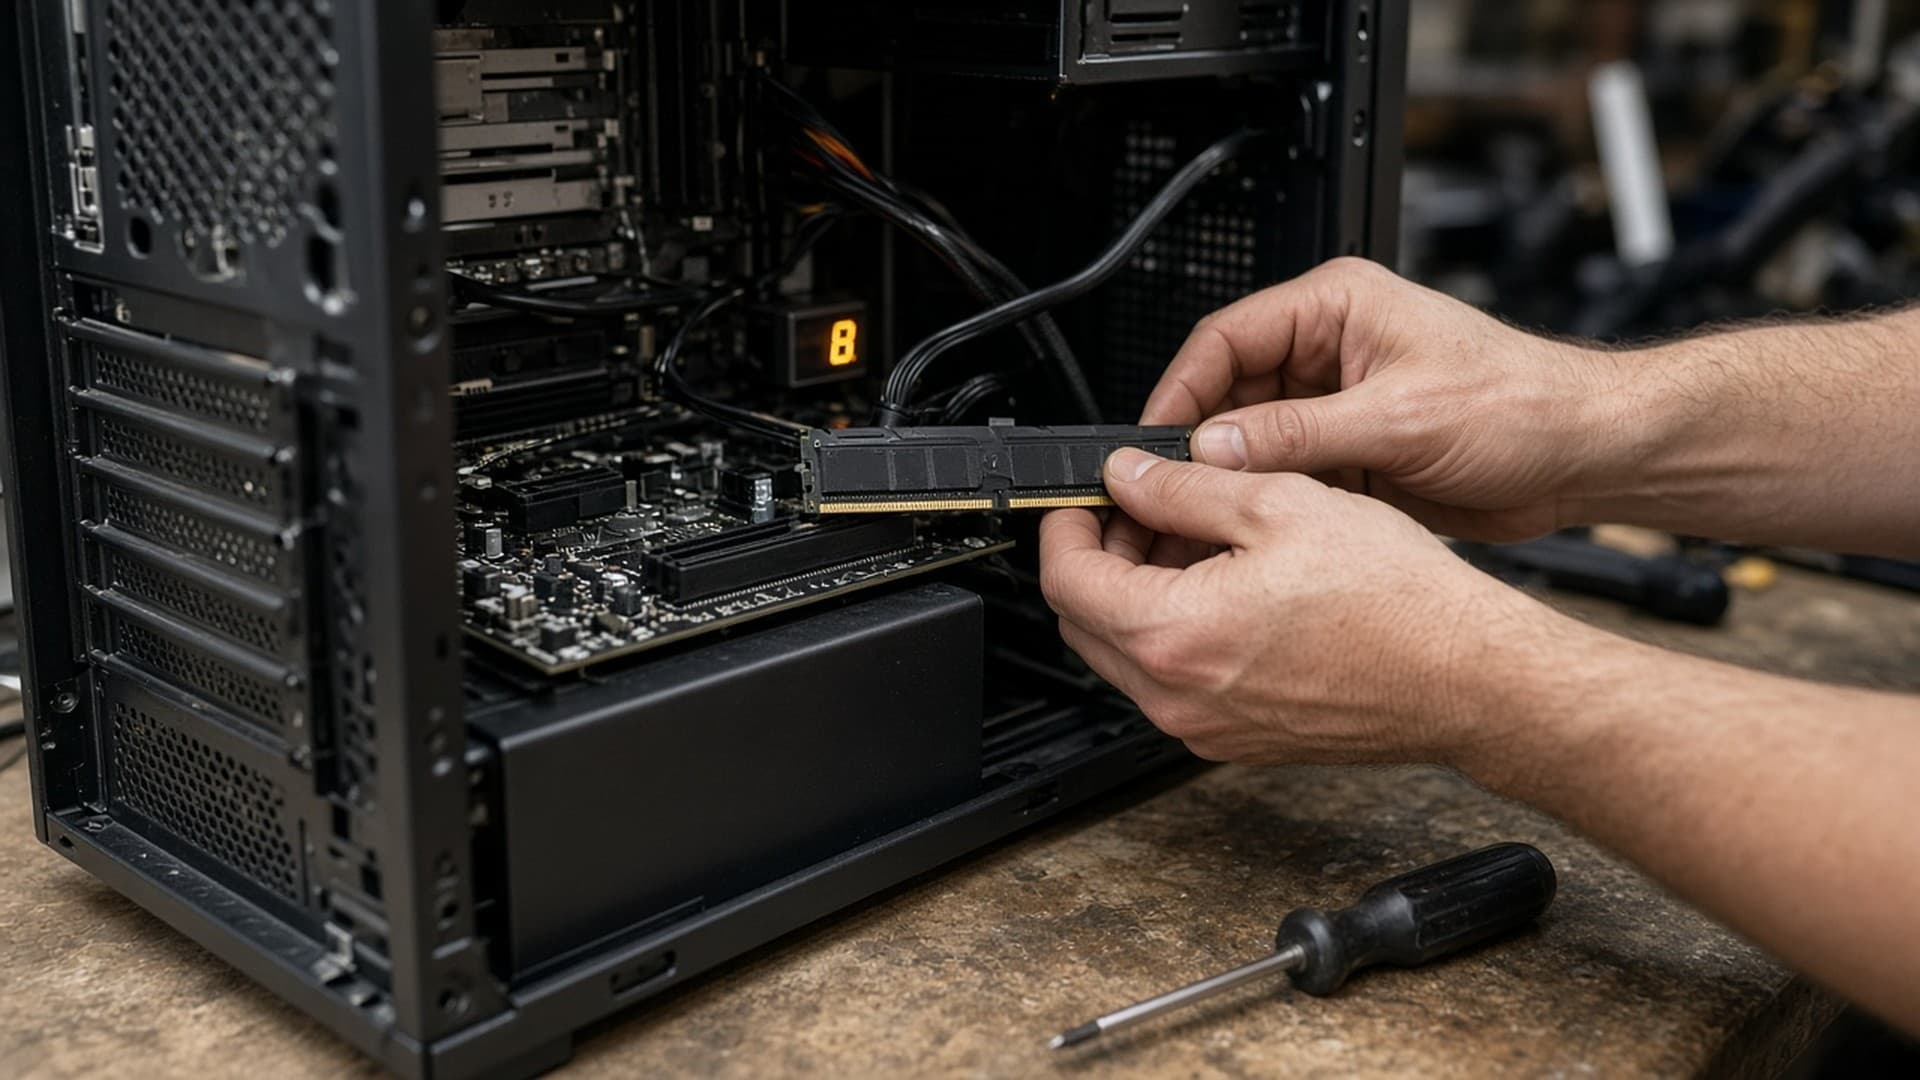
Few things are more worrying than pressing the power button and getting nothing, or getting fans and lights but no picture. The good news is that the cause is often something simple, such as a loose cable, a memory module that isn't fully seated, or a new AM5 system that's still training its memory.
This guide works from the simplest checks to the more involved ones. It's based on motherboard and Windows support documentation, credited at the end. Forge PC hasn't reproduced these faults on test systems. Switch off at the wall and unplug the PC before touching anything inside the case.
First, identify the symptom
What happens | Most likely area |
|---|---|
Nothing at all: no lights, no fans | Power: socket, cable, PSU switch, front-panel connector |
Fans spin, but no picture | Display cable, graphics card, memory, CPU; check debug lights |
Fans spin, no picture, on a brand-new AM5 build | Possibly memory training; wait before assuming a fault |
Manufacturer logo appears, then stops or loops | Boot drive, BIOS settings or Windows |
Windows starts, then crashes or restarts | Windows, drivers or hardware stability |
Step 1: Check the power basics
Try a different wall socket and make sure the plug's switch is on. If you're using an extension lead, plug the PC directly into the wall to rule it out.
Check the switch on the back of the PSU is set to on ("I").
Check the power cable is pushed fully into the PSU. Try another kettle-style cable if you have one, or check the fuse in the plug.
On a new build, check the front-panel connector. The tiny power-switch wires must be on the correct pins of the motherboard's front-panel header. Your motherboard manual shows the layout.
Step 2: Check the cables inside the case
On a new build, these are the most common culprits:
24-pin motherboard power connector: push it in until the clip clicks.
CPU power connector (8-pin, sometimes 8+4 or 8+8): at the top-left of most motherboards. Without it, the system won't start properly.
Graphics card power: every power socket on the card must be connected.
Step 3: Make sure your monitor is plugged into the graphics card
If your PC has a separate graphics card, plug the monitor into the card's outputs, not the motherboard's. Also check that the monitor is set to the correct input.
Step 4: Read the motherboard debug lights
Many motherboards have small LEDs, usually labelled CPU, DRAM, VGA and BOOT, which light up during the start-up checks. If the PC stops on one of them, it points to the part that's causing the problem. ASUS calls this Q-LED and explains what to try for each light. If those steps don't help, ASUS suggests clearing the CMOS and, on supported boards, updating the BIOS with USB BIOS FlashBack:
Light stays on | What ASUS suggests checking |
|---|---|
CPU | Refit the processor; check the CPU and socket pins for dirt or damage |
DRAM | Refit the memory fully; check for dirt on the contacts; use memory on the board's support (QVL) list; start with one module and add the others one at a time |
VGA | Refit the graphics card; check for dirt on the PCIe slot and card contacts; try another card |
BOOT | Reconnect the SATA cable or refit the M.2 SSD and its screw; try another cable, port or drive |
Other brands use similar lights or two-digit debug codes. Check your motherboard's manual for what each one means.
Step 5: Brand-new AM5 PC? Be patient
On AMD AM5 systems, the first start-up after building or changing memory can take a long time, because the motherboard tests and "trains" the memory. In a guide on ASUS's ROG forum, Silent_Scone says this can take 5 to 15 minutes, with the DRAM light or a debug code showing during the process, and warns against interrupting it.