Thermal paste sits between the CPU heat spreader and the cooler's cold plate. Over a long period it can dry out, and a cooler that has been taken off must be cleaned and repasted before you put it back on. You do not need a huge amount of paste, and you should follow the pattern the paste maker specifies rather than inventing your own.
Forge PC has not measured temperatures before and after a repaste on these products. The application patterns below come from official Noctua NT-H2 documentation and from Arctic's official instructions for the MX-6 syringe that ships with its Liquid Freezer III Pro coolers.
Before you start
Shut Windows down, switch the PSU off, and unplug the power lead. If you are unsure, also unplug peripherals.
Work on a clear, well-lit desk. Avoid working on a carpet if you can.
Have the right tools: a screwdriver for the cooler bracket or thumbscrews, lint-free cloths or coffee filters, and isopropyl alcohol of 90% or higher, which is the usual cleaner for old paste. Do not use household cleaners, water, or paper towels that shed fibres.
A small amount of fresh paste. Our thermal paste guide covers current options, including Noctua NT-H2 and Arctic MX-6. A 3.5g syringe is more than enough for several applications.
If you are also changing the cooler, check our CPU cooler guide and the new cooler's official mounting manual before you start. Socket brackets differ between AM5 and LGA 1851, and an AIO needs its tubes and radiator planned before the block goes on.
Remove the cooler and clean both surfaces
Note how the fan and pump cables are routed, then unplug them from the motherboard.
Loosen the cooler in a diagonal sequence, a little at a time, so one corner is not still clamped tight. For an AIO, support the block as the last fastener comes off so it does not tug on the socket.
Lift the cooler straight up. If it is stuck, a gentle twist can break the dried paste seal. Do not lever against the motherboard.
Clean the CPU heat spreader and the cooler's base. Wipe away the bulk of the old paste with a dry lint-free cloth, then use a little isopropyl alcohol on a fresh cloth until both metal surfaces are clean and dry. Do not scrape with a knife or a credit card with a metal edge, and keep liquid away from the socket and the board.
Old paste on your fingers is messy rather than mysterious; wash it off with soap and water. Dispose of dirty wipes in the household waste.
Apply the paste
Do not spread most modern pastes with a card unless the manufacturer says so. Noctua is explicit about NT-H2: apply it directly on the CPU and install the cooler over the paste, without spreading it by hand, and do not use too much.
Official Noctua NT-H2 patterns:
Smaller Intel sockets such as LGA 115x or LGA 1200: one 3–4mm dot in the centre.
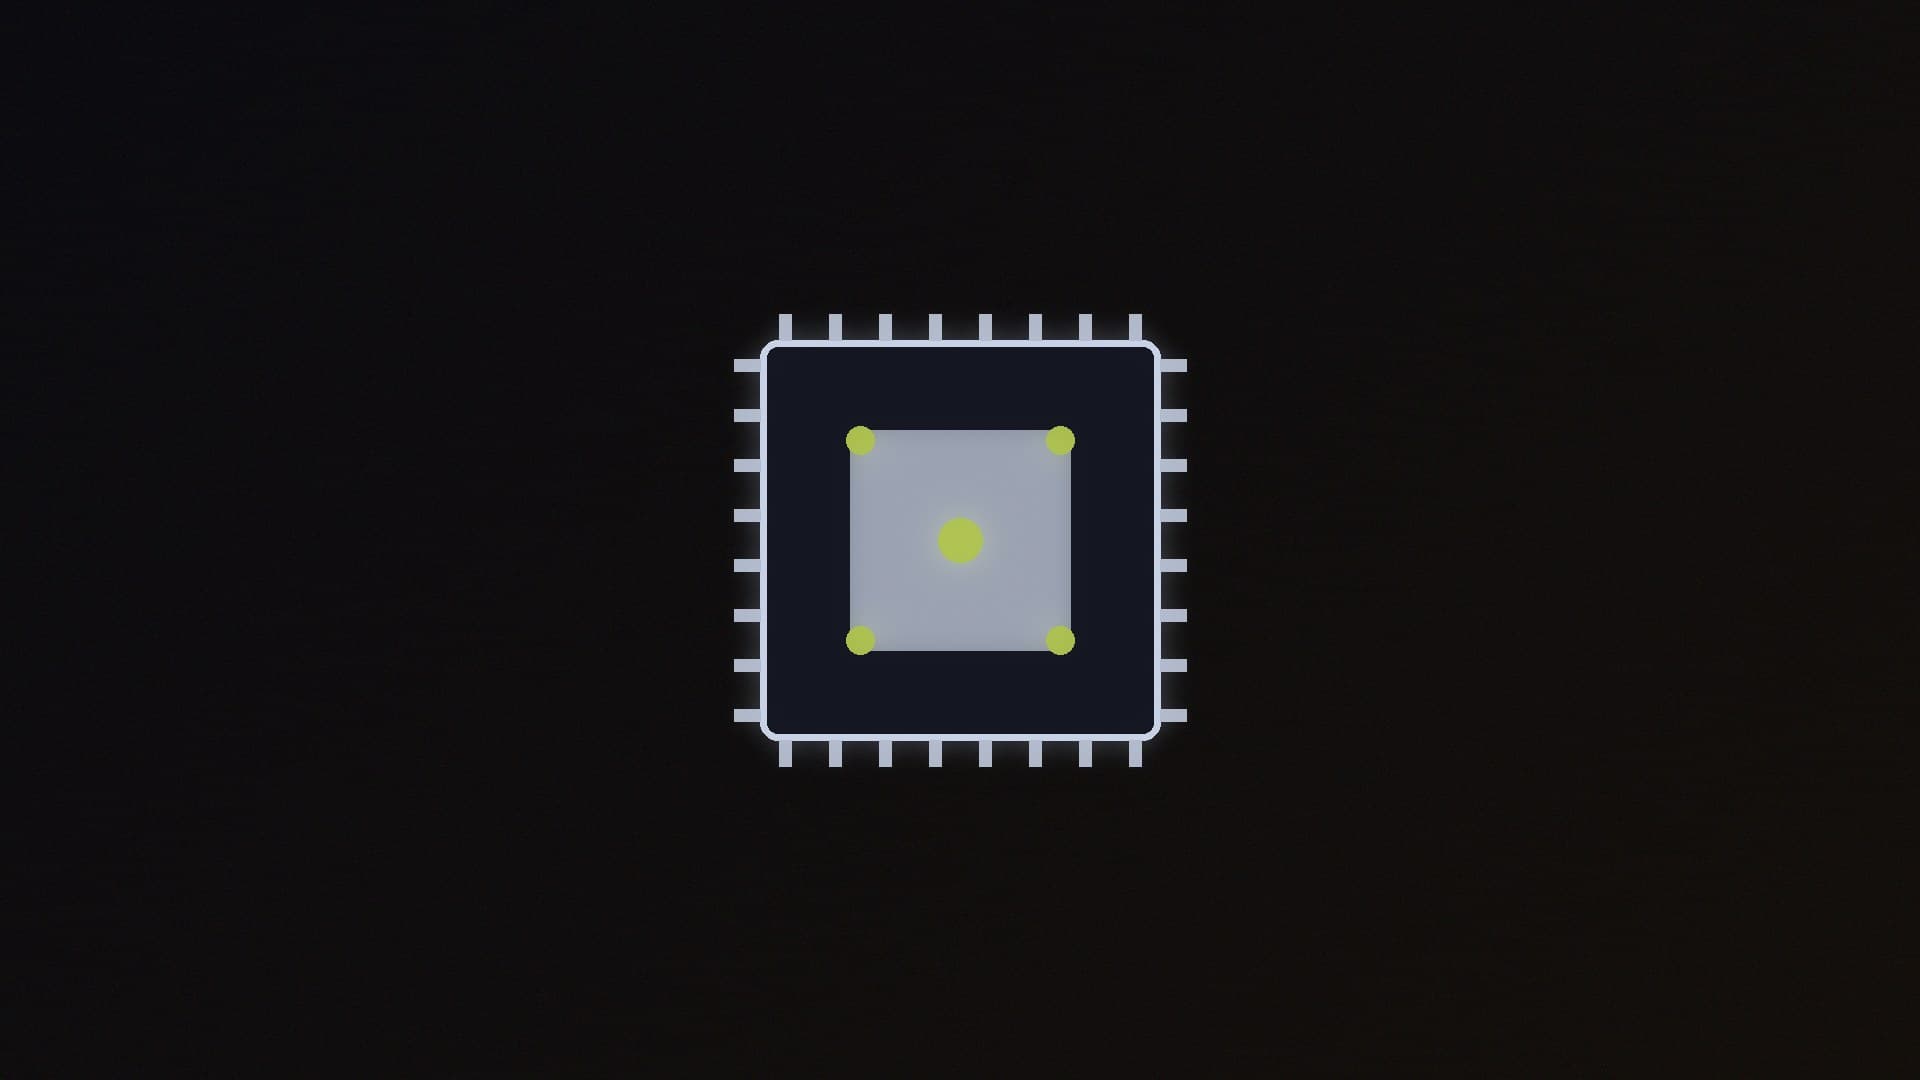
Medium sockets, including AMD AM5 and AM4 and Intel LGA 1700, LGA 1851 and LGA 20xx: four dots of about 2mm near the corners of the heat spreader, plus one 3–4mm dot in the centre.
Arctic's official advice for the MX-6 syringe included with the Liquid Freezer III Pro is different: apply it in a cross pattern, and let the cold plate spread it. That is an Arctic instruction for that cooler and paste, not a reason to ignore Noctua's pattern if you are using NT-H2.
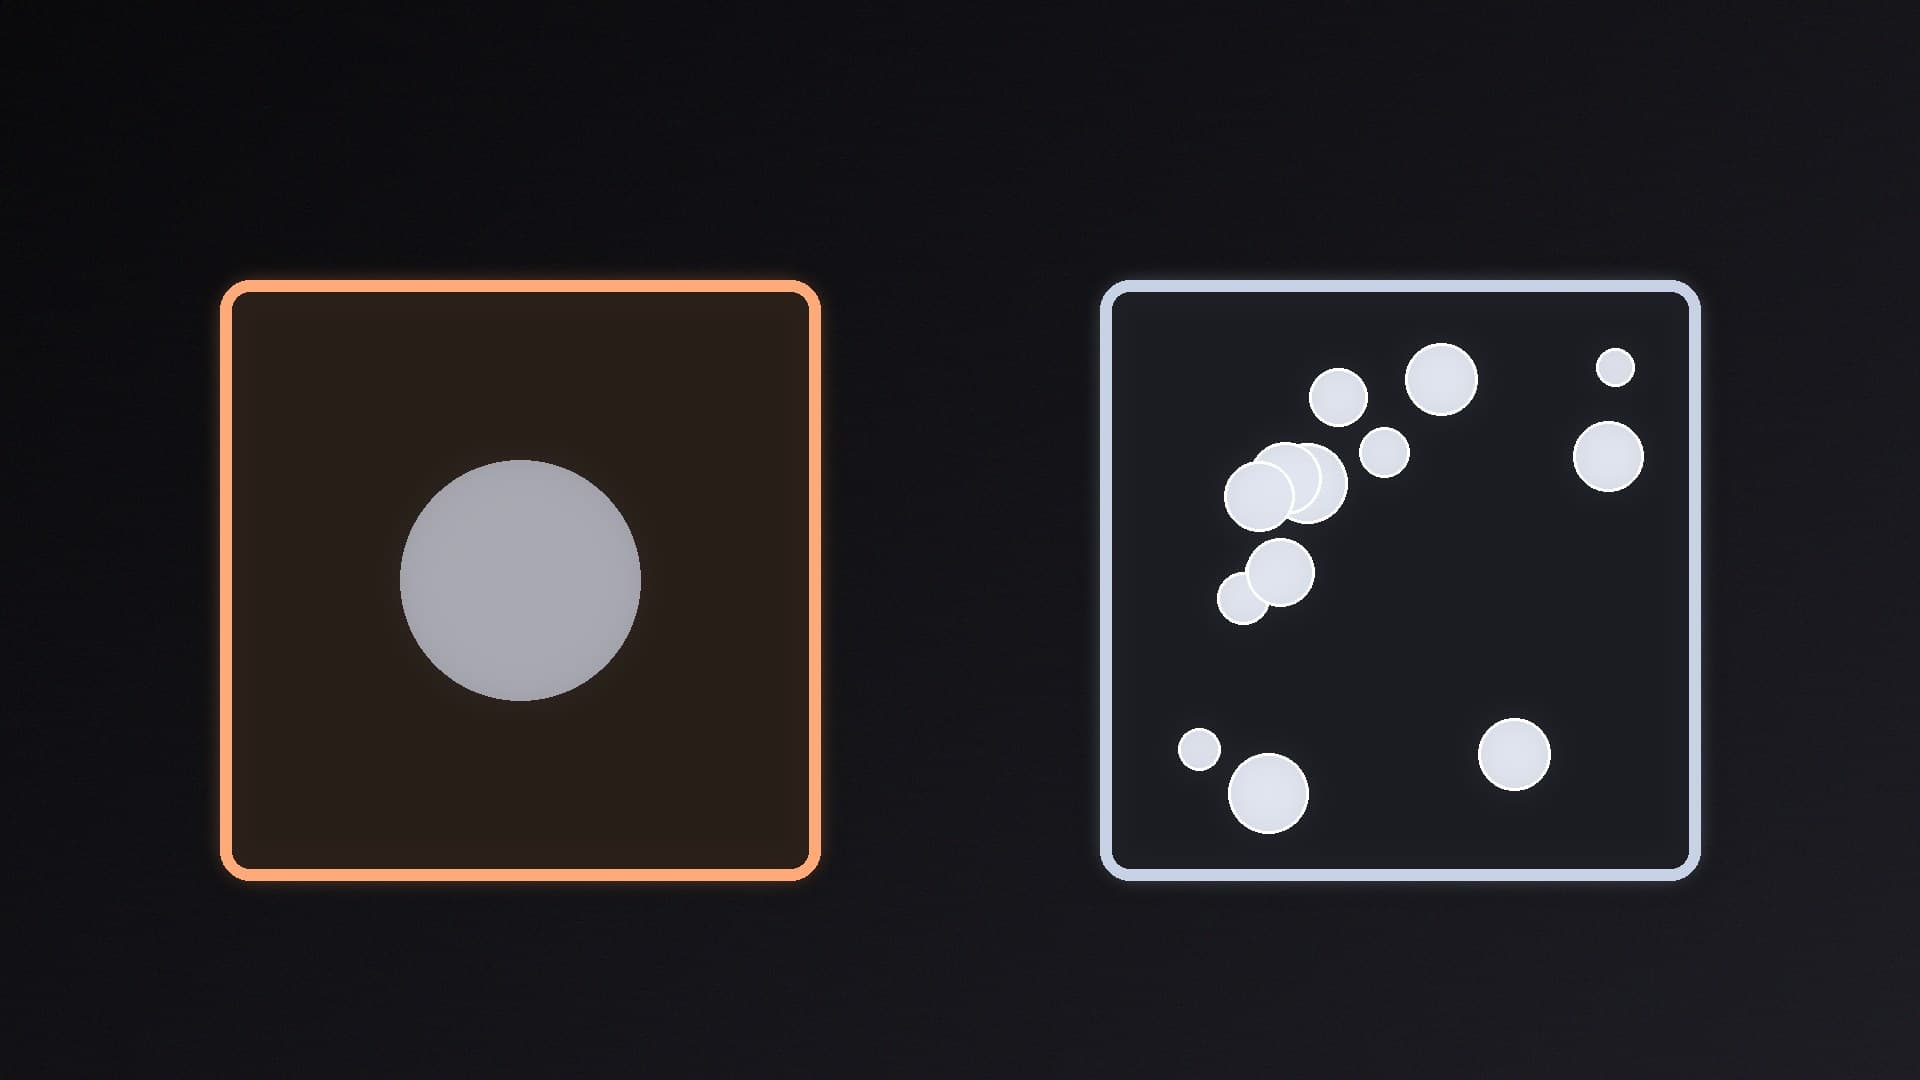
A thin, complete layer is the aim once the cooler is mounted. A huge blob can squeeze over the edge of the heat spreader and make a mess; it will not automatically cool better.
Remount the cooler
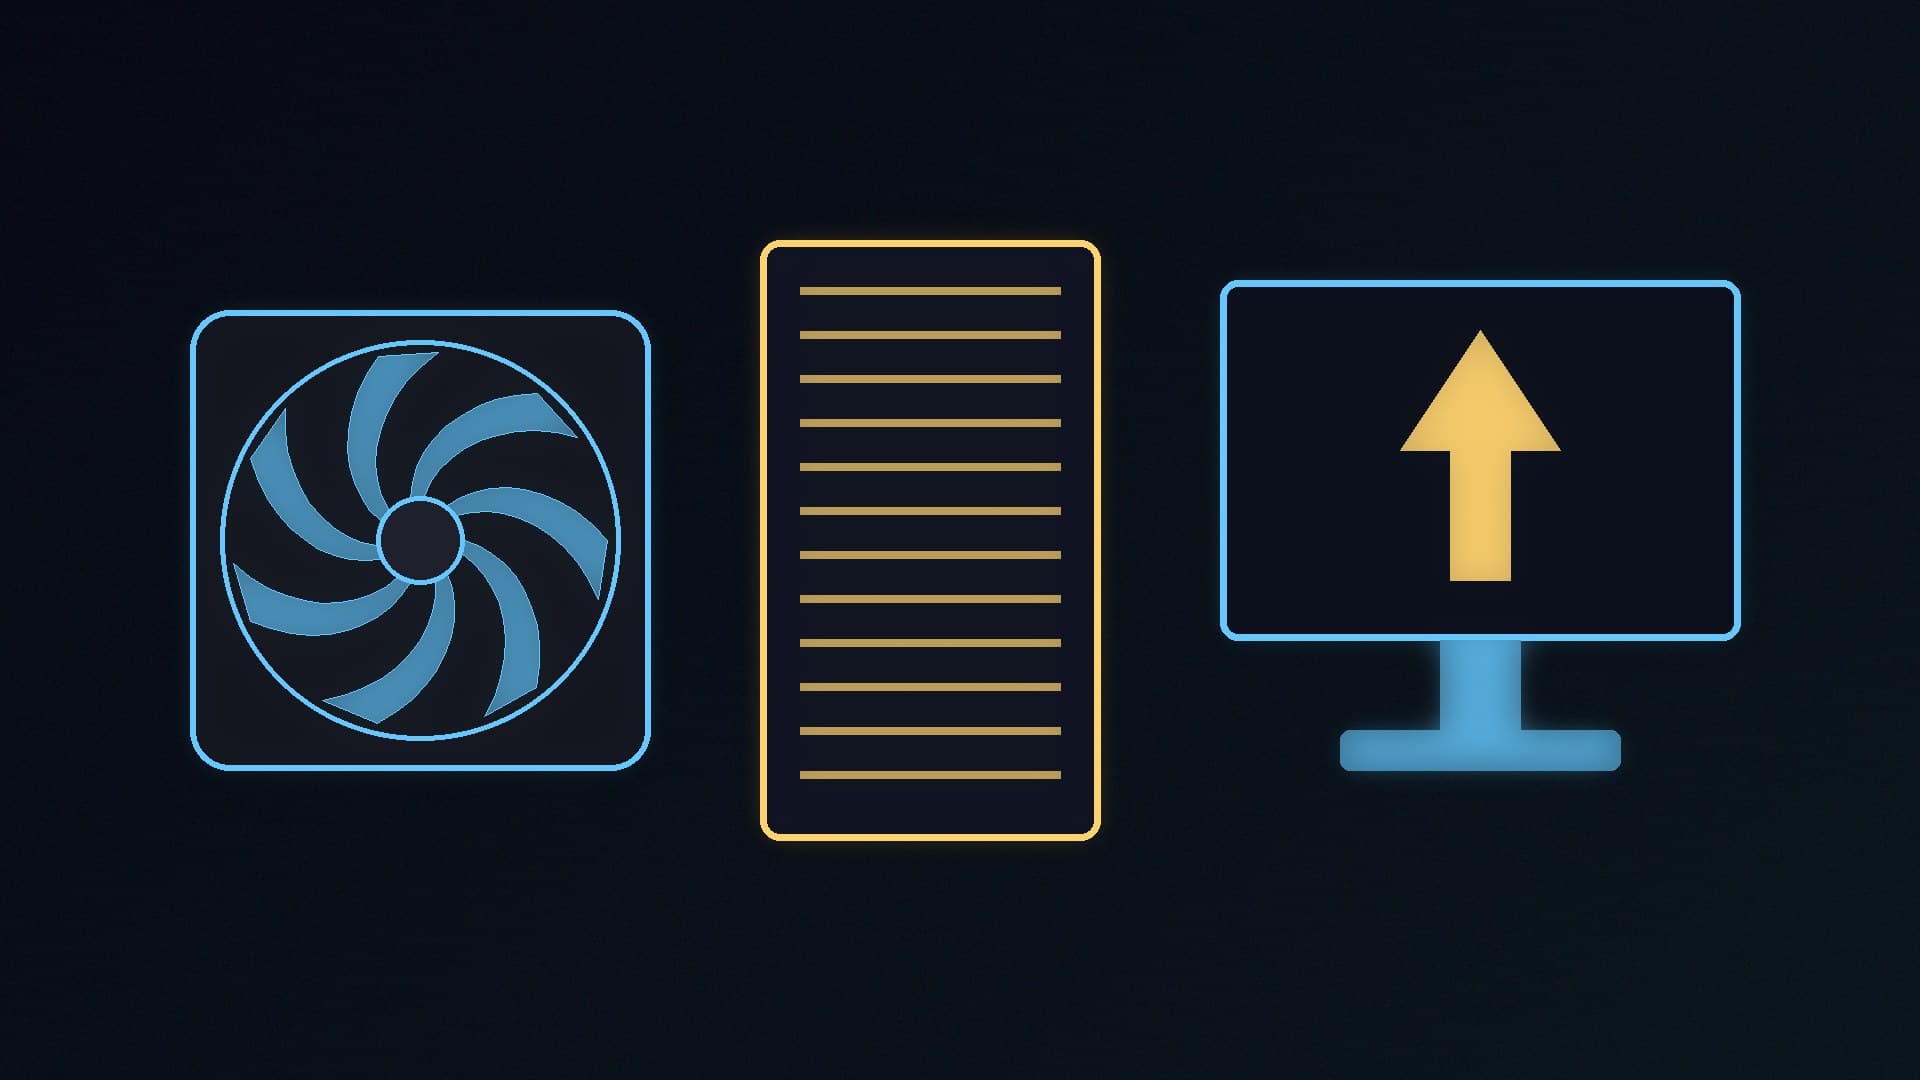
Seat the cooler straight down so it does not smear the paste off to one side. Tighten the screws or nuts in a diagonal sequence, a little at a time, until the official stop or the even pressure the manual describes. Then plug the fan or pump back in, tidy the cables, reconnect power, and boot. In the BIOS or a board app, confirm the CPU temperature sensor is reading and that the pump or fans are spinning. Our fan-curve guide is useful if you want to set a quiet curve once you know the cooler is working.
If the PC will not post, power down and check that the cooler is fully seated, the power cables are on, and you did not loosen a motherboard standoff or the socket arm.
When to do this
You should repaste whenever the cooler has been removed. A scheduled "every year" replacement is not a rule we can invent; many pastes stay usable for years if the cooler stays mounted and temperatures look normal. Do it if you have taken the cooler off, if you are fitting a new one, or if official troubleshooting for high temperatures has already ruled out dust, fan failure and a bad mount.
Our verdict
Power the PC down, remove the cooler evenly, clean both surfaces with high-strength isopropyl alcohol, apply the official pattern for your paste and socket, and remount with even diagonal pressure. For Noctua NT-H2 that usually means a centre dot, or a five-dot pattern on AM5 and LGA 1700/1851; for Arctic MX-6 on a Liquid Freezer III Pro, use Arctic's cross. Forge PC has not measured the temperature gain from a repaste; this is a maintenance guide, not a benchmark.