An all-in-one (AIO) liquid cooler is easy to fit, but where the radiator goes, and which way round it sits, makes more difference than many builders realise. Get it wrong and trapped air can end up in the pump, causing gurgling, a grinding noise, worse cooling and a shorter life. Get it right and the cooler runs quietly for years.
Forge PC hasn't run its own radiator placement tests. This guide is based on official guidance from Noctua, which published its own top-versus-front measurements, and Corsair. Always follow your cooler's manual and your case's supported radiator positions.
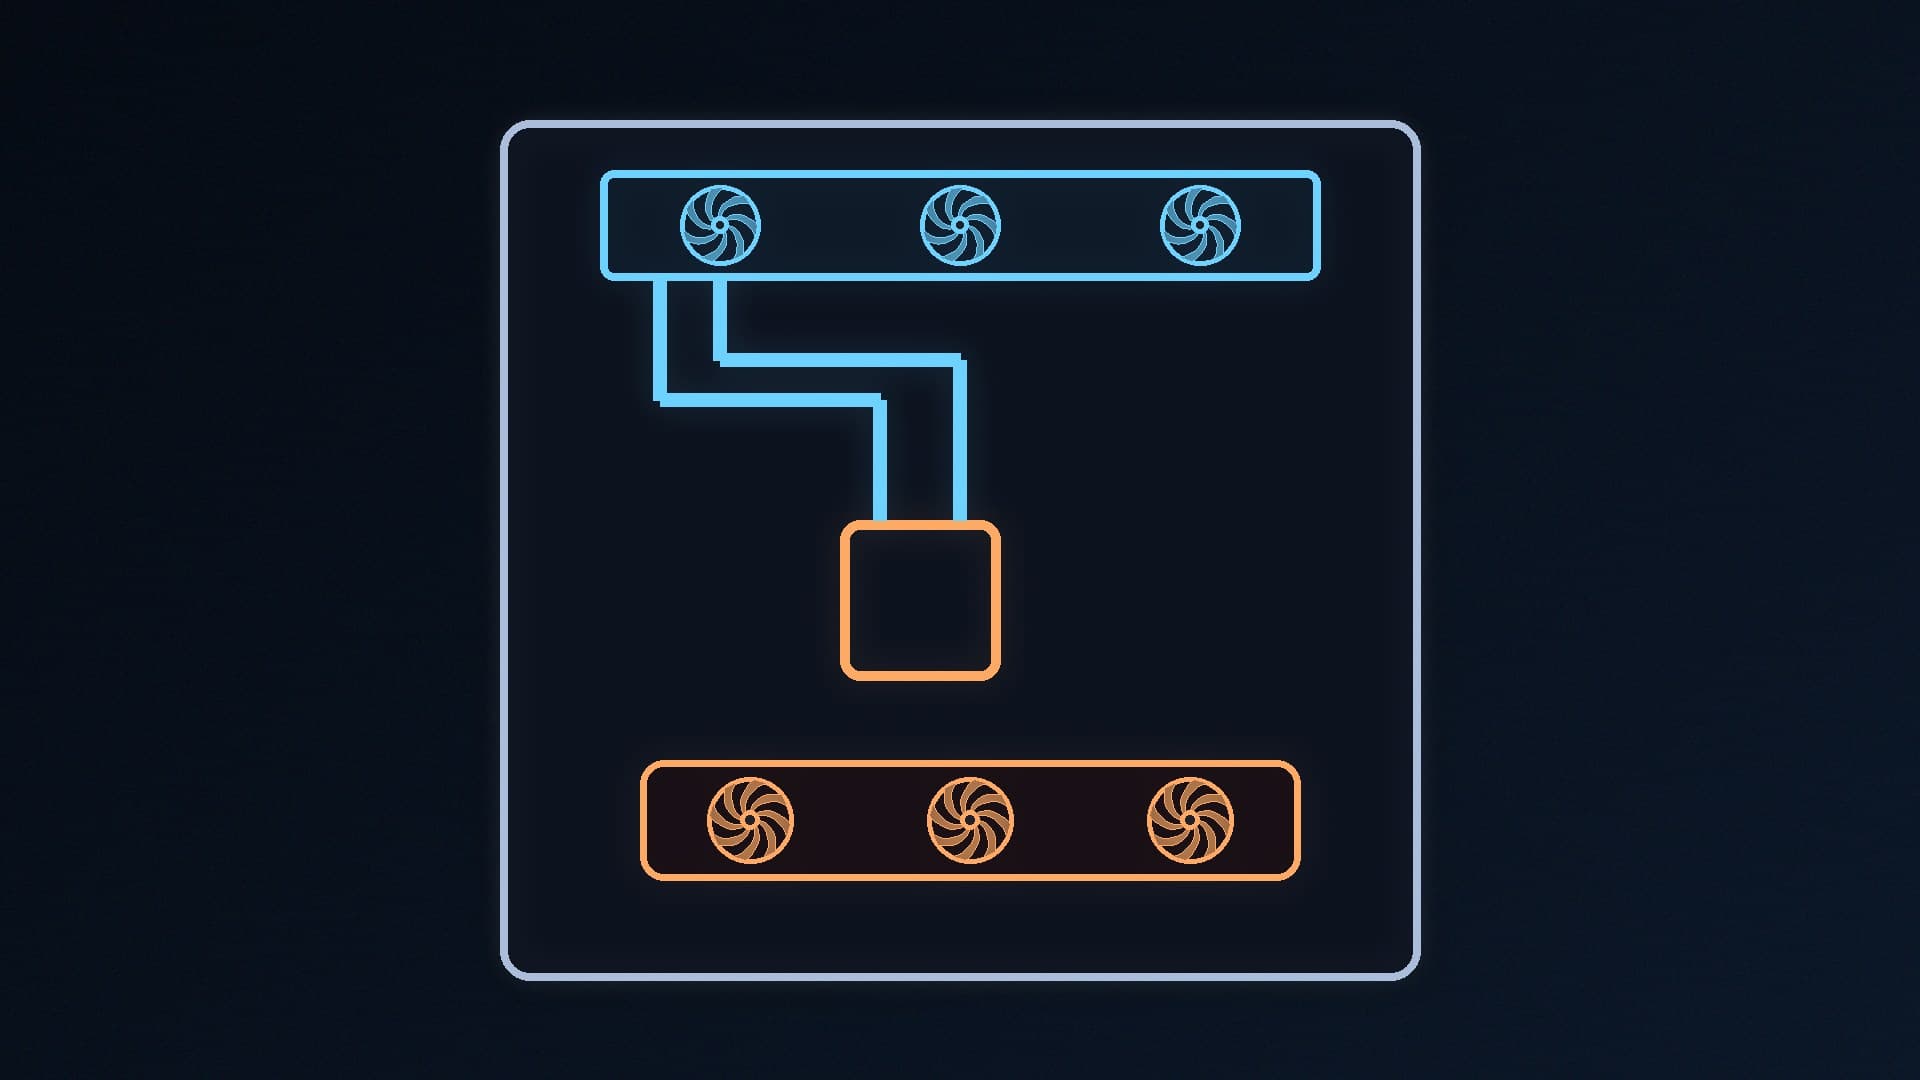
The golden rule: keep the pump below the top of the radiator
Every AIO loop contains a small amount of air. Corsair explains that the important thing is to keep that air out of the pump: pump impellers are designed to push water, so even a small amount of air passing through creates noise and can weaken the pump over time. Air naturally rises to the highest point in the loop.
So the rule from both companies is the same: the highest point of the radiator must be above the pump. In practice, Noctua says:
Don't mount the radiator at the bottom of the case. With the radiator below the pump, air can collect in the pump, leading to more noise, lower performance and a shorter lifespan.
Top mounting naturally satisfies the rule, because the radiator sits above the CPU block.
Front or side mounting is fine as long as part of the radiator is higher than the pump.
Top or front? It depends what you want cooler
Noctua's guide sets out the trade-off:
Top mount, fans exhausting upwards: hot air from the radiator leaves the case straight away, so it doesn't heat the graphics card. The downside is that the radiator breathes air already warmed by the GPU, so CPU temperatures can be slightly higher.
Front or side mount, fans pulling air in: the radiator gets fresh outside air, giving the lowest CPU temperatures, but its warm exhaust goes into the case and can raise GPU temperatures slightly.
In Noctua's own test, using its NL-LC1-36 cooler on an Intel Core Ultra 9 285K at 250W with an RTX 5080 at 360W in an Antec Flux Pro case, the front mount gave around 3°C lower CPU temperatures, while the top mount gave a slight ~1°C improvement in GPU temperatures. Noctua points out that its test case has extra fans feeding the graphics card, so the differences could be bigger in cases without bottom fans.
Noctua's recommendation: choose front or side mounting for the lowest CPU temperatures, or top mounting if you prioritise the GPU. Corsair calls top mounting "the best option for sure" and notes most mid-tower and full-tower cases are designed for a 240mm or 360mm radiator up top. For a typical gaming PC, where the graphics card makes most of the heat, top mounting is the safe default. Front mounting suits builds where the CPU is the hotter, harder-working part.
Which way should the tubes go?
Top mount: Noctua recommends pointing the radiator's tube connectors towards the front of the case so the tubes stay clear of the rear exhaust fan. Corsair notes the tubes don't have to be at the back.
Front mount: Noctua says the tube connectors should ideally point down, towards the bottom of the case. Corsair agrees, saying it only recommends front mounting if the tubes are at the bottom with the top of the radiator above the pump. Noctua says tubes-up can also work, as long as the highest point of the radiator is still higher than the pump.
Whichever way you go, check the tubes reach without being stretched or kinked, and that they don't foul the graphics card or RAM.
Fans: push, and balance the case
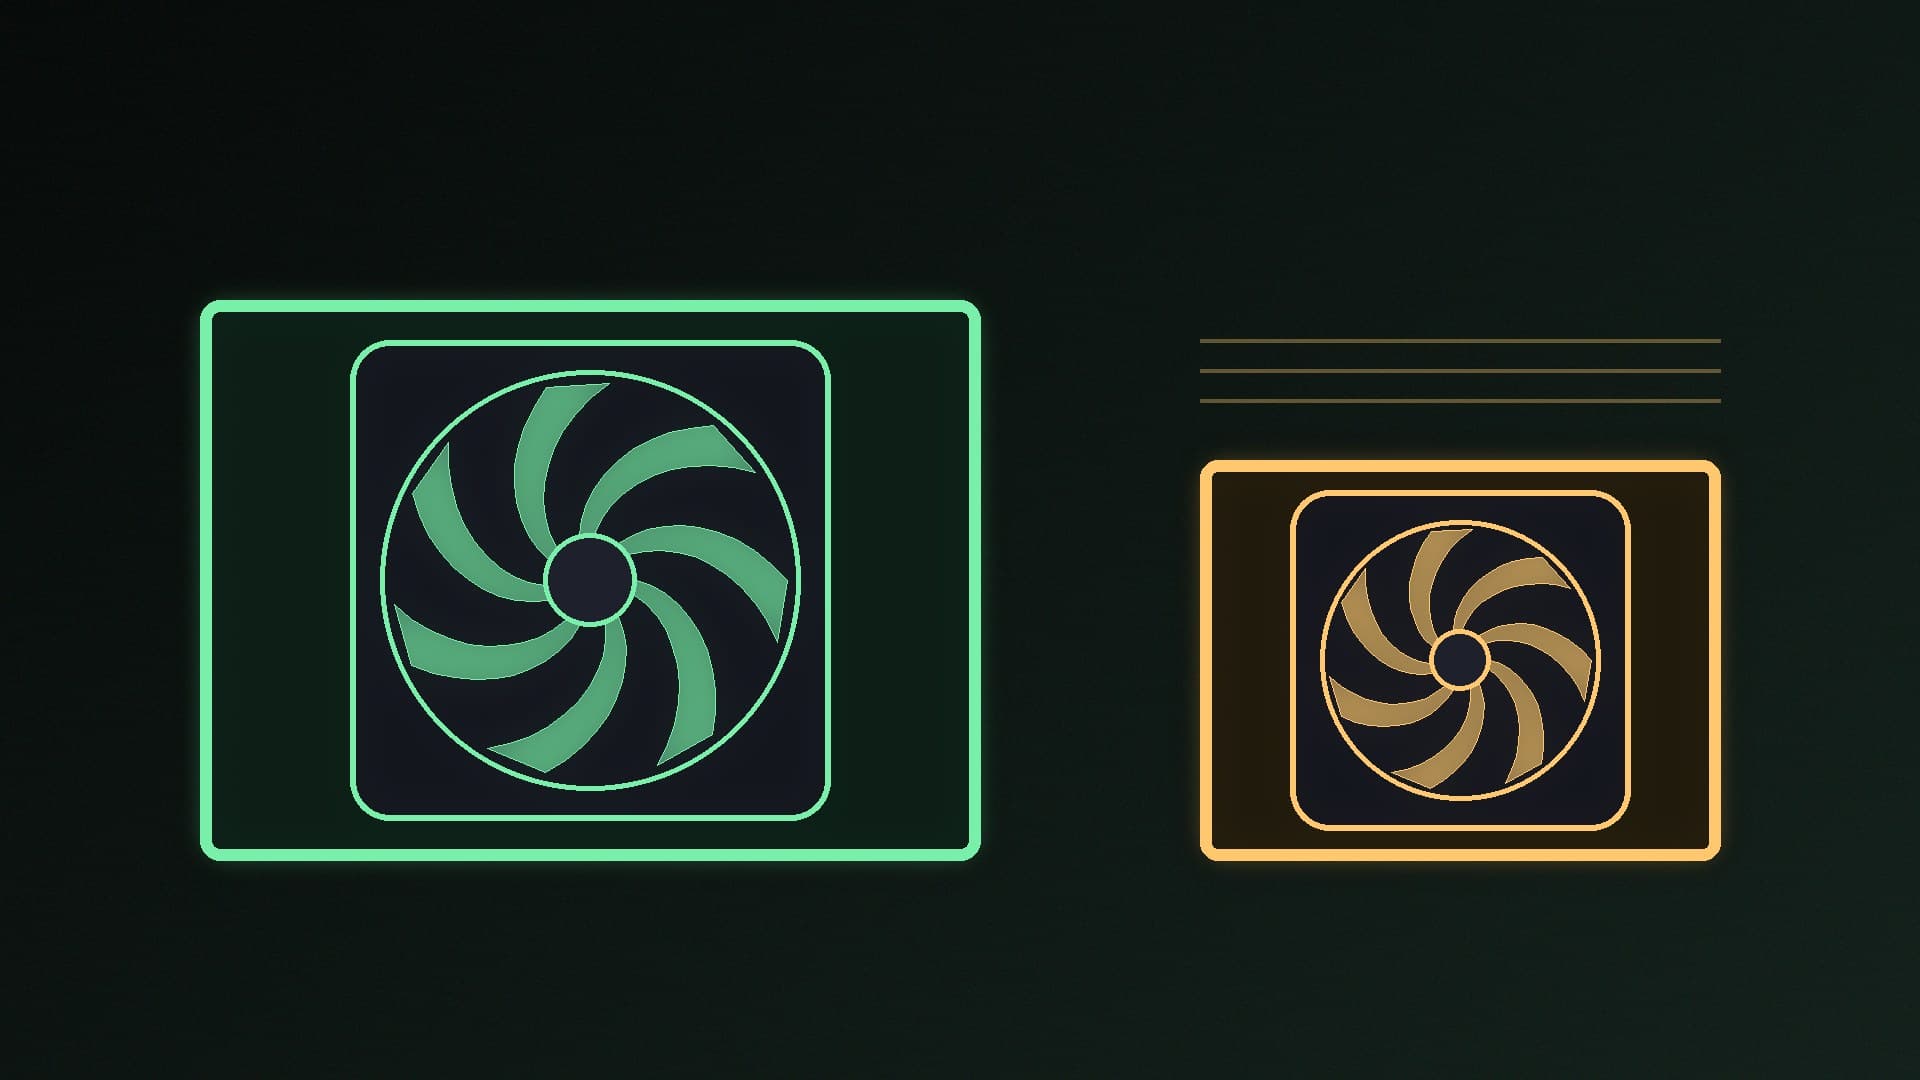
Noctua recommends mounting the fans to push air through the radiator rather than pull it, for the best performance-to-noise balance. Then set up the rest of the case to match:
Top radiator: combine it with front intake fans and a rear exhaust, per Noctua.
Front radiator: add top (if possible) and rear exhaust fans to remove the warm air, plus bottom intake fans if your case supports them.
Our case fan airflow guide explains intake, exhaust and pressure in more detail, and how to set fan curves covers keeping it quiet.
Before you buy
Check your case's radiator support for each position, including the maximum radiator length and thickness. A thick radiator up top can clash with tall RAM or motherboard heatsinks.
Choose the right size. Our 240mm vs 360mm AIO comparison explains when the bigger radiator is worth it, and air cooler vs AIO whether you need liquid at all.
Small cases may only have one usable position; Corsair gives its compact 2000D as an example.
Need a cooler? The Arctic Liquid Freezer III Pro 360 tops our best AIO coolers guide, and the NZXT Kraken Core 360 is another 360mm option.
Our verdict
Never mount an AIO radiator below the pump, and never at the bottom of the case: the top of the radiator must always be higher than the pump so air stays out of it. Top mounting with tubes towards the front is the safest default and helps GPU temperatures; front mounting with tubes down gives the lowest CPU temperatures, around 3°C lower in Noctua's test. Use push fans and balance the rest of your case airflow. Forge PC hasn't tested placements itself; this follows Noctua's and Corsair's guidance.