RGB fans, light strips and coolers connect to your motherboard in one of two ways: 5V addressable RGB (ARGB) or 12V standard RGB. The plugs look similar, but they use different voltages and work differently, and plugging a device into the wrong header can permanently damage it, your motherboard or both. This guide explains the difference and how to get it right first time.
Forge PC hasn't run its own tests for this guide. It draws on lighting and connection guidance from NZXT, Phanteks and Enermax.
The short version
| 5V ARGB (addressable, digital) | 12V RGB (standard, analogue) |
|---|
Voltage | 5V | 12V |
Header | 3 pins (5V, data, ground), usually in a 4-pin footprint with one position blanked off | 4 pins in a row (12V, G, R, B) |
Typical board labels | ARGB, ADD_HEADER, 5V | RGB_HEADER, 12V |
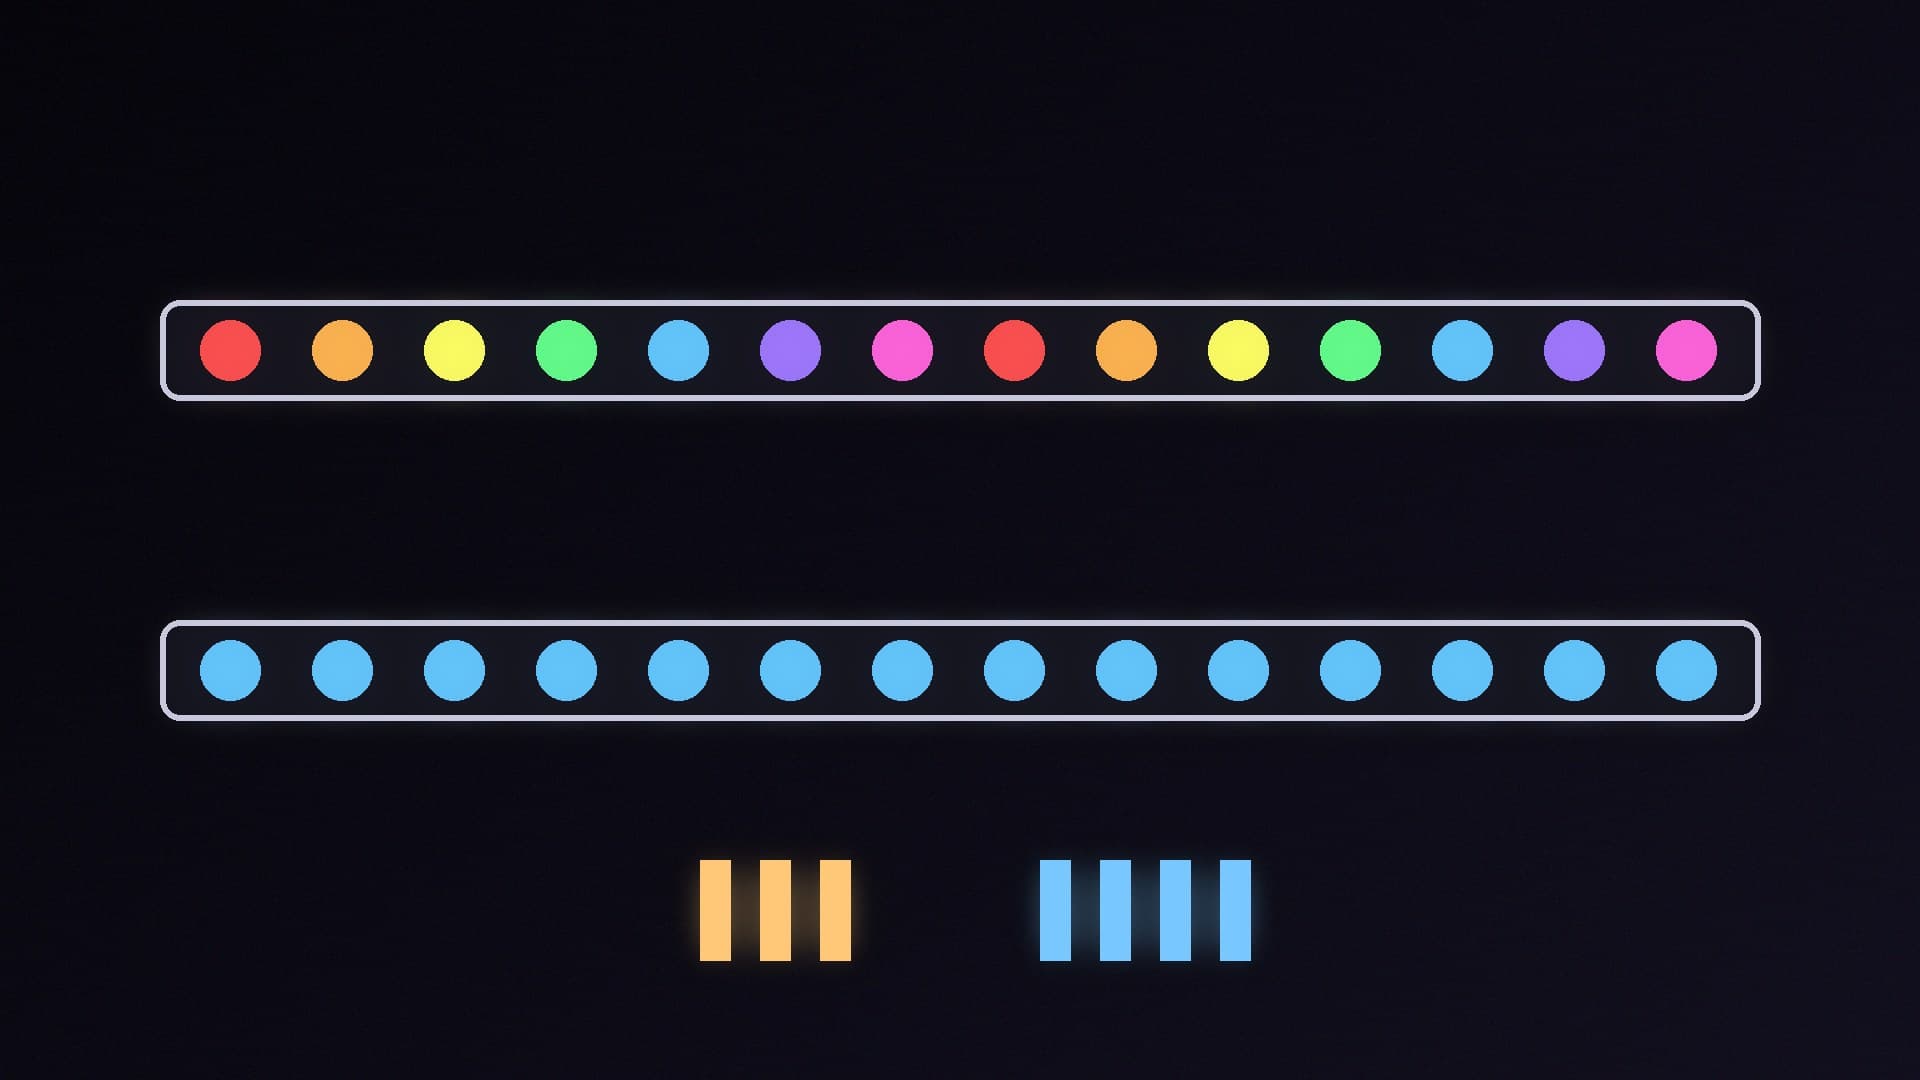
Lighting control | Each LED individually | Whole strip or device one colour at a time |
Effects | Rainbow waves, gradients, animations moving around a fan | One colour, which can fade or pulse |
What the difference means
Enermax sums up the electrical difference: 12V RGB uses a 4-pin header with a 12V, G, R, B pin layout, while addressable RGB uses a 5V, 3-pin header with 5V, data and ground pins.
NZXT explains what that means for how your PC looks. 5V ARGB is digital, so every LED can be addressed individually. That's what makes a rainbow wave possible, or a colour that travels around a fan ring, or different colours on two halves of a strip. 12V RGB is analogue: it sends one colour signal down the whole header, so every connected LED shows the same colour. You can still change, fade or pulse it, but there's no gradient or animation across the device. NZXT notes that if a product's marketing shows a rainbow swirl, it's a digital (ARGB) product.
How to tell them apart
NZXT's advice is to check two things before connecting anything:
Pin count. 5V ARGB headers have three pins in a four-pin footprint, with one position blanked off. 12V RGB headers have four pins in a row.
The label printed on the board. NZXT says ARGB or ADD_HEADER means 5V and RGB_HEADER means 12V, and that the header is usually marked 5V or 12V next to the first pin.
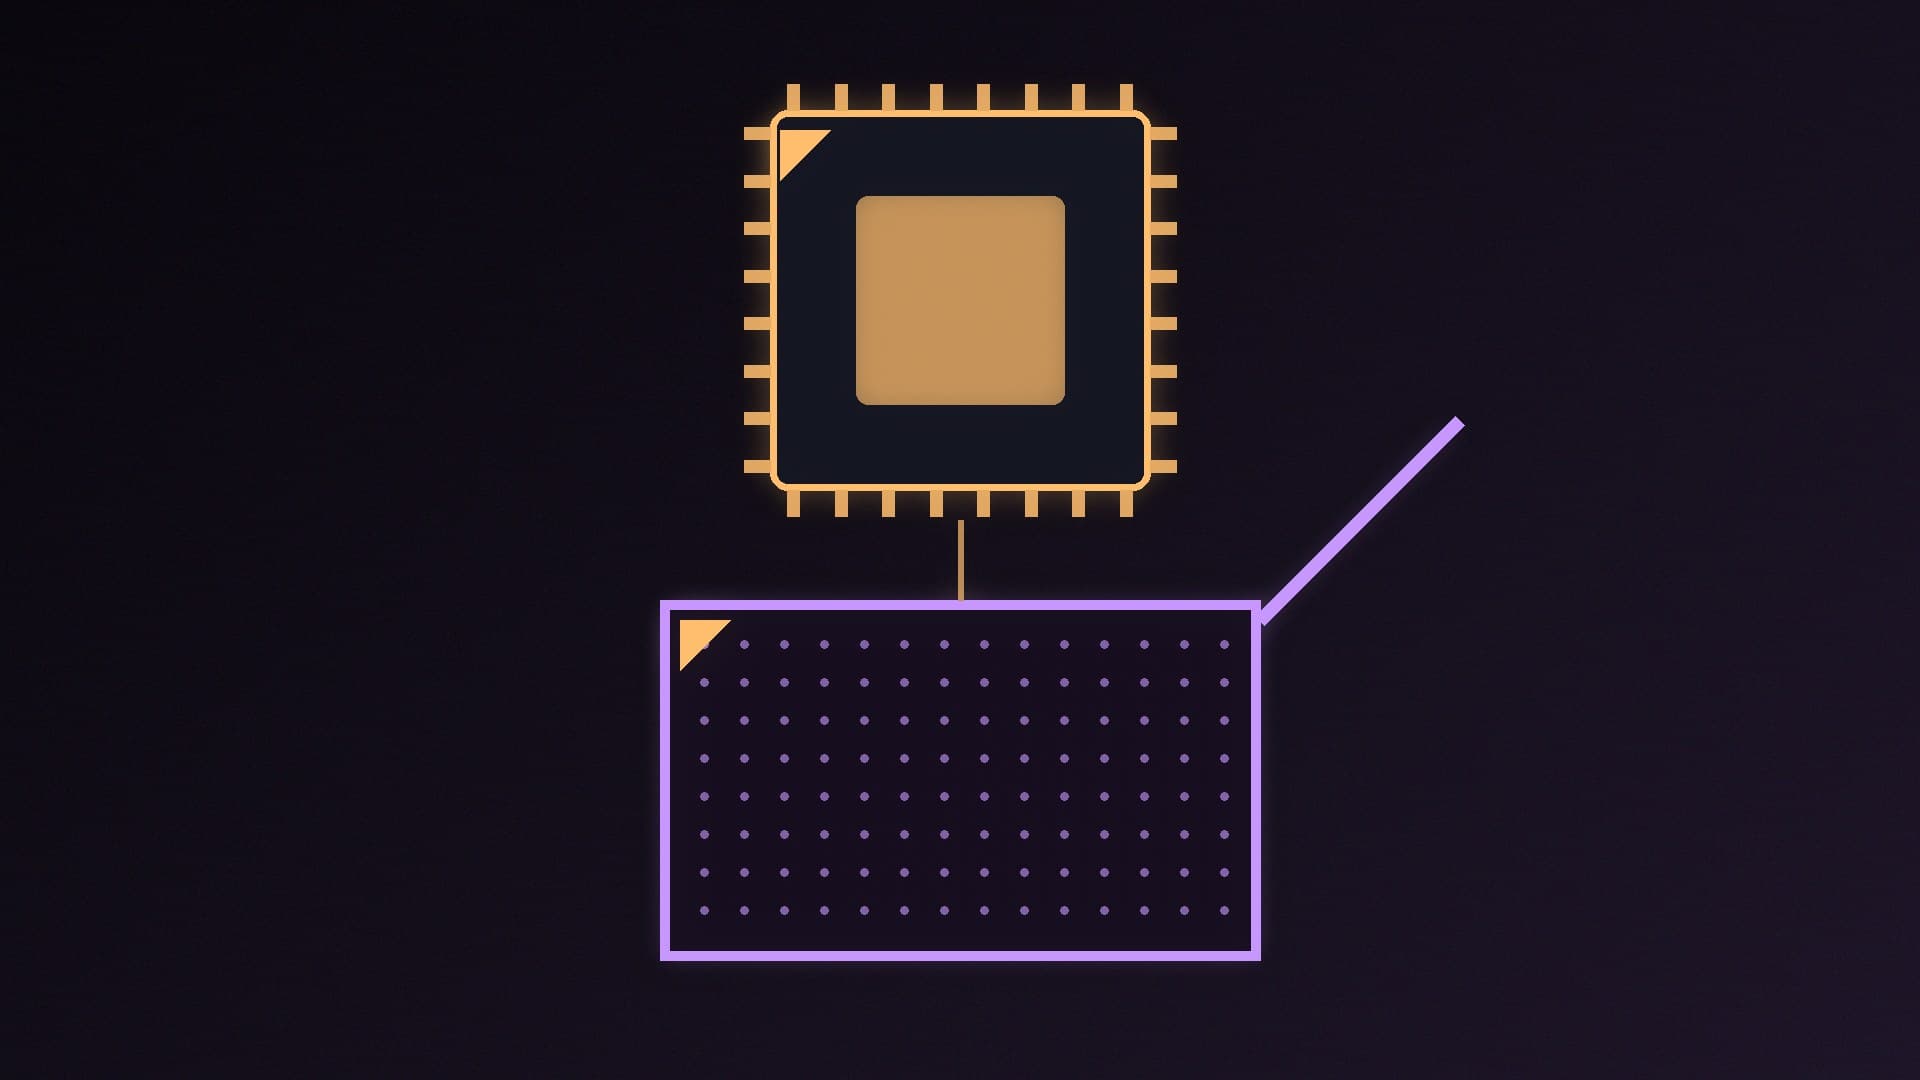
Check the connector on your fan or strip in the same way. If you're not sure, your motherboard manual will list each header's type. NZXT points out that not every motherboard has both types, so check the manual before you buy lighting, not after it arrives.
What happens if you mix them up
Phanteks, NZXT and Enermax all say the two aren't interchangeable. Phanteks warns that connecting an ARGB product to a 12V RGB header or a standard RGB product to a 5V ARGB header may damage the LEDs or other connected components. NZXT goes further, saying the wrong connection can permanently damage the device, the motherboard or both, and that the connectors are similar enough to force, so you should check the pin count and label every time.
LED limits and software
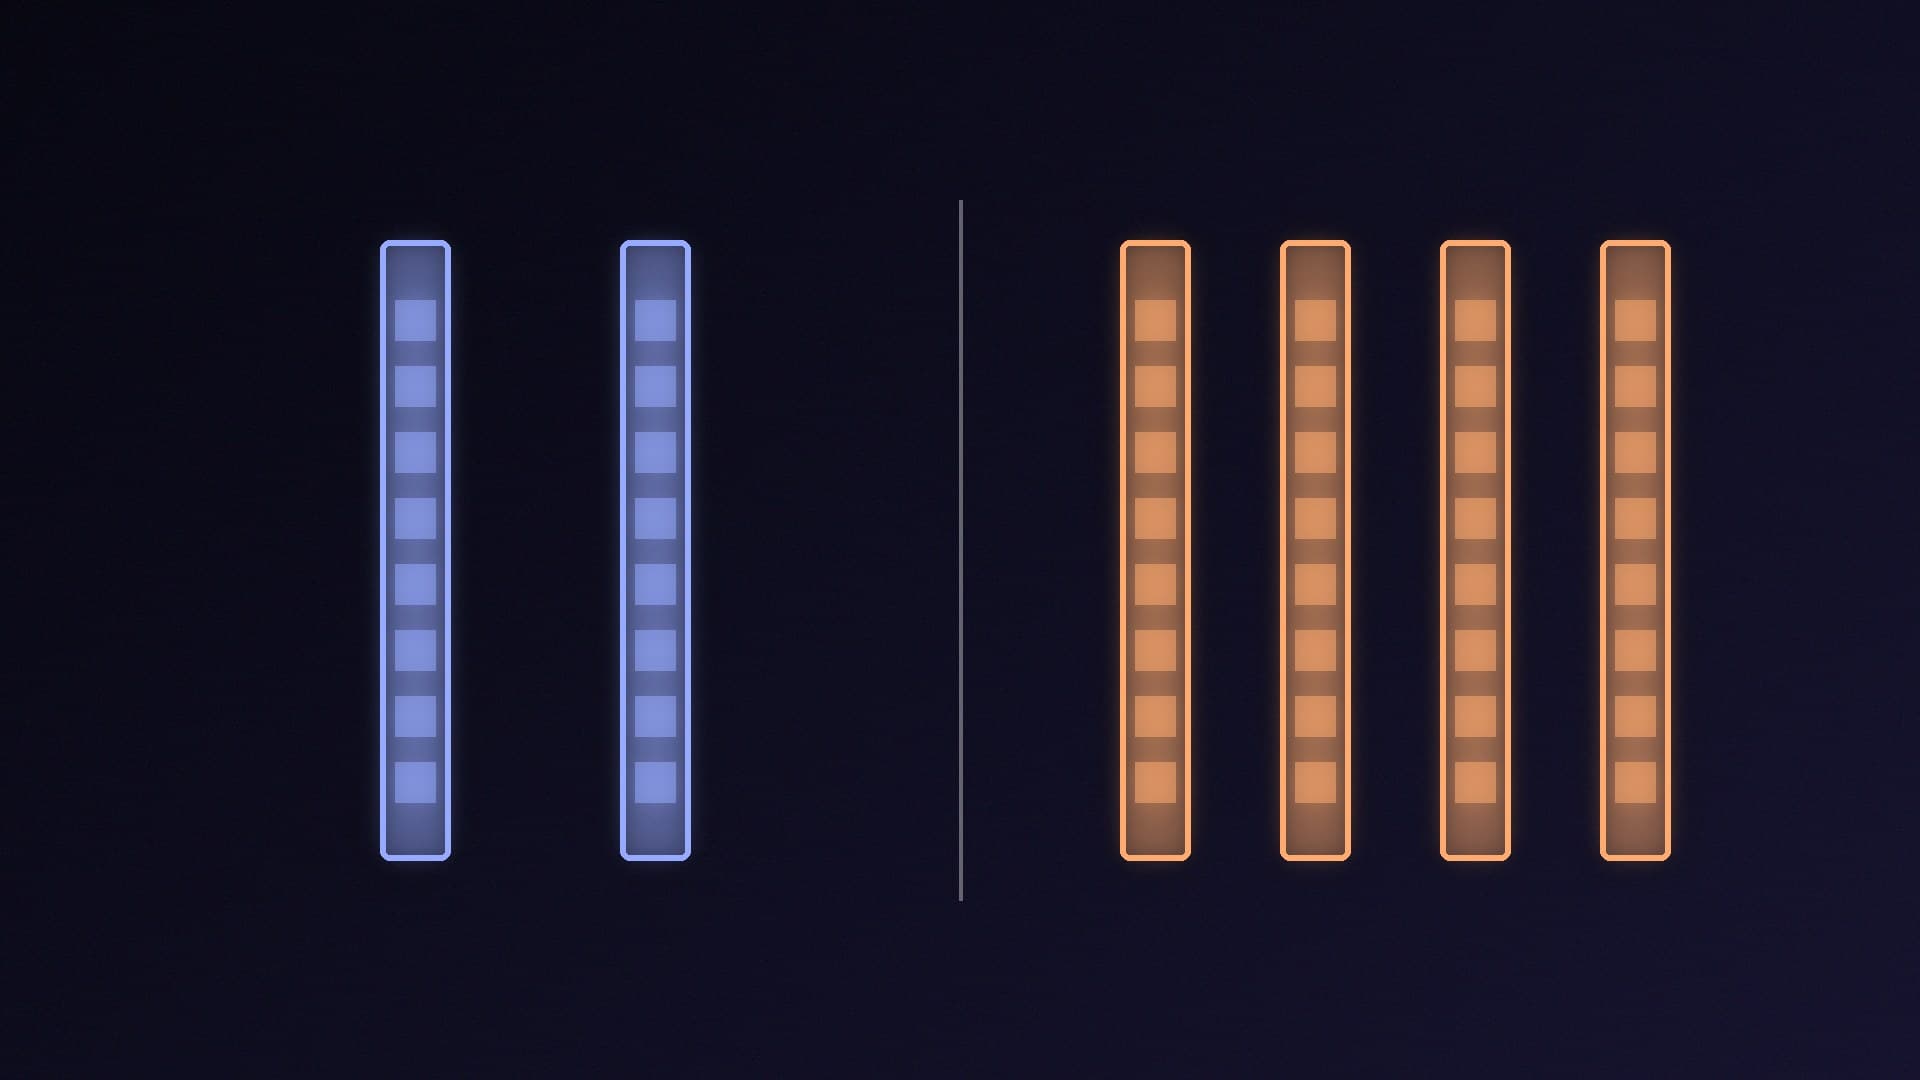
Each header can only drive a certain number of LEDs, and the limit varies by motherboard. NZXT says the motherboard's specification page or manual is the authority, and that if you daisy-chain devices you should add up their LED counts first. With generic ARGB devices, lighting software often needs you to enter the number of LEDs yourself; NZXT says getting that count wrong is the most common setup mistake, causing effects that stop partway along a strip. For software to control it all, see OpenRGB vs SignalRGB.
Some brands use their own variations. NZXT RGB, for example, is a proprietary connection built on 5V ARGB with an extra sync pin so NZXT's CAM software can identify devices automatically.
What if my board only has one type?
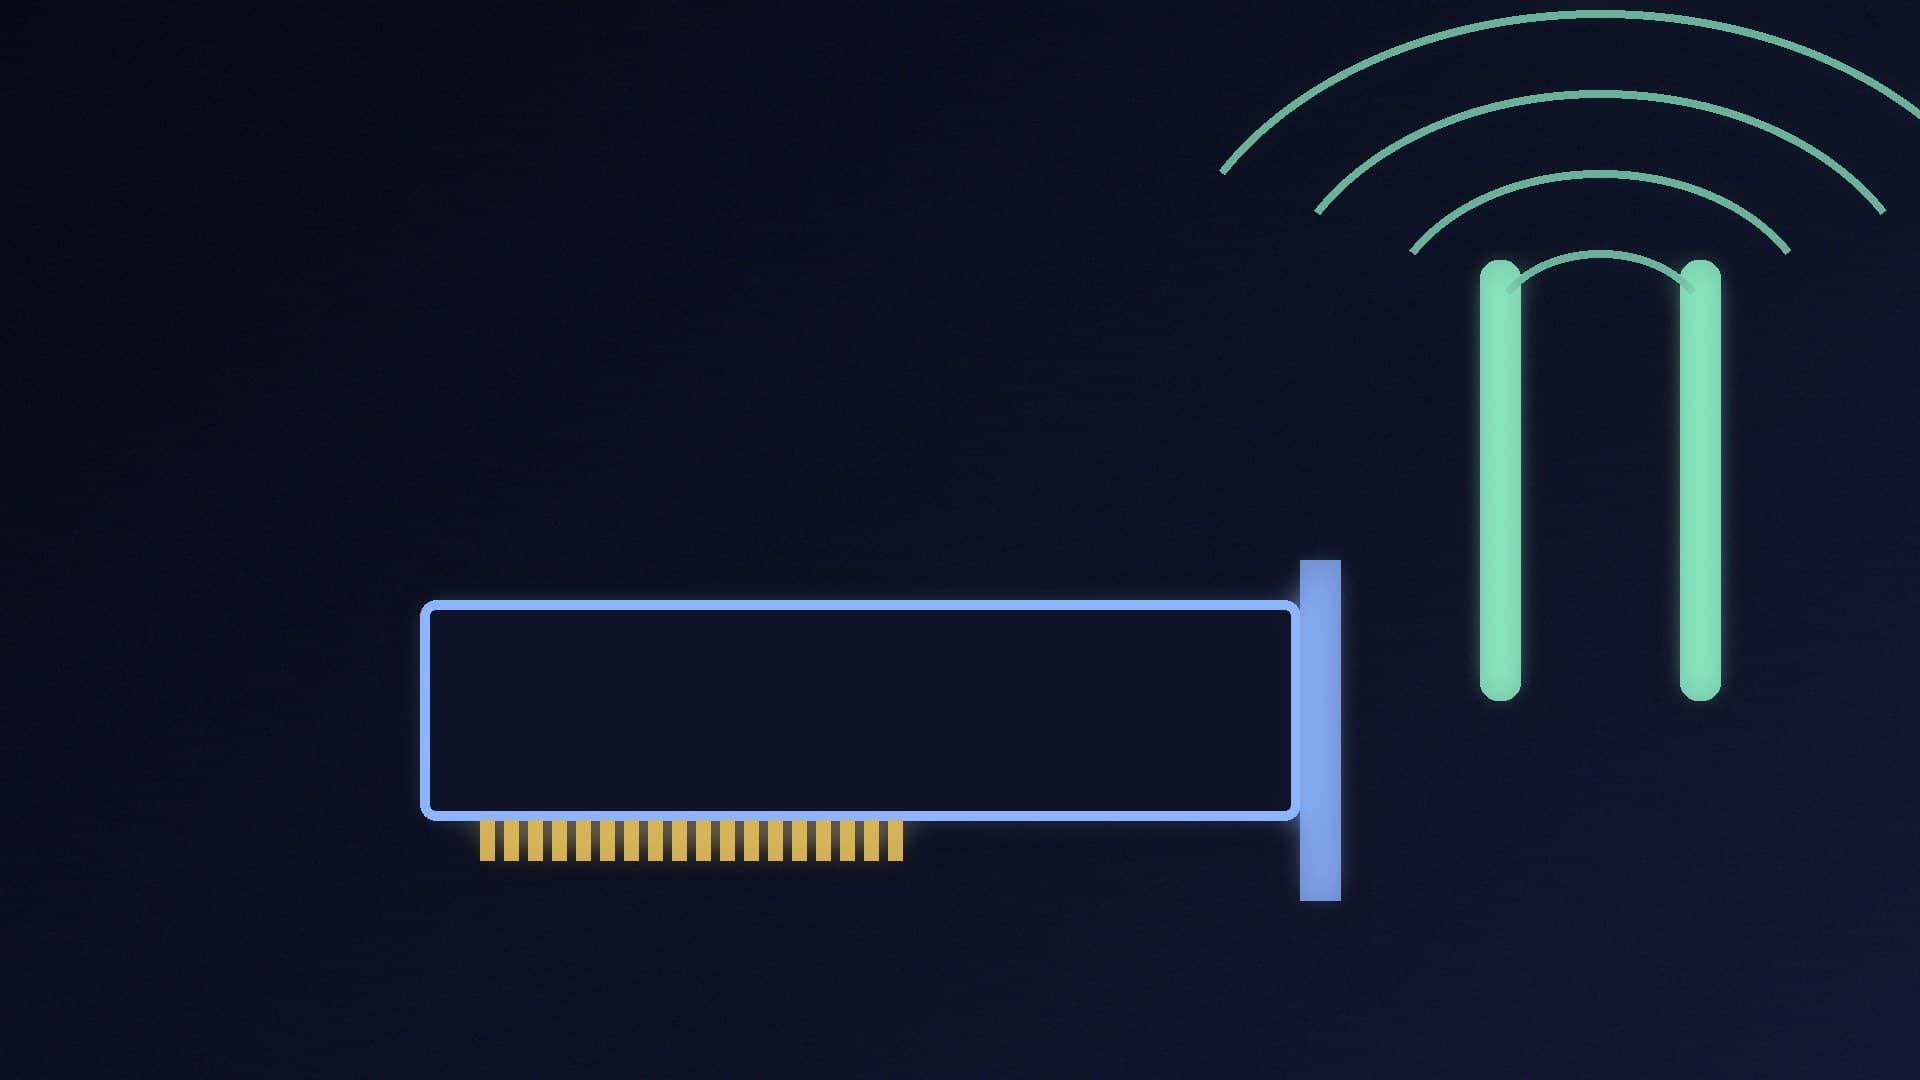
NZXT says that if your motherboard only has 12V RGB headers, you can't run ARGB devices directly from it; you'll need a separate controller with a 5V ARGB output. Some cases and fan packs come with their own lighting hub, so check what came with yours. On RGB fans, lighting and fan speed are usually handled by separate cables; PWM vs DC case fans covers the fan side.
Which should you choose?
Choose 5V ARGB if you're buying new fans, strips or coolers and want effects, gradients or per-LED control. Our best case fans guide covers current fan choices.
Stick with 12V RGB if you already have 12V lighting and a board with 12V headers, and you're happy with a single colour across each device.
Our verdict
5V ARGB uses a 3-pin header and lets every LED be controlled individually for animations and gradients, while 12V RGB uses a 4-pin header and shows one colour at a time. They're not interchangeable: connecting either to the wrong header can permanently damage the lighting, the motherboard or both. Check the pin count and the label on the board, add up LED counts before daisy-chaining, and use a separate controller if your board lacks the right header. Forge PC hasn't run its own tests for this guide.