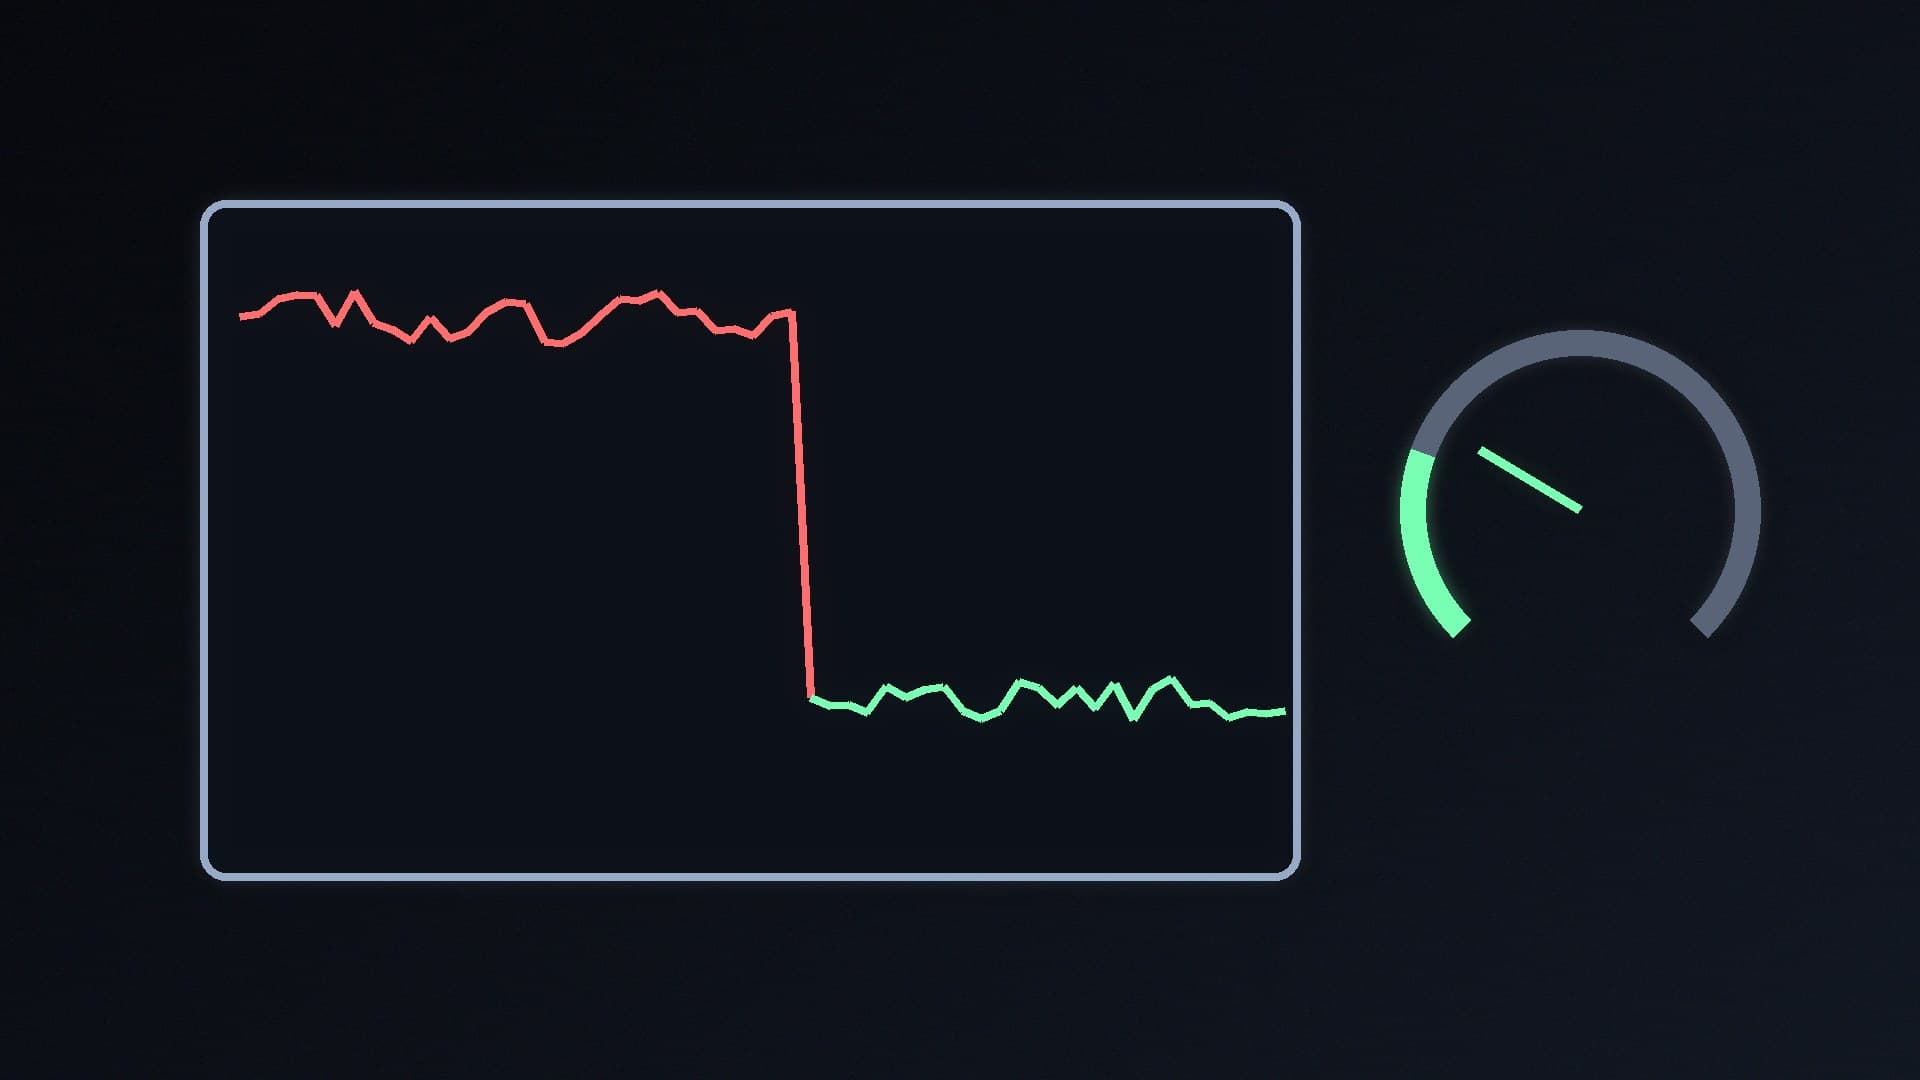
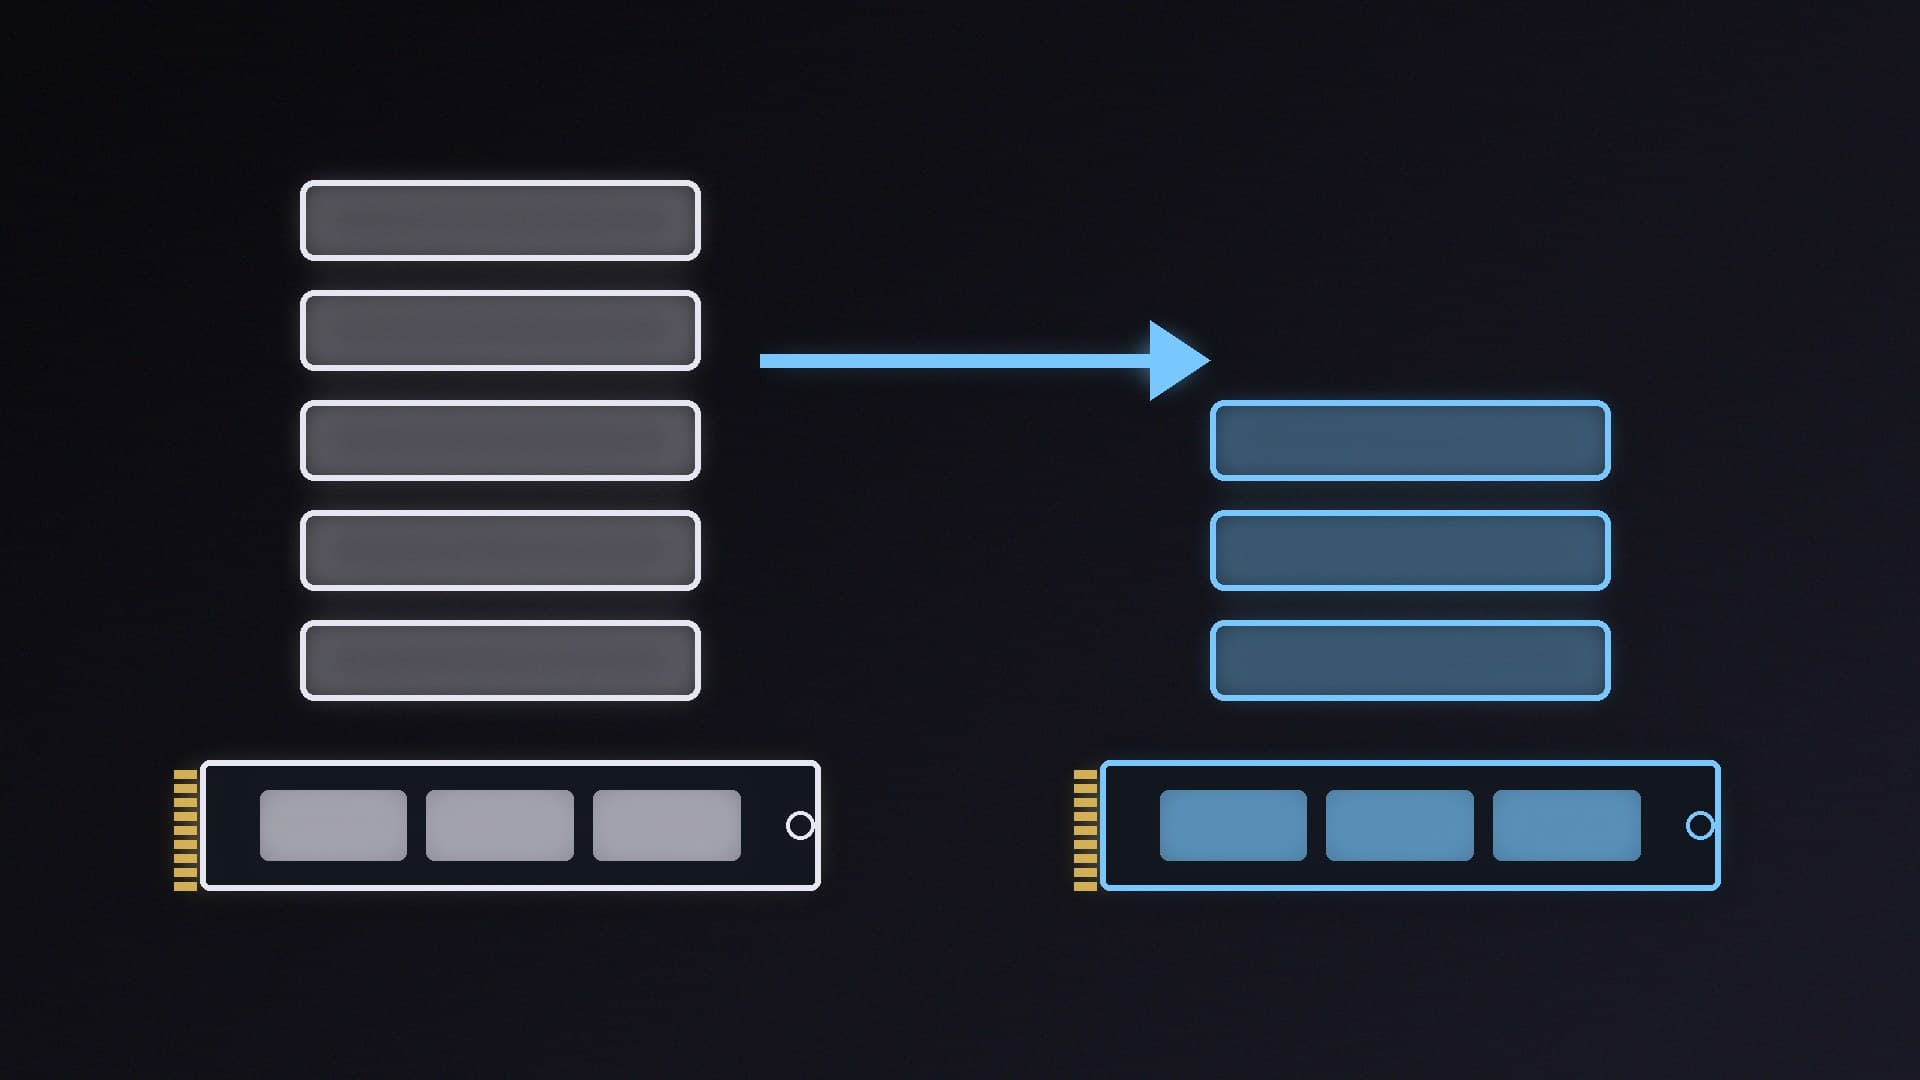
If your PC's fans are loud, games stutter or Windows feels sluggish even when you aren't doing much, something may be keeping the processor busy. Short bursts of high CPU usage are normal; Microsoft's own troubleshooting guidance focuses on CPU usage that stays at 80% or more for extended periods.
Forge PC hasn't tested these fixes on specific systems. The steps follow Microsoft's documentation for Task Manager, Resource Monitor, Windows Search indexing and Microsoft Defender.
Step 1: Find out what's using the CPU
Press Ctrl + Shift + Esc to open Task Manager (or search for it from Start).
On the Processes tab, click the CPU column header. Microsoft advises making sure the arrow points down so the list runs from highest to lowest CPU use.
Expand grouped entries to see individual processes.
If the top process is an app you recognise and don't need, close it, or right-click it and choose End task. Microsoft's advice is that if a process can be stopped, or a related service disabled, do so and check whether the problem goes away.
For more detail, open Resource Monitor: search Start for resmon, open the CPU tab and sort by Average CPU. This shows which processes have been busy over time rather than at a single moment. Microsoft also suggests Process Explorer, a free Sysinternals tool, if you need to see exactly what a system process is doing.
Step 2: Stop apps launching at startup
Many apps quietly start with Windows and keep running in the background: launchers, updaters, RGB software and chat apps. Microsoft says apps registered with a startup task can be switched off in Settings > Apps > Startup or on Task Manager's Startup apps page. Our guides to managing startup apps and removing bloatware go into more detail.
Step 3: Check Windows Search indexing
If you see the Windows Search indexer near the top, it may simply be building its index. Microsoft says the first indexing run can take up to a couple of hours, after which it runs in the background and only re-indexes changed files.
You can reduce the work it does. Go to Settings > Privacy & security > Search to open the search indexing settings. Under Find my files, Microsoft offers two modes:
Classic indexes your Documents, Pictures and Music folders and the desktop, which Microsoft says balances search performance and resource use.
Enhanced indexes your entire PC, which gives more complete results but may use more system resources.
If you switched to Enhanced and don't need it, going back to Classic is a sensible first step.
Step 4: Check Microsoft Defender scans
Antimalware Service Executable is Microsoft Defender scanning your files. If it's busy, let a scan finish rather than fighting it. Microsoft documents a setting for the maximum average CPU load during a scan (ScanAvgCPULoadFactor) and an option to run scheduled scans at low CPU priority. Note that Microsoft says the CPU limit is guidance rather than a hard cap, and manual scans ignore it.
Don't disable Defender to save CPU time. If you're weighing alternatives, see Microsoft Defender vs paid antivirus.
Step 5: Scan for malware
An unknown process using lots of CPU, especially one that comes back after you end it, can be a sign of malware such as a cryptocurrency miner. Run a full scan in Windows Security > Virus & threat protection, and consider Microsoft Defender's offline scan. Microsoft says it runs after a restart without loading Windows, so persistent malware has a harder time hiding.
Step 6: Update Windows and drivers
Bugs in drivers or Windows components can cause runaway processes. Install pending updates from Settings > Windows Update and update your chipset and graphics drivers. See how to install chipset drivers and how to update graphics drivers.
Step 7: Rule out heat
If CPU usage looks normal but the PC is still slow and loud, heat may be the problem. A hot CPU slows itself down to protect itself, which makes everything feel sluggish. Check temperatures with a monitoring tool and clean out dust; our guide on how to stop a PC overheating covers the fixes.
Our verdict
To fix high CPU usage in Windows 11, open Task Manager with Ctrl + Shift + Esc, sort by CPU and deal with the top process: close or disable unneeded apps and startup items, switch Windows Search from Enhanced to Classic if you don't need whole-PC indexing, let Defender scans finish, run a malware scan, and install pending updates. If usage is normal but the PC is still slow, check temperatures. Forge PC hasn't tested these steps on specific systems.
The bottom line
To fix high CPU usage in Windows 11, open Task Manager with Ctrl + Shift + Esc, sort by CPU and deal with the top process: close or disable unneeded apps and startup items, switch Windows Search from Enhanced to Classic if you don't need whole-PC indexing, let Defender scans finish, run a malware scan, and install pending updates. If usage is normal but the PC is still slow, check temperatures. Forge PC hasn't tested these steps on specific systems.