Fitting RAM is one of the easiest PC upgrades, but it is also one of the easiest to get slightly wrong. Two sticks in the wrong pair of slots will still boot, but they may run in single-channel mode, and a new kit will usually run below its rated speed until you change one setting.
Forge PC has not tested the kits mentioned here. The steps are based on ASUS's and Crucial's installation guides, and kit specifications come from Kingston and Crucial, all checked on 15 November 2026. Always check your own motherboard manual, because slot layouts vary.
Before you start
Check compatibility. DDR5 and DDR4 are not interchangeable. Your motherboard's specification page lists the memory type and maximum capacity it supports.
Shut down and unplug. ASUS says to remove the power cord before installing or removing memory. Crucial also suggests holding the power button for a few seconds after unplugging, to discharge any remaining power.
Deal with static. Crucial recommends wearing an anti-static wrist strap or touching an unpainted metal part of the case before handling components, and working somewhere free of plastic bags and paper.
Which slots to use
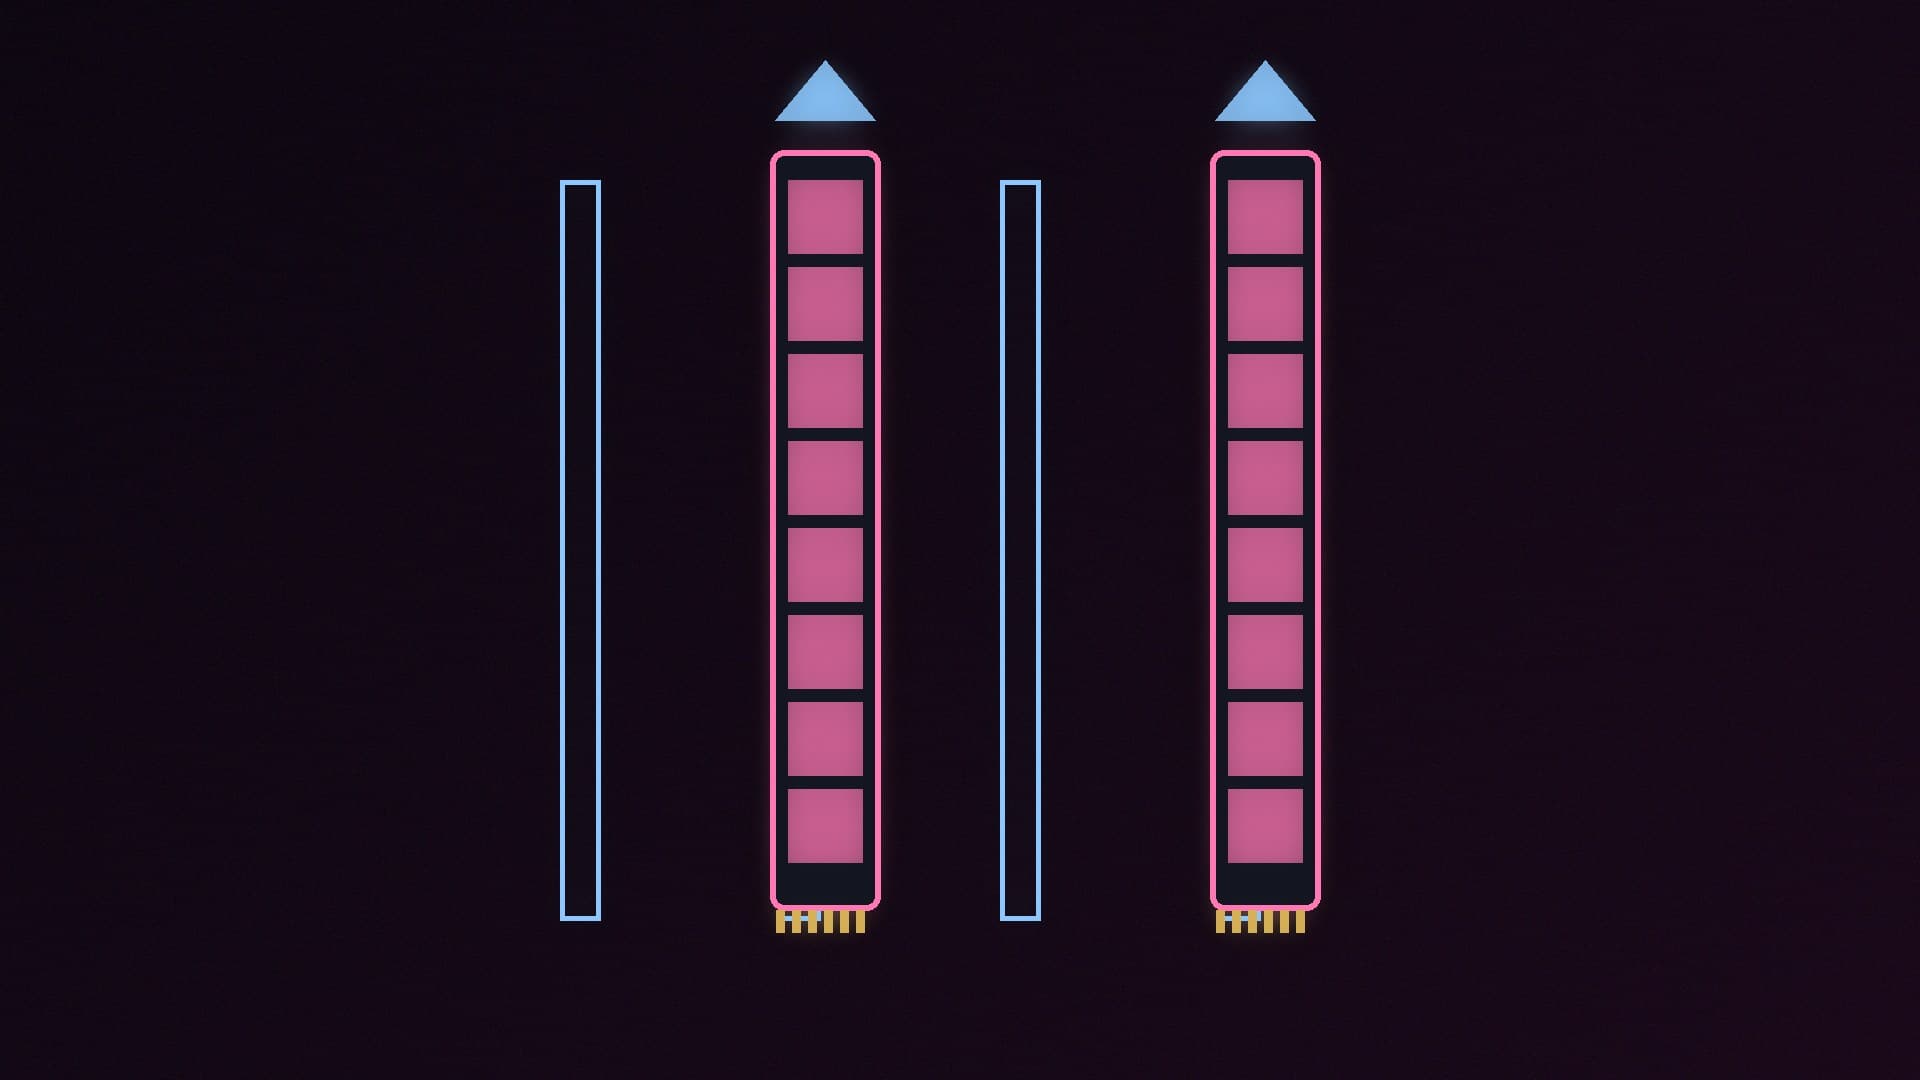
On a board with four memory slots, ASUS's guidance is:
Modules | Slots (ASUS naming) |
|---|
2 | DIMM_A2 and DIMM_B2 |
4 | All four: DIMM_A1, DIMM_A2, DIMM_B1 and DIMM_B2 |
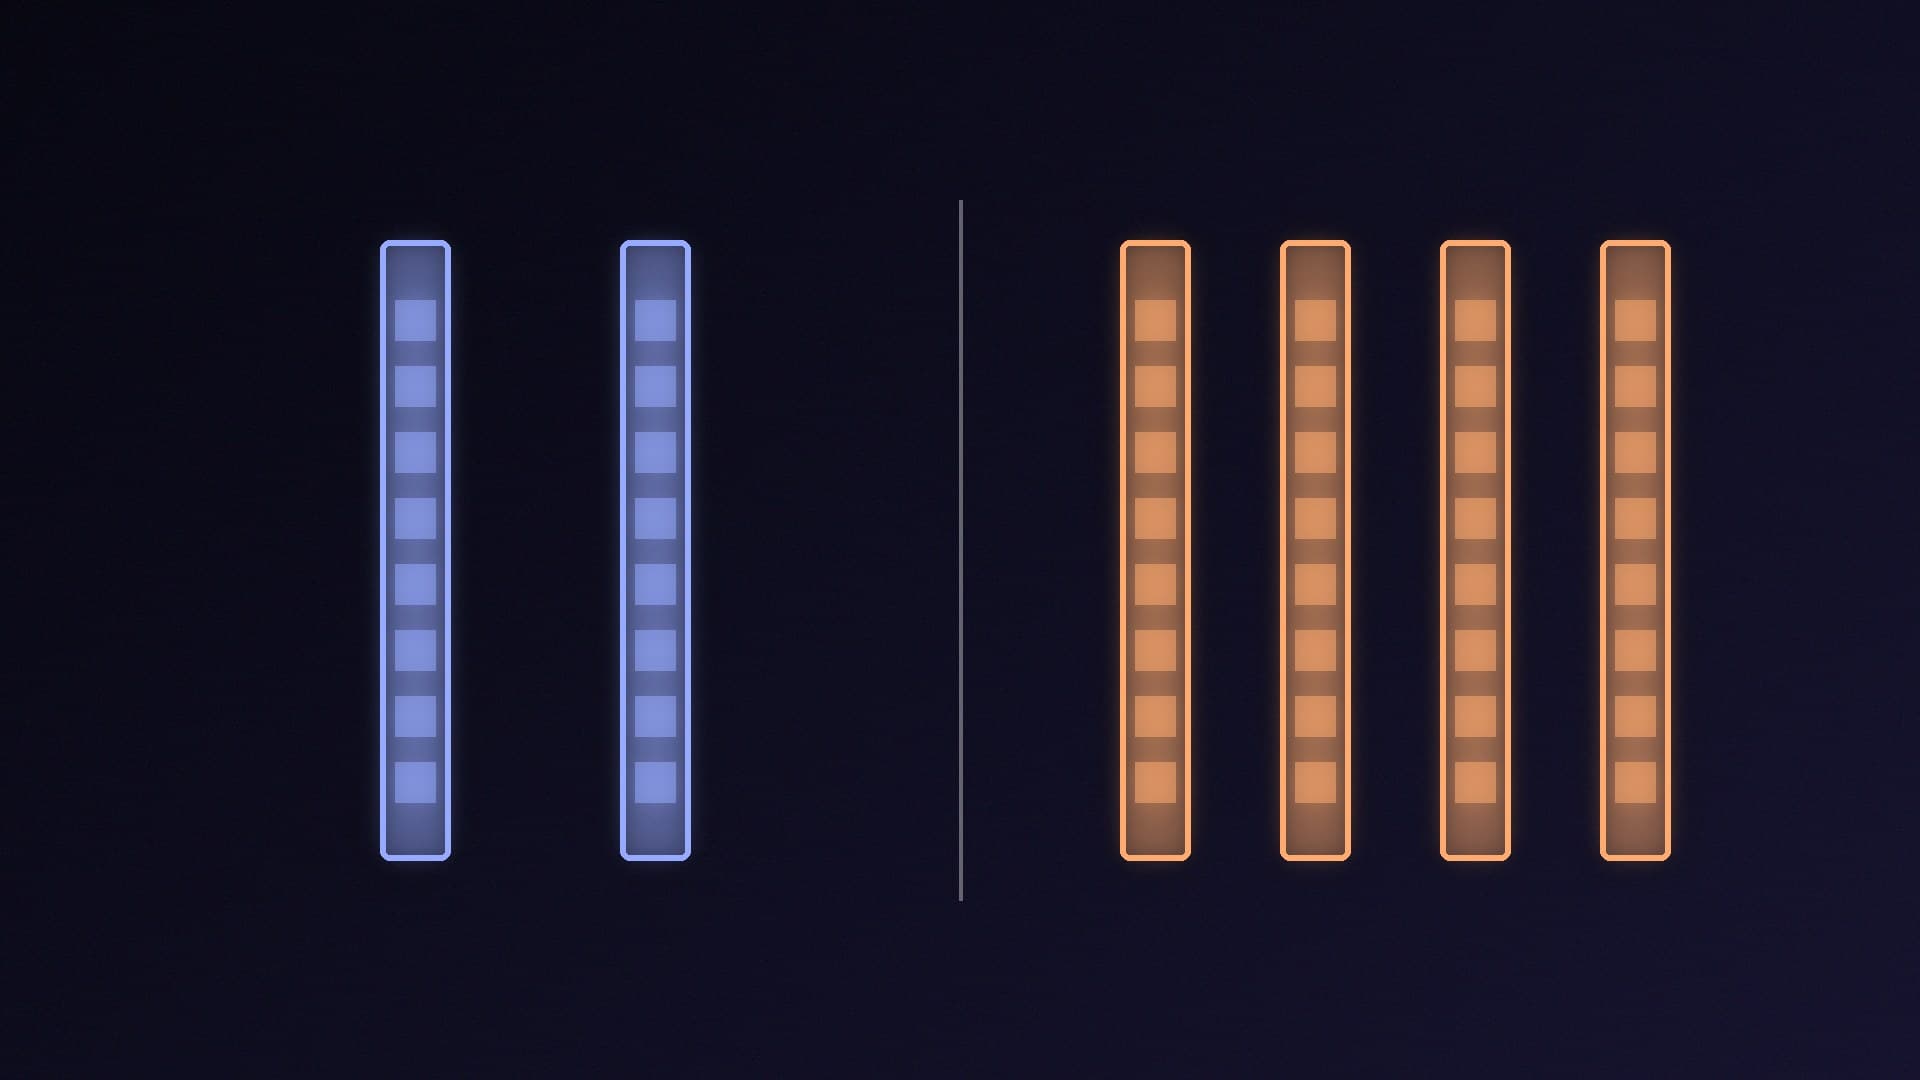
ASUS says to look up the "recommended memory configuration" table in your board's manual, and other makers label slots differently. Using the right pair puts one module on each memory channel, which is what gives you dual-channel bandwidth. Our single vs dual-channel RAM comparison explains why that matters.
Step-by-step installation
Open the slot clips. Press the latch (buckle) on each slot you are using.
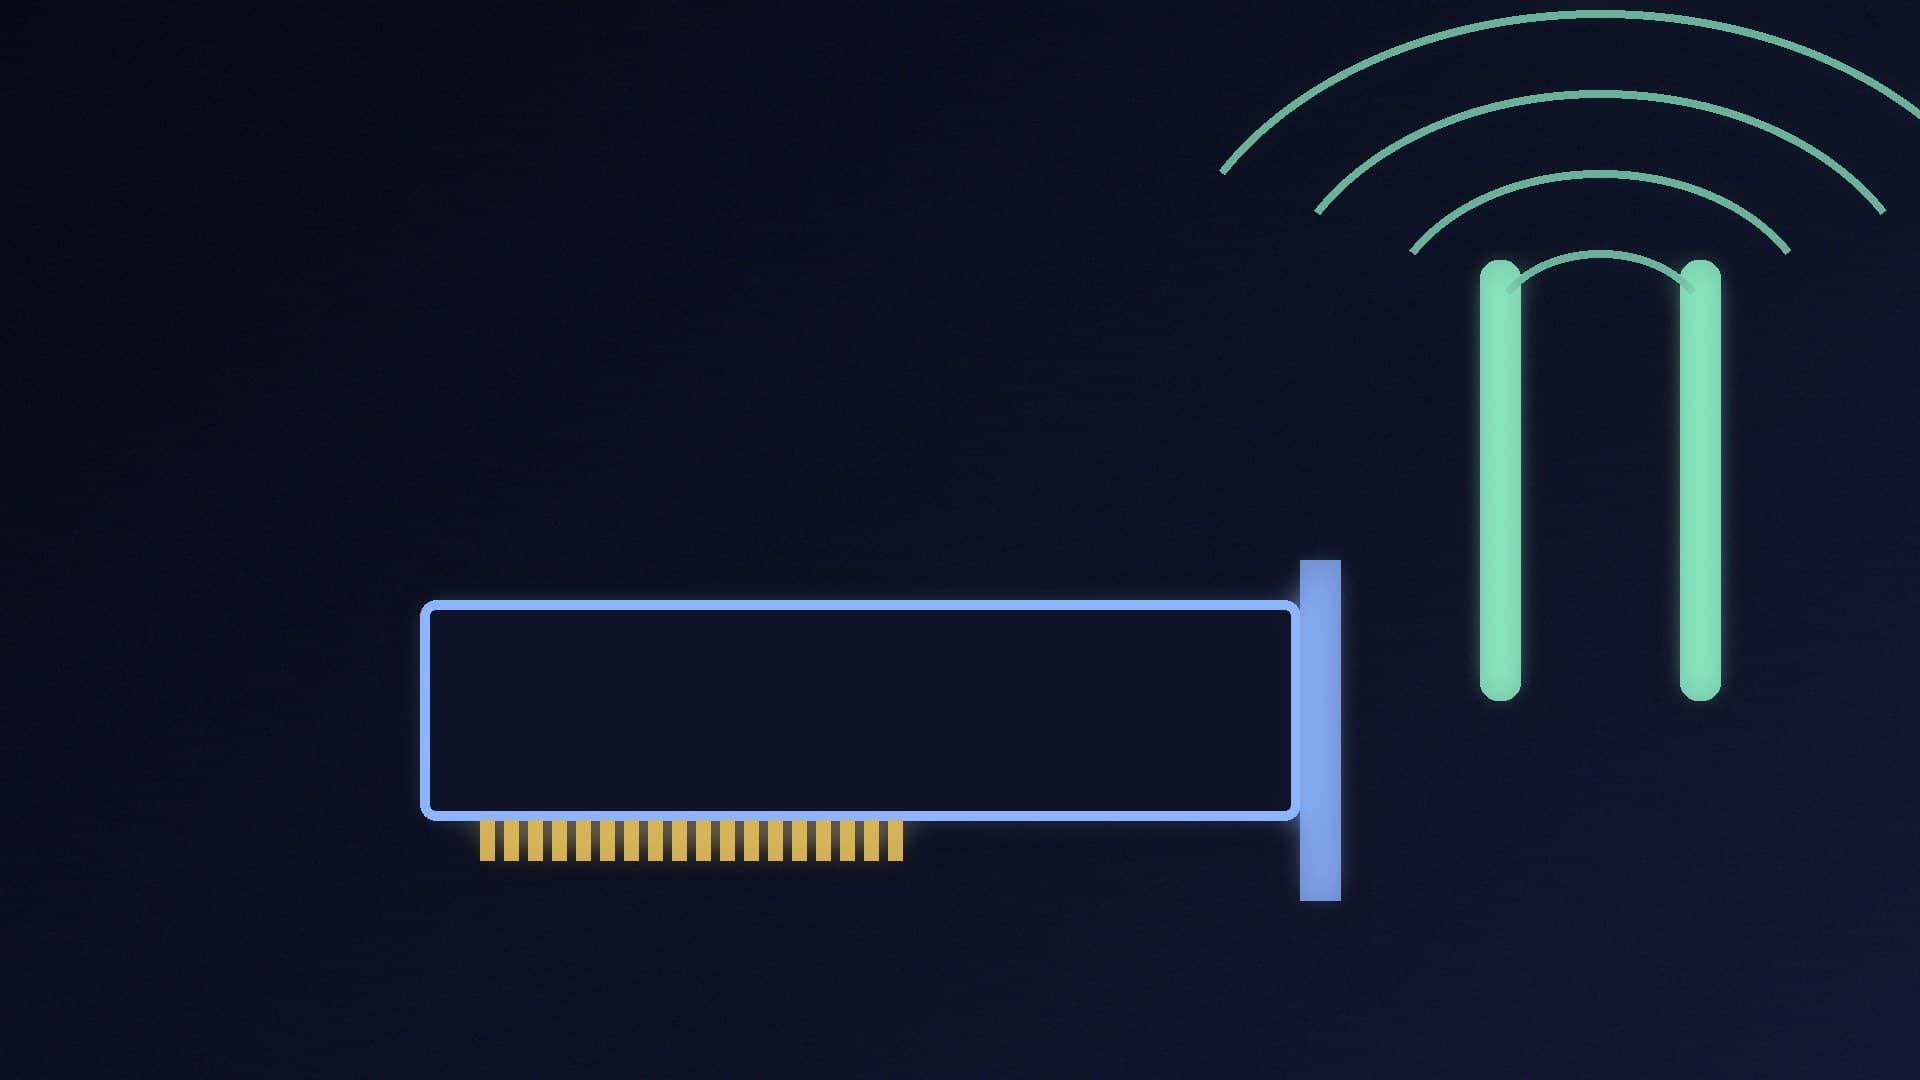
Line up the notch. Hold the module by its edges and match the notch in the gold contacts with the ridge in the slot.
Push straight down. Press firmly and evenly on both ends. Crucial says it usually takes about 30 pounds of pressure to seat a module, which is more than most first-time builders expect.
Listen for the click. ASUS says the installation is complete when the latch locks automatically. If a latch hasn't closed, the module isn't fully seated.
To remove a module, press the latch down and the module will lift out.
After you power on
If it doesn't start, power off, unplug and reseat the modules, then see our PC won't boot guide.
Check the capacity. Make sure Windows reports the full amount of memory you installed. If it is short, a module may not be seated.
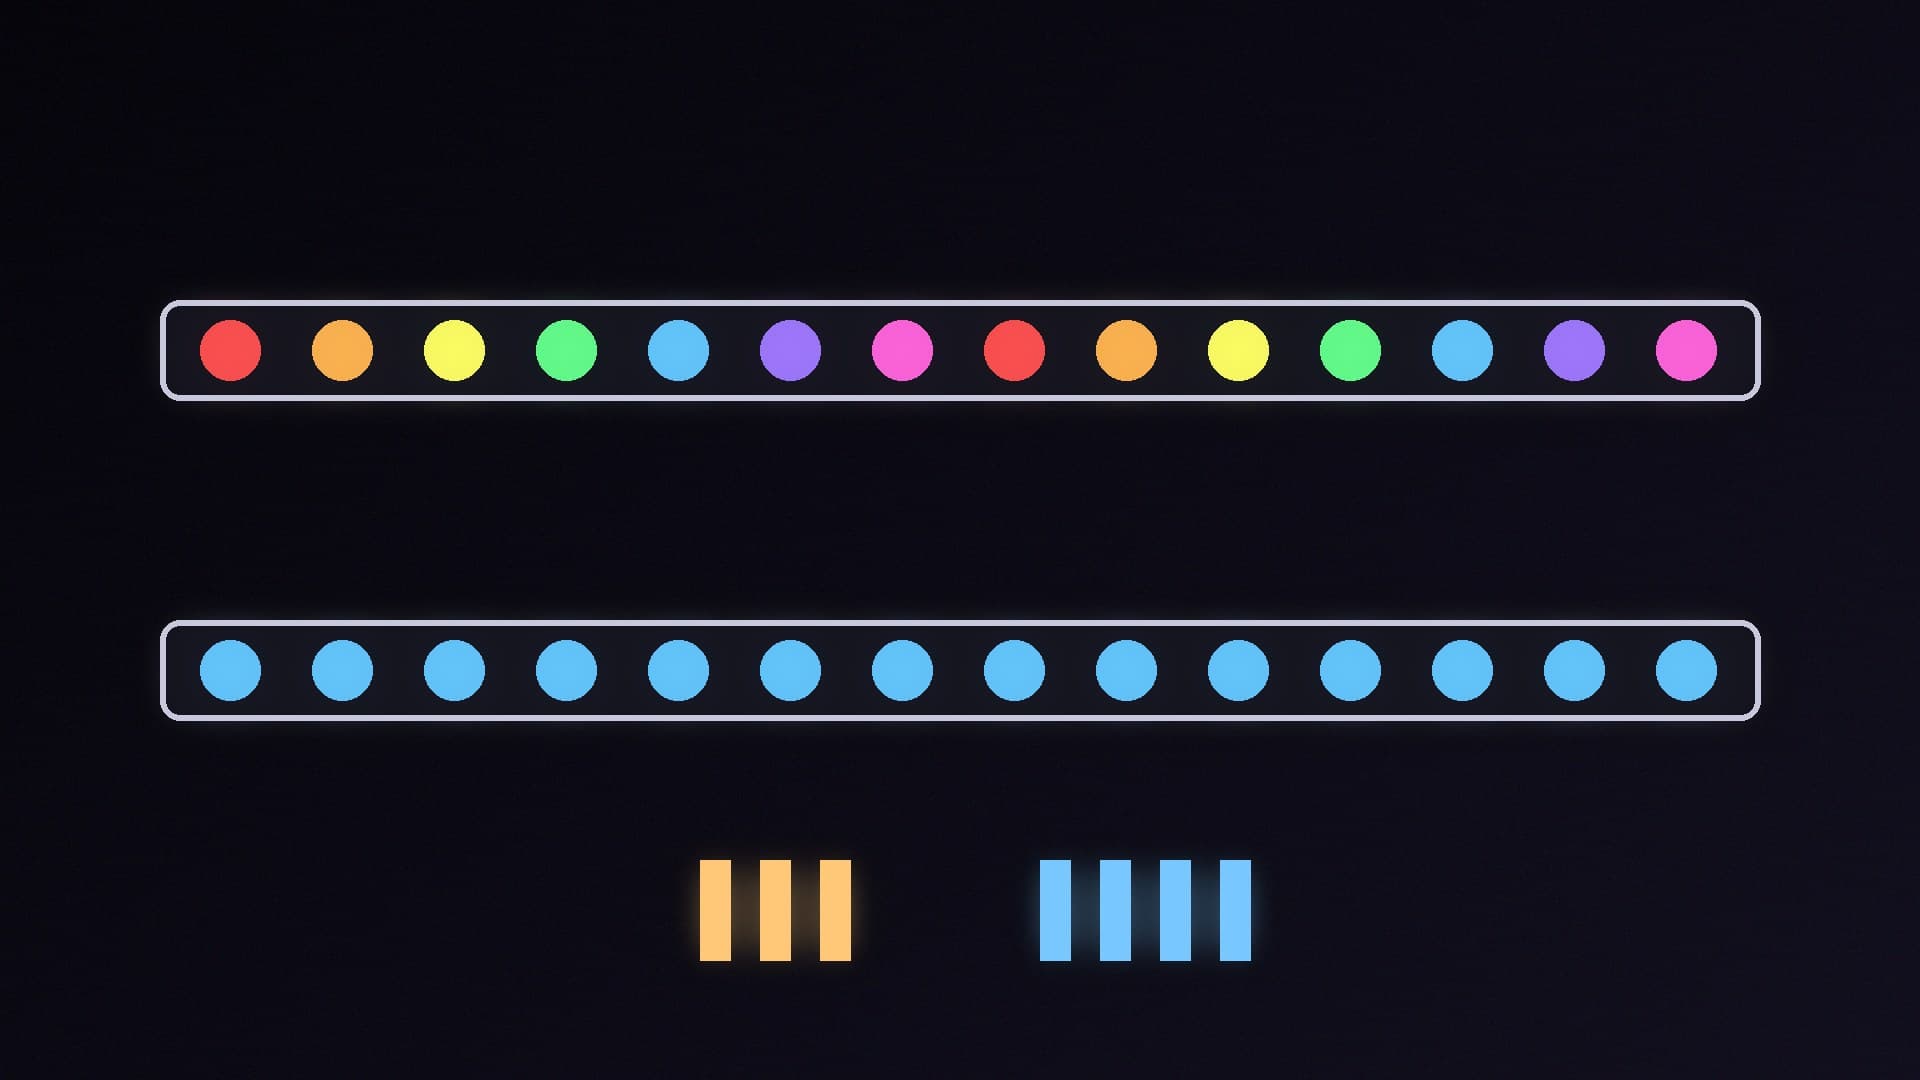
Turn on XMP or EXPO. Kits boot at a conservative default speed. For example, Kingston's data sheet for the FURY Beast 32GB DDR5-6400 CL32 kit (KF564C32BBK2-32) lists a JEDEC default of DDR5-4800 CL40, with Intel XMP 3.0 profiles for DDR5-6400 CL32 and DDR5-6000 CL30 at 1.4V. Crucial's Pro Overclocking 32GB DDR5-6400 CL32 kit (CP2K16G64C32U5B) has both XMP 3.0 and AMD EXPO profiles for 6400 and 6000MT/s. Our XMP and EXPO guide shows how to switch the profile on.
That example also shows something worth checking before you buy: the Kingston kit lists only Intel XMP profiles, while the Crucial kit lists both XMP and EXPO. EXPO is AMD's profile format, so if you are building on AM5, a kit that lists an EXPO profile is the more straightforward choice.
Test it. Especially after enabling XMP or EXPO, run a memory test; see how to test your RAM for errors.
Our verdict
Unplug the PC, ground yourself, use the slots your manual recommends (ASUS specifies A2 and B2 for two sticks on its four-slot boards), and push each module down firmly until the latch clicks. Then turn on XMP or EXPO and run a memory test. If you are still choosing a kit, our best DDR5 RAM guide and how much RAM you need explainer will help. Forge PC has not tested the kits mentioned; guidance and specifications are from ASUS, Crucial and Kingston.