An all-in-one (AIO) liquid cooler has more parts than an air cooler: a pump block that sits on the CPU, a radiator with fans, and the tubes and cables between them. Getting the order right makes the job much easier. This guide follows the official installation guides from NZXT (for its Kraken Core) and ARCTIC (for the Liquid Freezer III Pro 360), which cover the steps most AIOs share. Forge PC hasn't tested every cooler and case combination, and mounting kits differ between brands, so always keep your own cooler's manual open as you work.
What you'll need
Your AIO cooler and its mounting kit for your CPU socket.
A Phillips No. 2 screwdriver (ARCTIC also lists a T20 Torx driver, which it includes in the packaging).
Isopropyl alcohol and a lint-free cloth if you're replacing an old cooler.
Thermal paste only if your cooler doesn't come with it pre-applied. NZXT says every Kraken ships with paste already on the cold plate.
If you're still choosing a cooler, see our best AIO cooler guide, 240mm vs 360mm AIO and air cooler vs AIO comparisons.
Step 1: Plan where the radiator goes
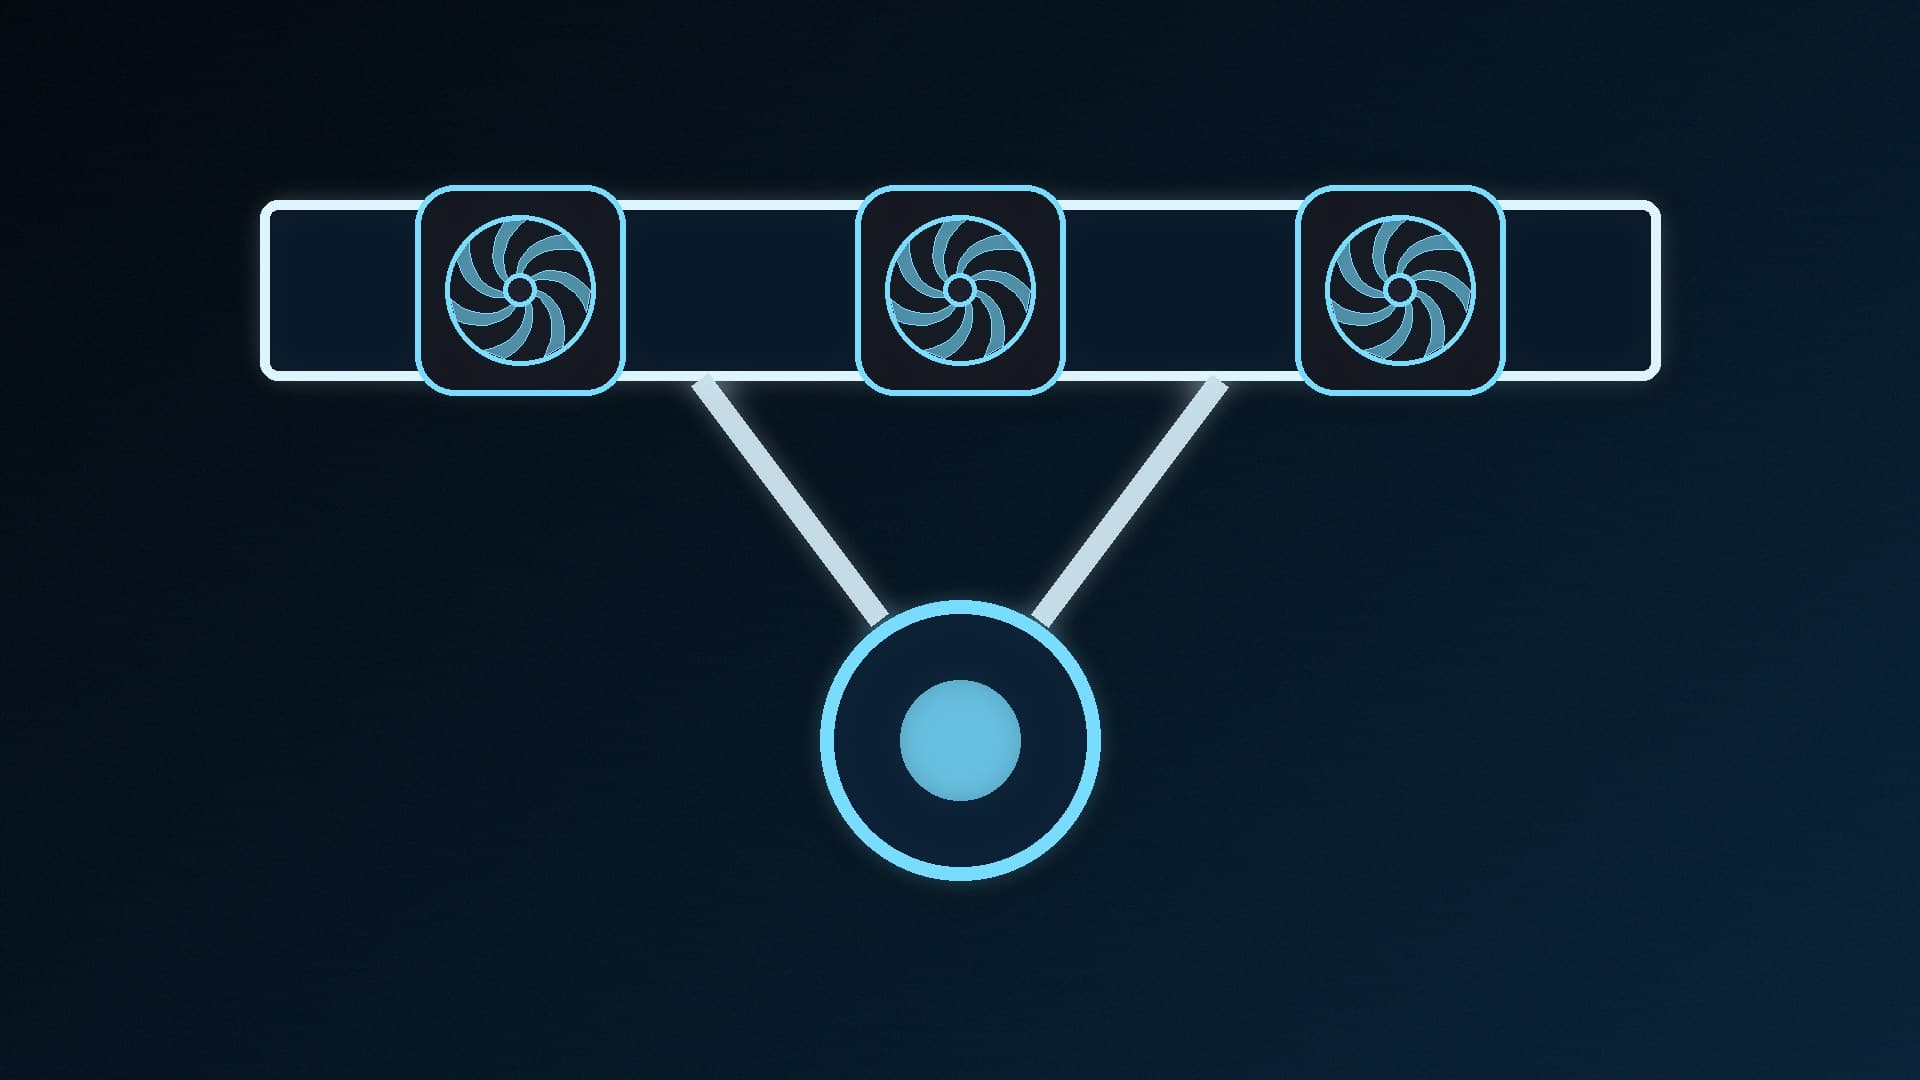
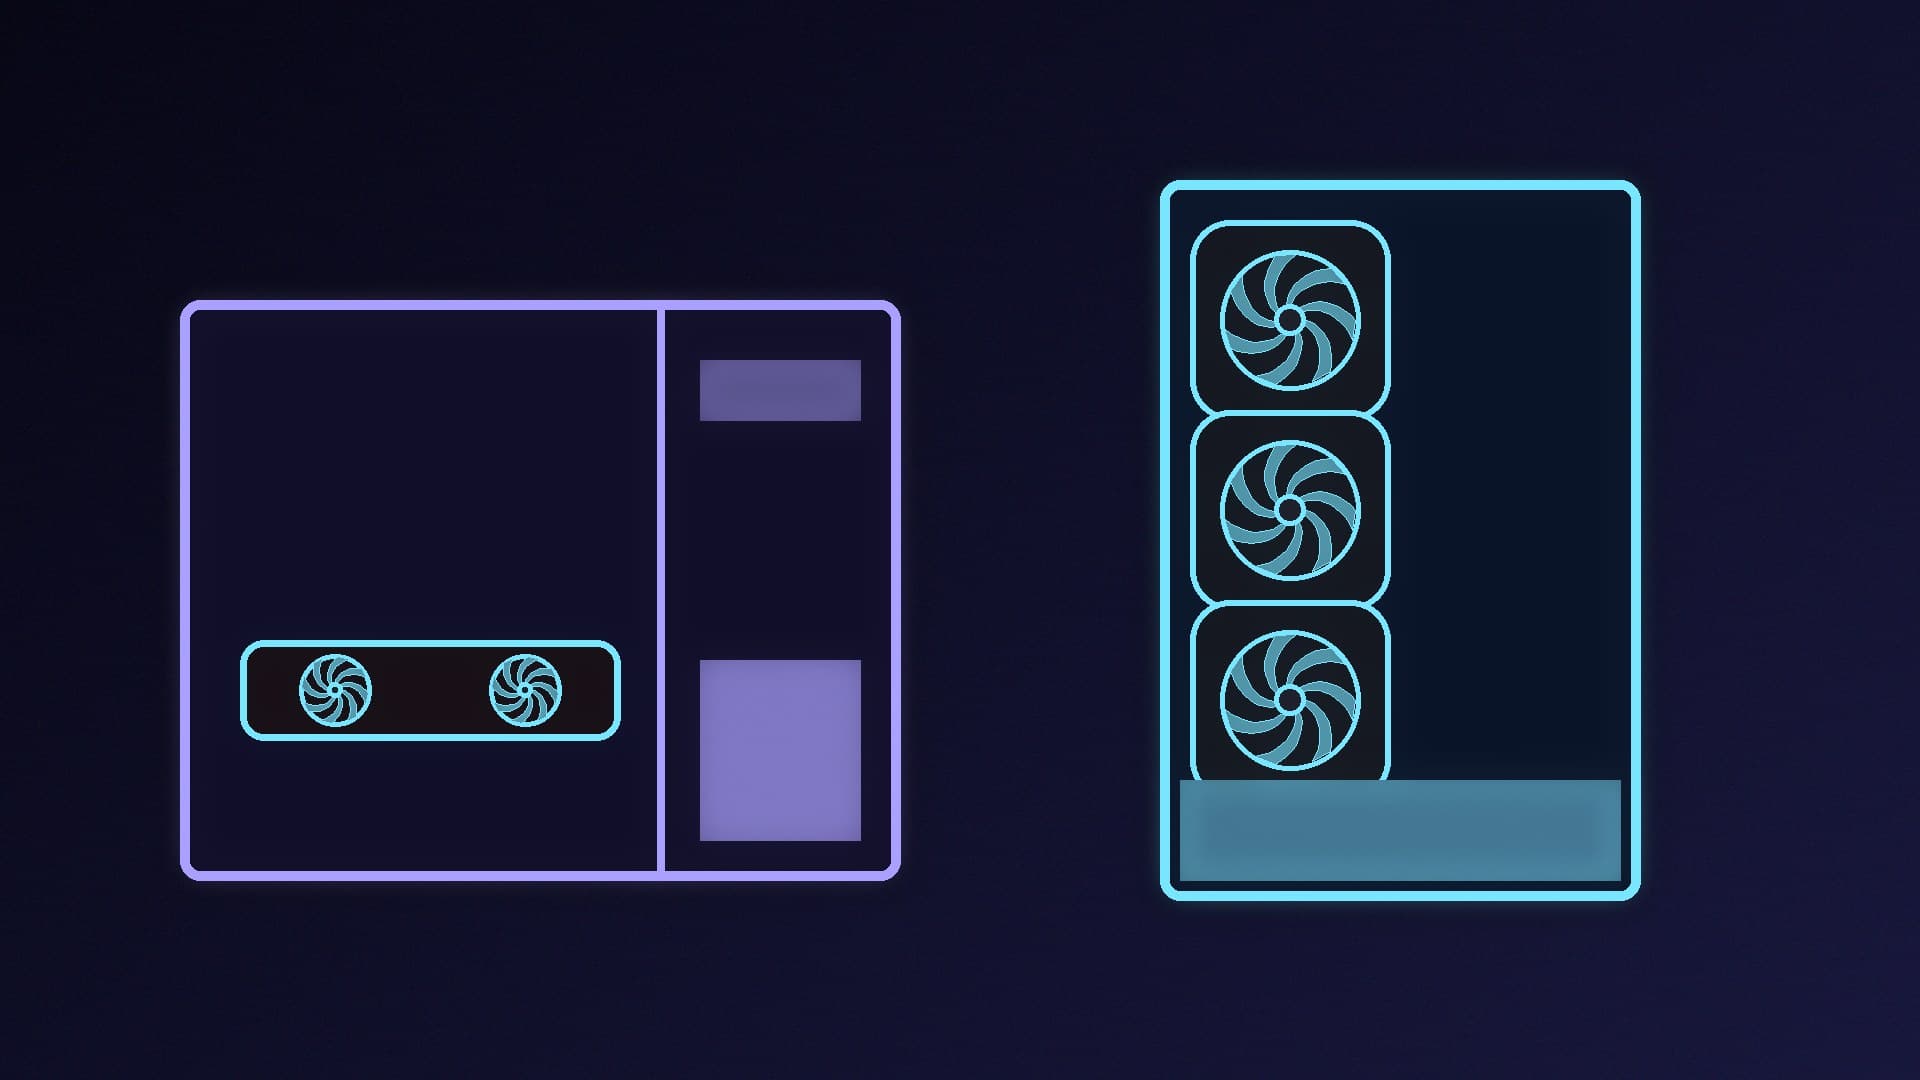
Before you touch the motherboard, check where the radiator will fit in your case and which way the fans will blow. NZXT says the best spot is the top of the case with the fans set as exhaust, with the front as the next-best option. Whichever you choose, the highest point of the radiator must sit above the pump, so air can't collect in the pump. Our AIO radiator orientation guide explains the good and bad positions in detail.
Check the case manual for supported radiator sizes, and make sure a top-mounted radiator won't clash with tall RAM or motherboard heatsinks.
Step 2: Fit the mounting hardware
NZXT recommends fitting the backplate and standoffs with the motherboard out of the case and flat on your desk, if you can.
On Intel (LGA1851 or LGA1700): Line the cooler's backplate up with the four holes behind the CPU socket and fit the standoffs from the front. NZXT's Kraken Core backplate uses strips of pre-applied 3M tape that bond hard and are designed for one use only, so check you've got the right plate and that it lines up before peeling the backing.
On AMD (AM5 or AM4): Many AIOs reuse the motherboard's own backplate; the Kraken Core includes no AMD backplate for that reason. NZXT says you unscrew the stock mounting clips either side of the socket and screw its AMD standoffs onto the posts they leave behind. On AM4, it says to swap one clip at a time so the motherboard's backplate can't fall off.
Some coolers handle this differently. ARCTIC's Liquid Freezer III Pro, for example, comes with an Intel contact frame that replaces the socket's standard loading mechanism, and ARCTIC's guide says to tighten the frame's screws with a manual screwdriver, a little at a time, rather than a power tool.
Step 3: Install the motherboard and radiator
With the mounting hardware fitted, install the motherboard in the case. Then fit the radiator:
Screw the fans to the radiator first, if they aren't already attached. For a top exhaust mount, the side of the fan that blows air faces the radiator.
Lift the radiator into position, with the tubes routed towards the CPU socket.
Screw the radiator into the case using the screws supplied with the cooler.
Leave enough slack in the tubes to reach the CPU without strain or sharp bends.
Step 4: Connect cables that are hard to reach later
ARCTIC's guide says to connect the PWM control cable before mounting the cooler on the motherboard, because the connection is awkward once the pump is in place. Other coolers have a cable from the pump to a fan header, a USB header or a SATA power connector. Read your manual and connect anything that becomes hard to reach once the pump is fitted.
Step 5: Check the thermal paste
If the cold plate has paste pre-applied, leave it alone and remove any protective cover just before fitting. If you're reinstalling an AIO, clean off the old paste from the CPU and cold plate with isopropyl alcohol and apply fresh. NZXT says the same for remounting a Kraken. Our guide to replacing thermal paste covers the method, and our best thermal paste guide lists good options.
Step 6: Mount the pump block
Line the pump block up with the standoffs. Check its orientation: NZXT's guide places the Kraken Core's tubes on the right of the socket, and your cooler may specify something similar.
Start all four screws loosely by hand.
Tighten them gradually in a diagonal or X pattern, so the pressure on the CPU stays even, until they stop. Don't force them.
ARCTIC's Liquid Freezer III Pro uses an offset mounting position on AMD, and for AM4 ARCTIC says leaving part of the CPU's heat spreader visible is intentional, because the CPU hotspot is off-centre.
Step 7: Connect the pump, fans and lighting
The pump and fans need to go to the right motherboard headers:
Cable | Header (per NZXT's Kraken Core guide) |
|---|
Pump | AIO_PUMP (also called CPU_OPT or CPU_FAN2 on some boards) |
Radiator fans | CPU_FAN, or SYS_FAN/CHA_FAN if the pump has taken CPU_FAN |
5V ARGB lighting | A 5V addressable RGB header, never a 12V RGB or UART header |
NZXT warns that connecting its 5V ARGB lighting to a 12V RGB or UART header can permanently damage the cooler and your PC, so check the labels on your motherboard. ARCTIC's Liquid Freezer III Pro has a single-connector PWM cable that controls the pump, VRM fan and radiator fans together, with an optional three-connector cable for individual control.
Step 8: Set the pump speed in the BIOS
Start the PC and go into the BIOS (usually by pressing Delete or F2 at startup):
Set the pump header to run at full speed. NZXT says the pump is designed to run flat out all the time and lower settings can wear it out. Some boards call this 100%, Fixed or Full Speed.
If your cooler uses PWM control, ARCTIC says to set the relevant headers to PWM mode instead of DC.
Check the CPU temperature reading at idle. If it climbs quickly, switch off and check the pump is plugged in and the cold plate is seated properly.
Then set your radiator fans to a sensible curve. Our fan curves guide shows how, and our case fan airflow guide helps you balance the rest of the case around the radiator.
Our verdict
Plan the radiator position first, fit the socket hardware while the board is out of the case, connect hard-to-reach cables before the pump goes on, tighten the pump screws evenly in an X pattern, and make sure the pump runs at full speed from a pump header. Follow your cooler's own manual for anything specific to it, and an AIO install is a straightforward job. If you're building from scratch, our gaming PC build guide puts this step in context.