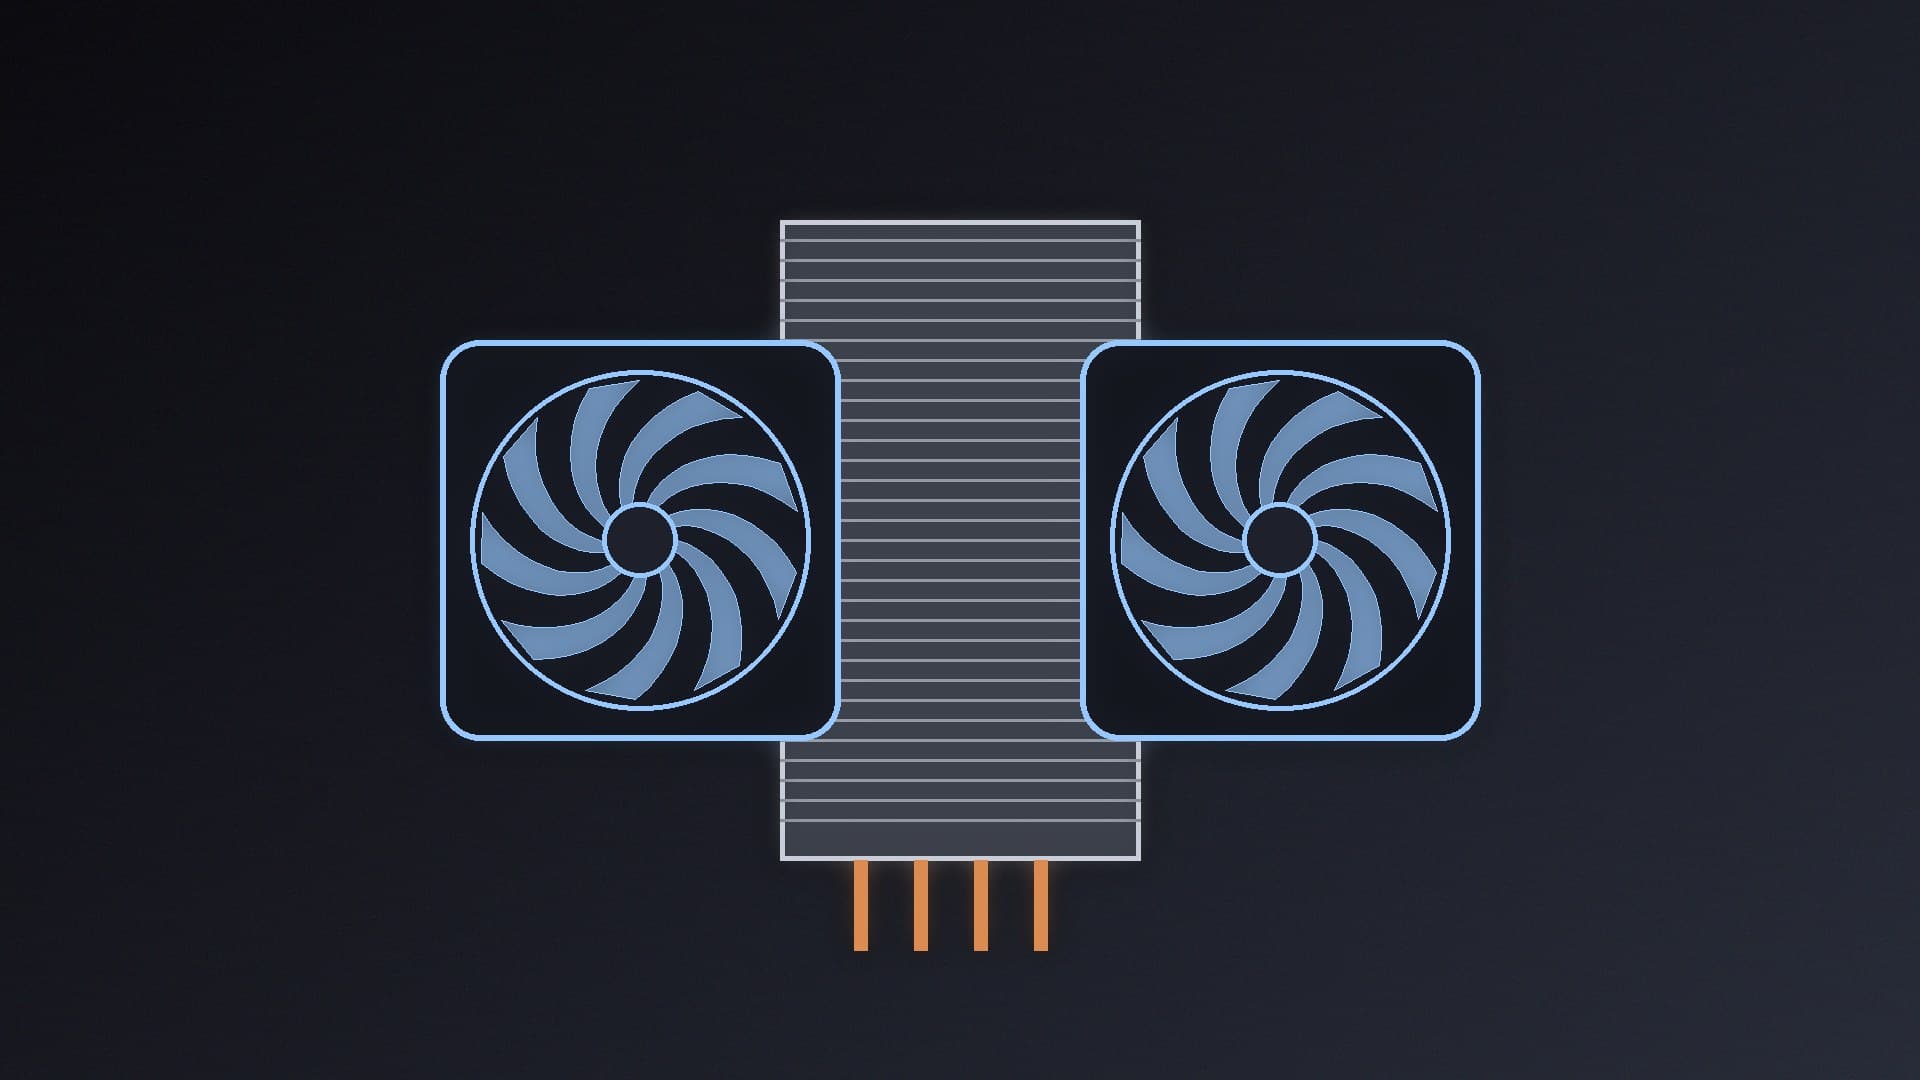
The ARCTIC Freezer 36 is a single-tower air cooler with two P12 fans in a push-pull configuration. Fitting it is straightforward on AMD, but on Intel it uses a CPU contact frame that replaces part of the socket's own retention mechanism, so it pays to read the steps first. This guide follows ARCTIC's official interactive manual and specifications. Forge PC hasn't tested the cooler's temperatures, so there are no thermal results here.
Before you start
Check compatibility. ARCTIC lists support for Intel LGA1851 and LGA1700 and AMD AM5 and AM4. Full specs are on our ARCTIC Freezer 36 product page.
Check case clearance. ARCTIC gives the cooler's dimensions as 104 x 126 x 159mm (length x width x height), so your case needs at least 159mm of CPU cooler clearance. The cooler weighs 890g.
Tools. ARCTIC's manual lists a PH2 Phillips screwdriver; for Intel, it also lists a T20 screwdriver, which is included in the box.
Thermal paste. ARCTIC's specifications list MX-6 (0.8g) as the thermal interface material. Its manual links to a separate guide on applying thermal paste. If you're re-fitting a cooler, see our guide to replacing CPU thermal paste.
Our guide to installing a CPU covers seating the processor itself.
AMD (AM5 and AM4)
ARCTIC's manual has a separate AMD section, which lists only the PH2 screwdriver. Select AMD - AM5, AM4 in the manual and follow its packaging-content check, preparation and installation steps, then continue to the airflow and fan steps below.
On Intel, ARCTIC's contact frame replaces the socket's Independent Loading Mechanism (ILM). ARCTIC says the ILM presses the CPU into the socket at two points with over 40kg, and that its frame doesn't deform the CPU and lets the cooler screw onto the CPU's backplate. The key steps from ARCTIC's manual:
Support the backplate. If the motherboard is out of the case, lay it on a flat, horizontal surface with thick padding (ARCTIC suggests the packaging's inner card). If it's in the case, ARCTIC suggests applying painter's tape on the back of the motherboard to secure the socket backplate, then laying the case flat.
Open the ILM and place the CPU in the socket, aligned correctly.
Keep the removed parts. ARCTIC warns that the ILM must be reinstalled if the motherboard is returned for service or warranty.
Align the CPU to the top edge of the cutout in the contact frame. ARCTIC says there should be a gap below the CPU.
Tighten evenly. Loosely engage all four screws by two turns, then tighten them in a cross pattern, evenly, to avoid damaging the CPU.
Remove the padding or tape once the frame is tightened.
LGA1851 owners: ARCTIC's manual asks you to verify that your contact frame is compatible with LGA1851, as some frames are LGA1700-only, and to contact ARCTIC Support for an LGA1851-compatible frame if needed.
Mount the cooler and choose airflow
After applying thermal paste and mounting the heatsink as shown in the manual, ARCTIC asks you to choose an airflow direction, back exhaust or back intake, and notes that the fans can be rotated to help with cable management. Our guide to setting up case fan airflow explains why.
ARCTIC says its fans clip into the heatsink without separate fan clips, which also makes them easier to remove later.
Connect the fans
ARCTIC's manual shows two fan header options: plug into CPU_FAN only, or use CPU_FAN + CPU_OPT. If your PC shows a CPU fan error at start-up after the build, see our guide to fixing a CPU fan error.
Set the fan curve
ARCTIC recommends adjusting the fan speed control in the BIOS to get the best out of the cooler. ARCTIC rates the P12 PWM PST fans at 200 to 1,800rpm, with 0rpm below 5% PWM. Our guide to setting fan curves walks you through it.
Our verdict
On AMD, the Freezer 36 is a simple screwdriver job. On Intel, take your time with ARCTIC's contact frame: support the backplate, keep the original ILM parts, align the CPU to the top of the cutout and tighten the four screws gradually in a cross pattern. Then pick an airflow direction, connect to CPU_FAN and tune the fan curve in the BIOS. For alternatives, see our best CPU coolers.