Text prompts are a blunt tool. You can describe a pose or a composition, but a diffusion model will still interpret it differently every time. ControlNet fixes that by adding a second input, a "condition image" such as a sketch, an edge map, a depth map or a pose skeleton, which the model follows while it generates. This guide shows how to set it up in ComfyUI on your own PC, following ComfyUI's official documentation. Forge PC hasn't benchmarked ControlNet workflows, so we don't quote generation times; they depend on your GPU, the base model and the resolution.
If you haven't installed ComfyUI yet, start with how to install ComfyUI on Windows.
What ControlNet does
ComfyUI's documentation describes ControlNet as a conditional control model for diffusion models such as Stable Diffusion, first proposed by Lvmin Zhang, Maneesh Agrawala and colleagues in 2023. It adds extra input conditions, such as edge detection maps, depth maps and pose keypoints, so the image follows a structure you provide rather than leaving everything to chance. You can also use several ControlNet models at once.
Common condition types include:
Scribble or lineart: a rough drawing or clean line drawing sets the outlines.
Canny edges: edges extracted from a photo keep its shapes and layout.
Depth: a depth map keeps the 3D layout of a scene (what's near and what's far).
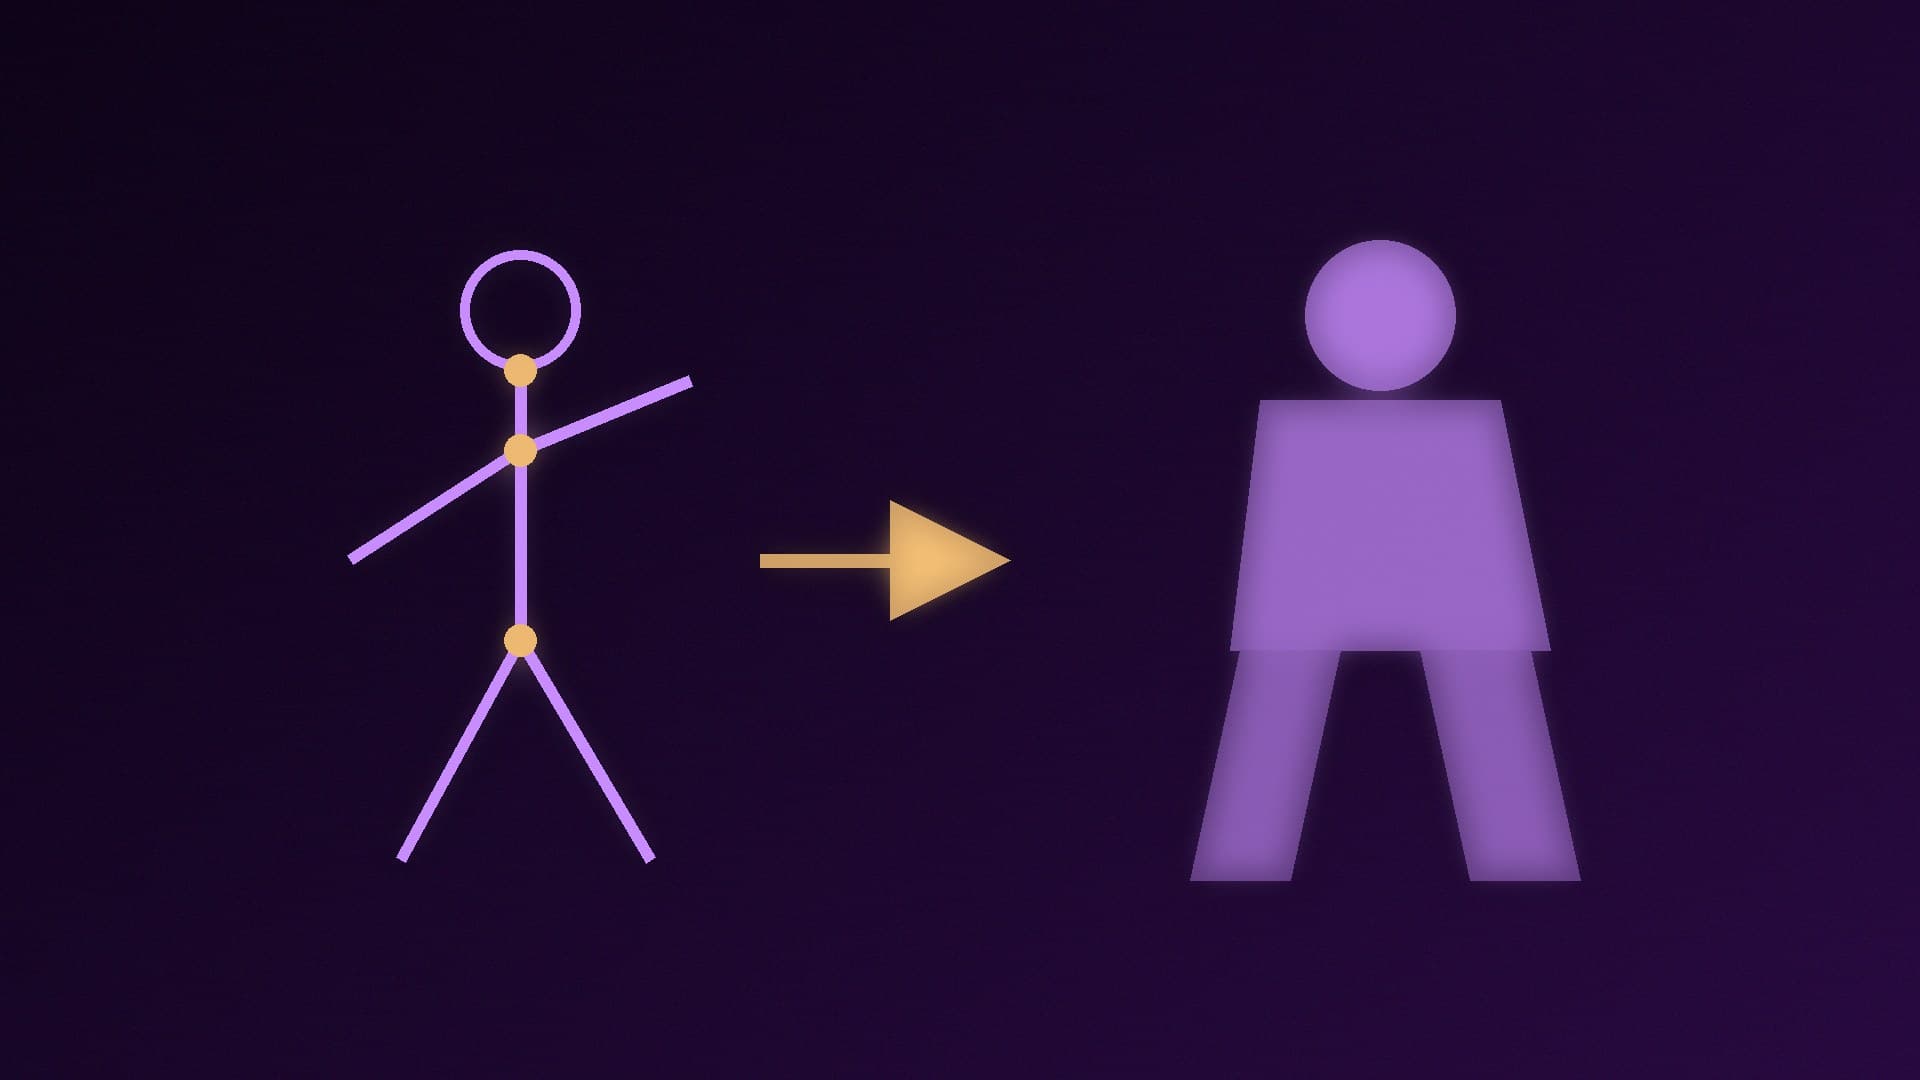
Pose (OpenPose): a stick-figure skeleton sets a person's posture.
Normals: a surface normal map preserves how surfaces face the light, which is useful for relighting.
What you need
A working ComfyUI installation and a base checkpoint (for example, a Stable Diffusion 1.5 model).
A ControlNet model that matches your base model family. ComfyUI's example pairs an SD1.5 checkpoint with an SD1.5 ControlNet (control_v11p_sd15_scribble_fp16), and ComfyUI has separate tutorials for Flux ControlNet models.
Preprocessor nodes if you want to turn your own photos into condition images. ComfyUI's core nodes don't include every preprocessor, and the documentation points to two custom node packs: ComfyUI ControlNet aux and ComfyUI-Advanced-ControlNet.
Enough VRAM for your base model plus the ControlNet. If you're short, see how to run ComfyUI on low VRAM and our guide to how much VRAM you need.
Step 1: Put the ControlNet model in the right folder
Download a ControlNet model and save it in ComfyUI/models/controlnet. ComfyUI's docs say models in that folder are detected automatically and can be selected in the Load ControlNet node. In the official scribble example, the files go here:
ComfyUI's example images include the workflow in their metadata, so you can drag one into ComfyUI (or use Workflows > Open) and it will offer to download the models it needs.
Step 2: Install preprocessors (optional but recommended)
If you already have a clean sketch or line drawing, you can skip this. To turn a photo into an edge, depth or pose map, install ComfyUI ControlNet aux. Its GitHub page recommends installing it through ComfyUI Manager. Alternatively, you can clone it into ComfyUI/custom_nodes. Restart ComfyUI afterwards so the new nodes appear.
ComfyUI's preprocessor guide suggests running preprocessing as a separate workflow. That way you can check and reuse a depth or pose map without rerunning the whole generation each time.
Step 3: Wire up the workflow
A basic ControlNet workflow adds three nodes to a normal text-to-image graph:
Load Image: upload your sketch, or the output of a preprocessor.
Load ControlNet: select the ControlNet model from your controlnet folder.
Apply ControlNet: connect your positive and negative prompt conditioning, the ControlNet model, the image and the VAE. Then send its positive and negative outputs on to the KSampler instead of the original prompt conditioning.
Press Queue (or Ctrl+Enter) to generate.
If an older workflow uses Apply ControlNet (Old), ComfyUI notes that this node is deprecated and hidden by default. You can show it under Settings > comfy > Node > Show deprecated nodes in search, but the docs recommend using the current node.
Step 4: Tune strength, start and end
The Apply ControlNet node has three settings that matter most:
Setting | What it does (per ComfyUI's docs) | Practical tip |
|---|
strength | Higher values increase ControlNet's influence on the image | Lower it if results look stiff or traced; raise it if the structure is ignored |
start_percent | When ControlNet guidance starts, as a fraction of the diffusion process (0.2 = after 20%) | Start a little later to give the model more freedom with the overall composition |
end_percent | When ControlNet guidance stops (0.8 = at 80%) | End earlier so the final steps can refine textures freely |
To combine conditions, for example a pose and a depth map, chain two Apply ControlNet nodes one after the other.
Tips
Match the resolution. Keep your condition image at the same aspect ratio as the output so the structure lines up.
Keep prompts consistent with the condition. A pose skeleton of a standing person won't produce a convincing seated figure, however you word the prompt.
Use LoRAs alongside it. ControlNet handles structure and a LoRA handles style or subject. See how to use LoRA in ComfyUI.
Choosing an app? Our ComfyUI vs Forge WebUI comparison covers the alternatives, and what PC you need for Stable Diffusion and Flux covers hardware.
Our verdict
ControlNet is the quickest way to stop rerolling prompts in ComfyUI. Put a ControlNet model that matches your base model in ComfyUI/models/controlnet, install ComfyUI ControlNet aux through ComfyUI Manager if you need preprocessors, and add Load ControlNet and Apply ControlNet before the KSampler. Then adjust strength, start_percent and end_percent until the image follows your sketch, edges, depth or pose without looking traced.