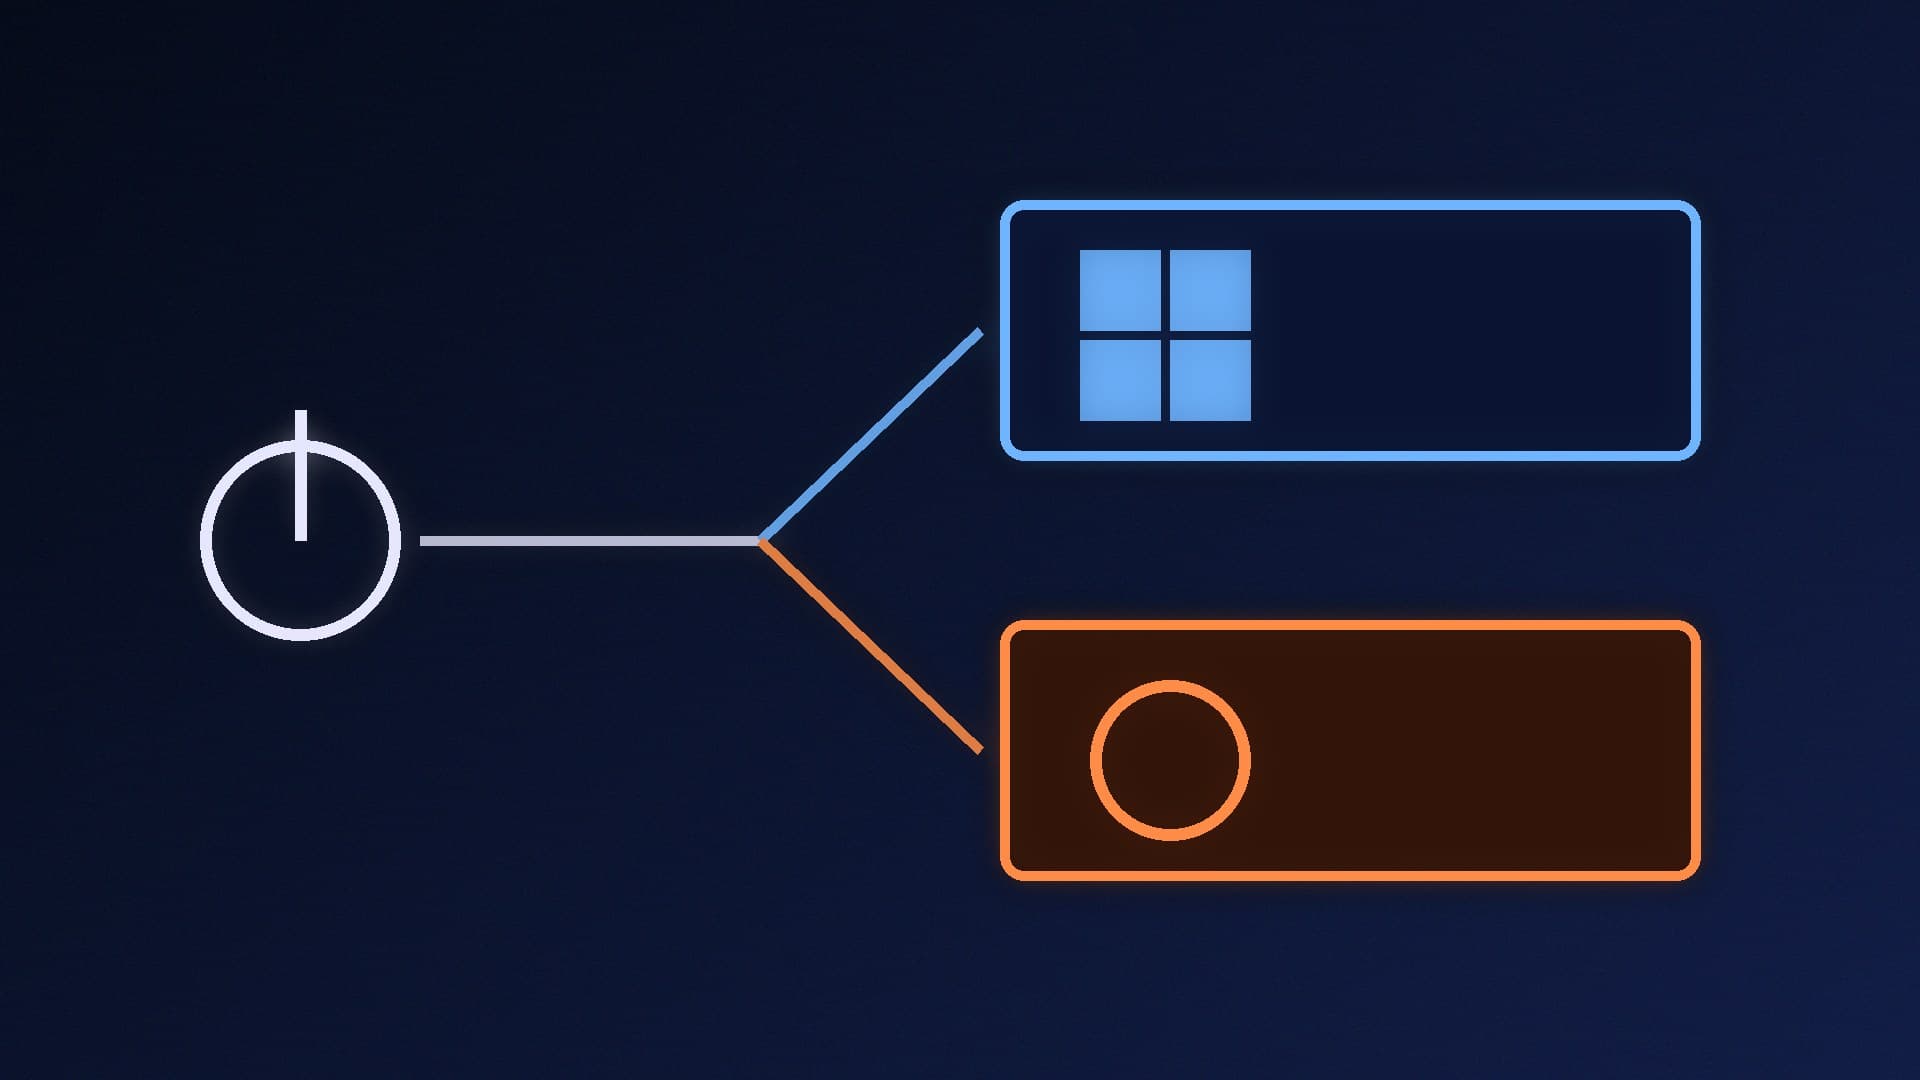
Dual booting lets you keep Windows 11 for games and apps while having a full Linux system on the same PC. You pick which one to start each time you switch on. It's a popular setup for developers, people trying Linux for the first time and local AI users who want Linux tools. This guide uses Ubuntu Desktop, following Canonical's official installation tutorial and Microsoft's disk management documentation. Forge PC hasn't tested every motherboard and laptop, so menu names and boot keys may differ on your machine.
Before anything else, back up your files. Changing partitions is safe when done carefully, but a wrong click in an installer can erase a drive. See our best free backup software for options.
The easiest option: give Linux its own SSD
If your PC has a spare M.2 slot, the simplest and safest way to dual boot is to install Ubuntu on a separate drive. Canonical's tutorial says the installer can put Ubuntu alongside an existing OS "as long as they each have their own drive", and you don't need to turn off Windows BitLocker when there's a separate, unencrypted drive for Ubuntu. Our guide to installing an M.2 SSD covers the hardware side.
Ubuntu itself needs at least 25GB of storage, according to Canonical, but leave plenty more room for apps, games or AI models.
What you need
A PC with at least 25GB of free space (or a second drive).
A USB flash drive. Canonical recommends 12GB or larger, and creating the installer erases it.
The Ubuntu Desktop ISO from ubuntu.com.
Your BitLocker recovery key if your Windows drive is encrypted. See how to find your BitLocker recovery key.
Step 1: Check BitLocker
Canonical explains that if BitLocker is on, the Ubuntu installer sees the encrypted Windows drive as random data. It can't safely resize it, and installing alongside Windows on that drive risks data loss. Some PCs ship with BitLocker enabled even though the drive isn't encrypted yet, and that also blocks the installer.
Your options, according to Canonical:
Install Ubuntu on a separate, unencrypted drive (no need to turn BitLocker off).
Turn BitLocker off in Windows so the installer can safely set up a side-by-side install on the same drive. On systems where BitLocker is enabled but the drive isn't encrypted yet, Canonical says you first need to turn BitLocker on and then off.
Erase the whole drive and install Ubuntu only. This deletes Windows and all your data.
Step 2: Make space on your Windows drive (single-drive setups)
If you're sharing one drive, shrink the Windows partition to create unallocated space:
Right-click Start and open Disk Management.
Right-click your Windows (C:) volume and select Shrink Volume.
Enter how much space to free up, in megabytes, and follow the prompts.
Microsoft says shrinking automatically moves ordinary files to create the new free space, without reformatting. You need administrator rights, and you can only shrink NTFS volumes or volumes with no file system. Ubuntu's installer can also resize partitions with a slider, but doing it in Windows first is a sensible check that Windows is happy with the change. For more control, see our best free disk partition software.
Step 3: Create the USB installer
Canonical recommends balenaEtcher, which runs on Windows, macOS and Linux. Select the Ubuntu ISO, select your USB drive and flash it. Writing an ISO isn't the same as copying it, so you need a tool like this. Rufus and Ventoy also work; see how to make a bootable USB with Ventoy or Rufus.
Step 4: Boot from the USB drive
Plug in the USB drive and restart. If the PC doesn't start the installer automatically, Canonical suggests holding F12 during start-up to open the boot menu. Esc, F2 and F10 are common alternatives, and many PCs show the right key briefly on screen as they start.
Connect to the internet when asked. Canonical says this lets the installer download updates and third-party drivers, such as NVIDIA graphics drivers, and it recommends ticking the options for third-party software and extra media formats.
Step 5: Choose the right install type
This is the step that matters. Canonical's installer offers:
Install Ubuntu alongside Windows: pick the drive and use the slider to split space between the two systems. This is the option for dual booting on one drive.
Erase disk and install Ubuntu: wipes the selected drive. Only use this on an empty second drive, and double-check you've selected the right one.
Manual partitioning: for advanced users who want a custom layout.
If you choose full-disk encryption for Ubuntu, Canonical warns you not to lose the security key: write it down and keep it somewhere outside the PC.
Step 6: Pick your OS at start-up
When installation finishes, remove the USB drive and restart. You should see a boot menu that lets you choose Ubuntu or Windows. If the PC boots straight into Windows, use your motherboard's boot menu key, or change the boot order in the BIOS, so the Ubuntu boot entry comes first.
Is Linux good for gaming?
That depends on the games you play, and some multiplayer games' anti-cheat systems don't support Linux. Our Windows 11 vs Linux for gaming comparison explains the trade-offs, which is why many people keep Windows alongside Linux rather than replacing it.
Our verdict
The safest way to dual boot is to back up first and install Ubuntu on its own SSD. That way BitLocker doesn't need to be turned off and Windows stays untouched. If you're sharing one drive, turn BitLocker off (or check it isn't blocking the installer) and shrink C: in Disk Management. Then create a USB installer with balenaEtcher and choose "Install Ubuntu alongside Windows". Ubuntu needs at least 25GB, but give it more if you can.