An M.2 NVMe SSD is a small stick of storage that plugs straight into your motherboard, with no cables. Fitting one is among the simplest upgrades you can make to a desktop PC, and it typically takes a few minutes with a screwdriver. The part that confuses most people comes afterwards: a brand-new drive does not appear in File Explorer until you set it up in Windows.
Forge PC has not produced new test results for this guide. The hardware steps follow Crucial's official M.2 installation guide and general motherboard-manual practice, and the Windows steps follow Microsoft's Disk Management documentation, checked on 14 November 2026. Your motherboard manual is the final word on your own board.
Before you start: check compatibility
Three things decide whether a drive will work in your PC:
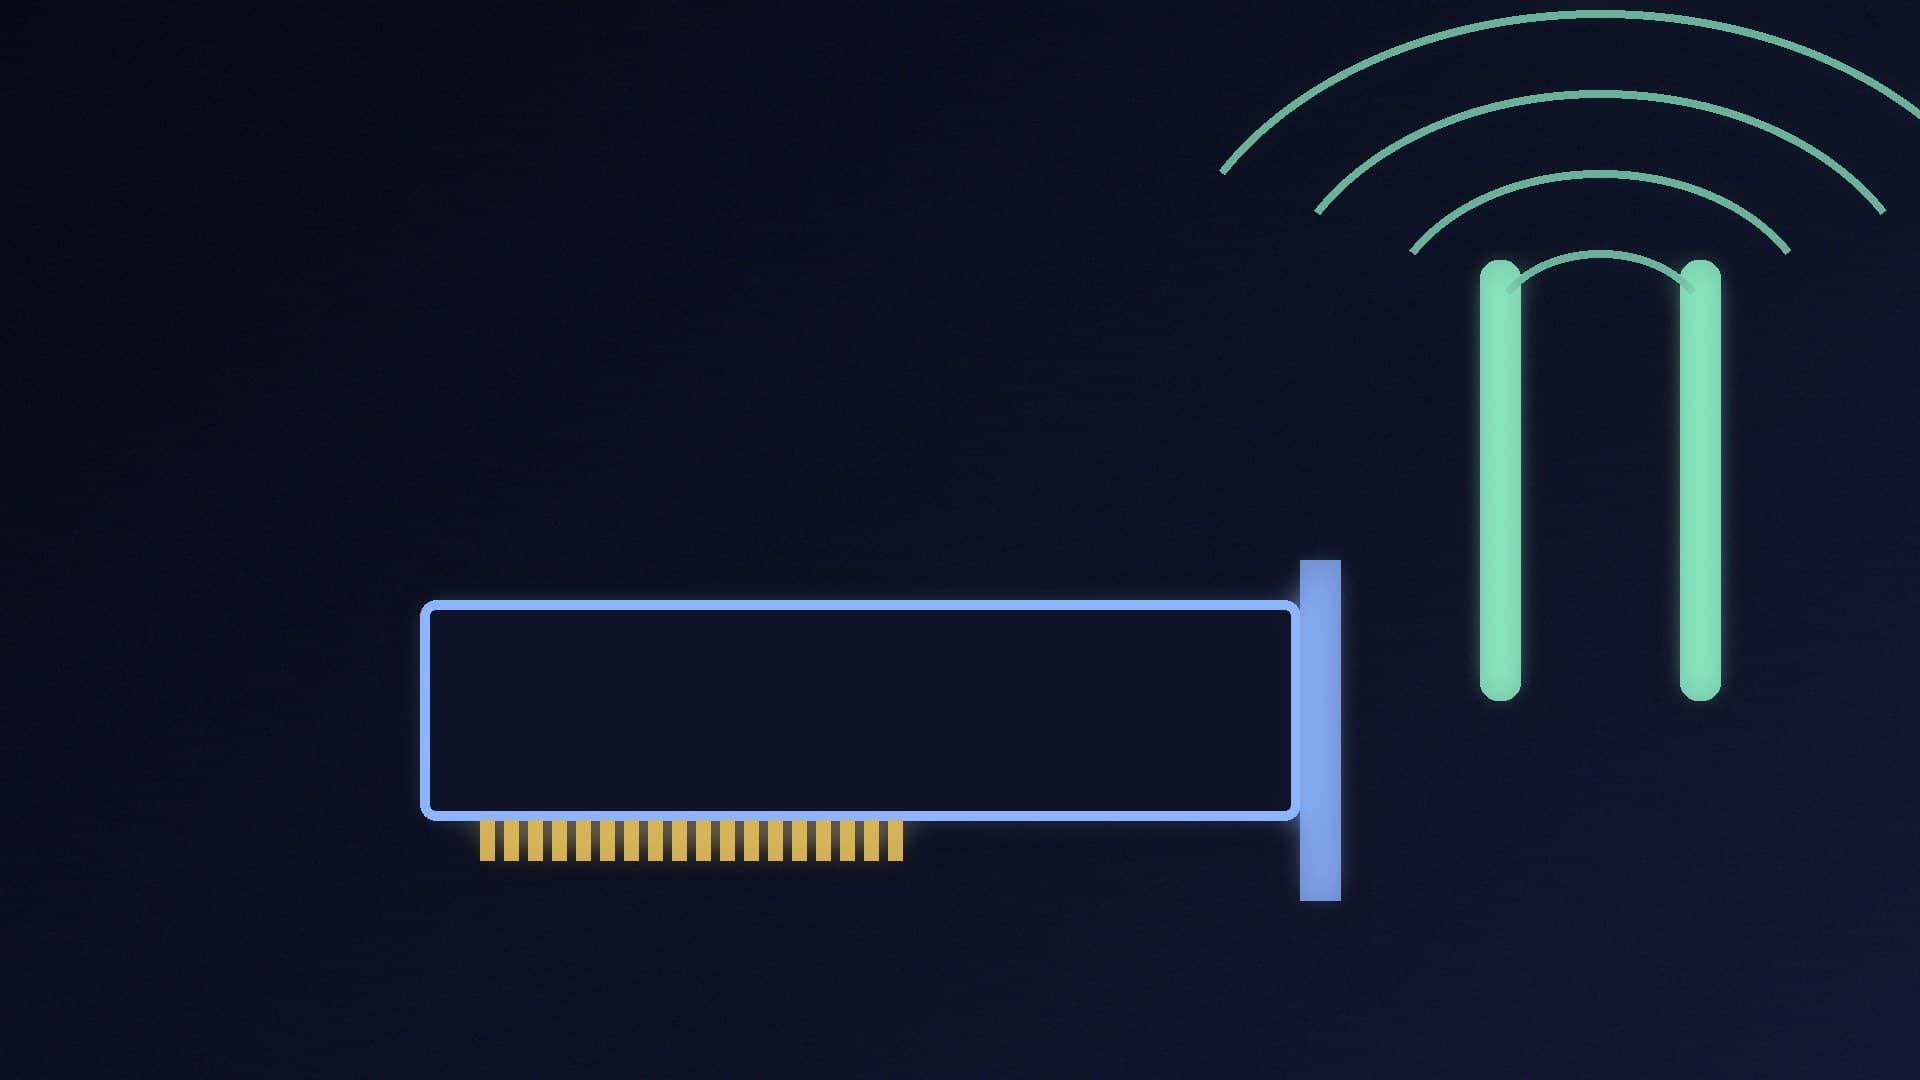
Physical size. Almost all desktop SSDs are M.2 2280, meaning 22mm wide and 80mm long. Check that your slot supports 2280 (most do).
Interface. NVMe drives use PCIe. Some older or budget M.2 slots only support SATA M.2 drives, so check the manual. Our NVMe vs SATA guide explains the difference.
PCIe generation. A PCIe 5.0 drive works in a PCIe 4.0 slot and vice versa, but runs at the slower of the two speeds. A good PCIe 4.0 drive is the sensible choice for most gaming PCs; our best SSD guide has picks.
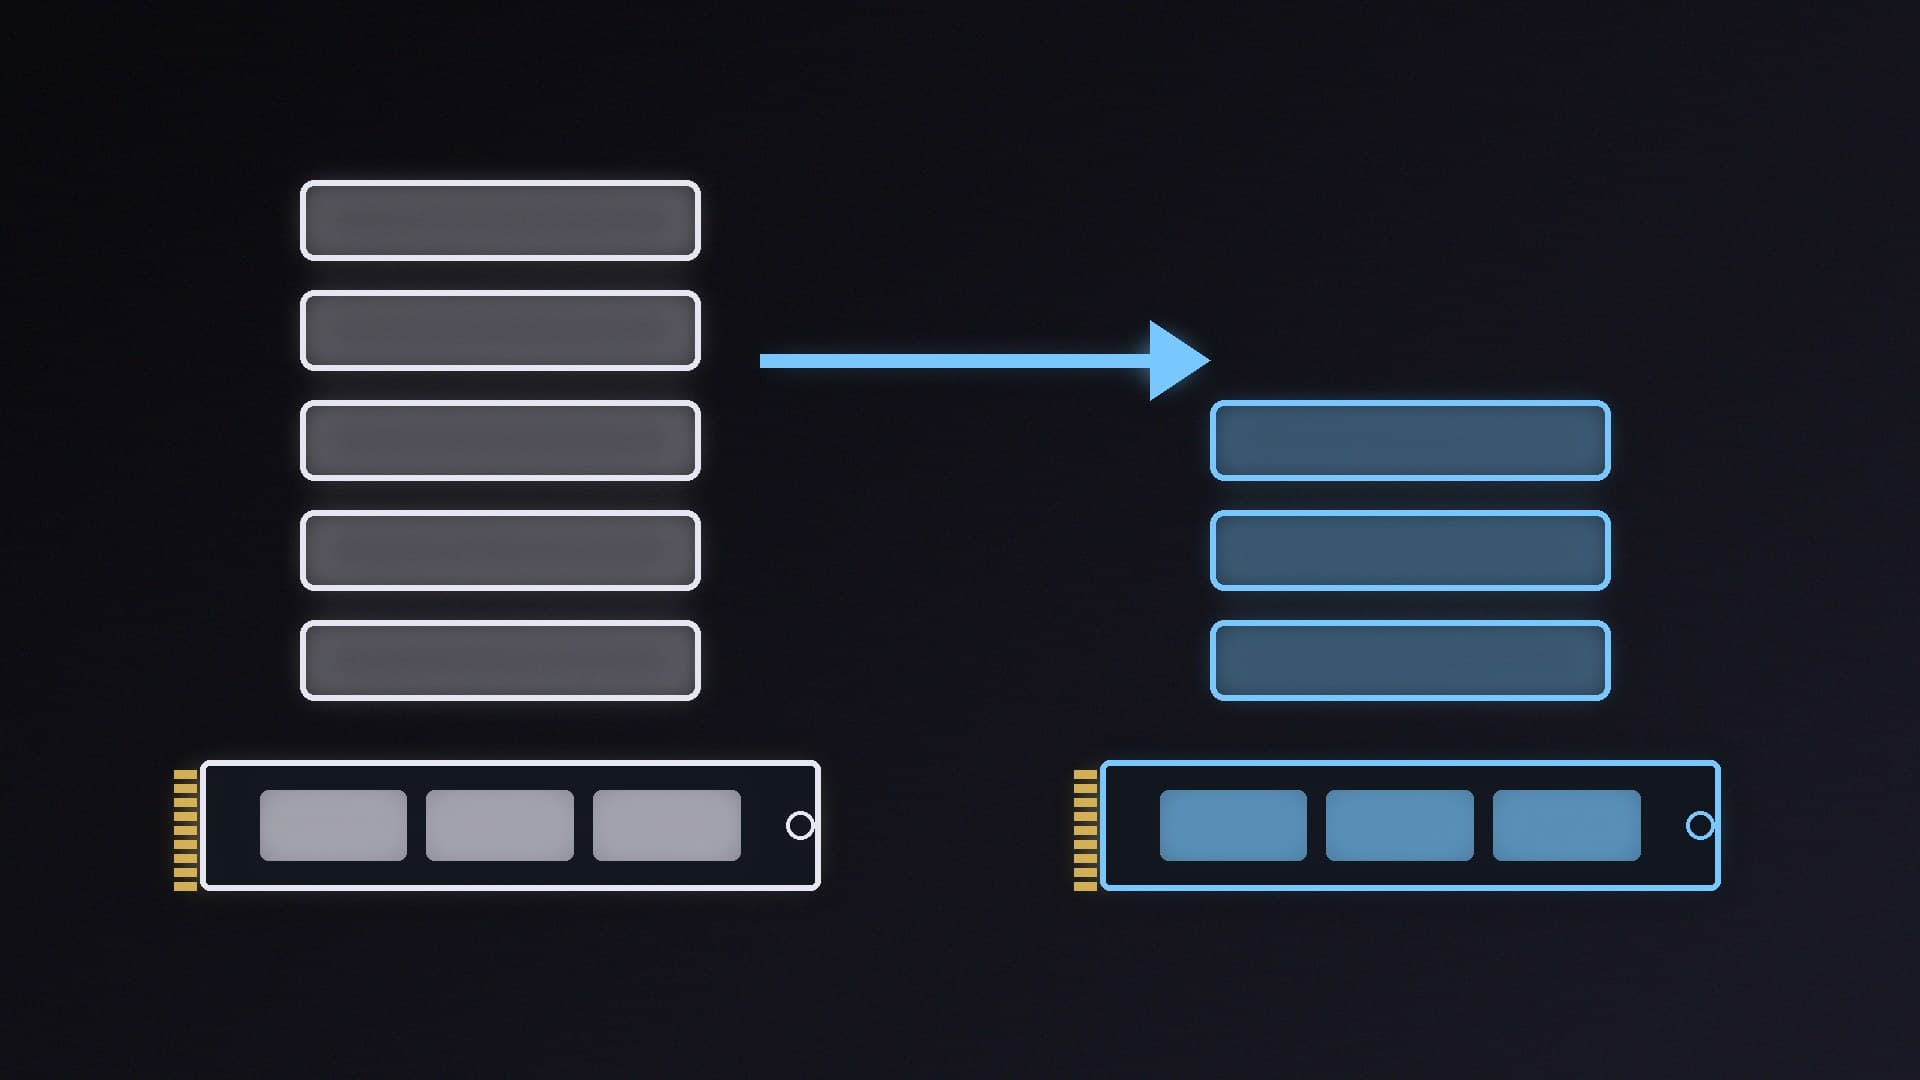
Read the manual's M.2 section. On many motherboards, using certain M.2 slots disables some SATA ports or shares bandwidth with other slots. Crucial notes that some boards display messages about shared SATA and NVMe bandwidth after you add a drive, and that this is not a fault; the motherboard documentation explains how to configure it.
Tip: if you have more than one M.2 slot, the one closest to the processor is usually wired directly to the CPU and is often the fastest. Your manual will confirm which slot is which.
What you need
The SSD.
A Phillips screwdriver (some boards use tool-free latches instead of a screw).
Your motherboard manual, printed or on another device.
Somewhere clear to work. An antistatic wrist strap is a sensible extra precaution.
If you are replacing your only drive rather than adding a second one, back up your files first. Crucial recommends saving important files to external storage or the cloud before you begin, and our Windows 11 backup guide shows how.
Step 1: Power down and ground yourself
Shut down Windows completely.
Switch off the power supply and unplug the power cable.
Touch an unpainted metal surface, such as the case frame, to discharge static. Crucial describes this as an extra safeguard to protect components from static electricity.
Step 2: Find the M.2 slot and remove its cover
Open the side panel and find the slot using your manual. On most modern boards, M.2 slots are under metal heatsink covers held by one or more screws.
Remove the heatsink and any mounting screw or latch.
If the heatsink has a thermal pad, peel off its protective plastic film. Crucial specifically warns to remove the plastic cover from a thermal pad before installing. Leaving it on stops the heatsink cooling the drive.
If your graphics card blocks the slot, you may need to remove the card first.
Step 3: Insert the drive
Hold the SSD by its edges. Do not touch the gold connector pins.
Line up the notch in the drive's connector with the key in the slot.
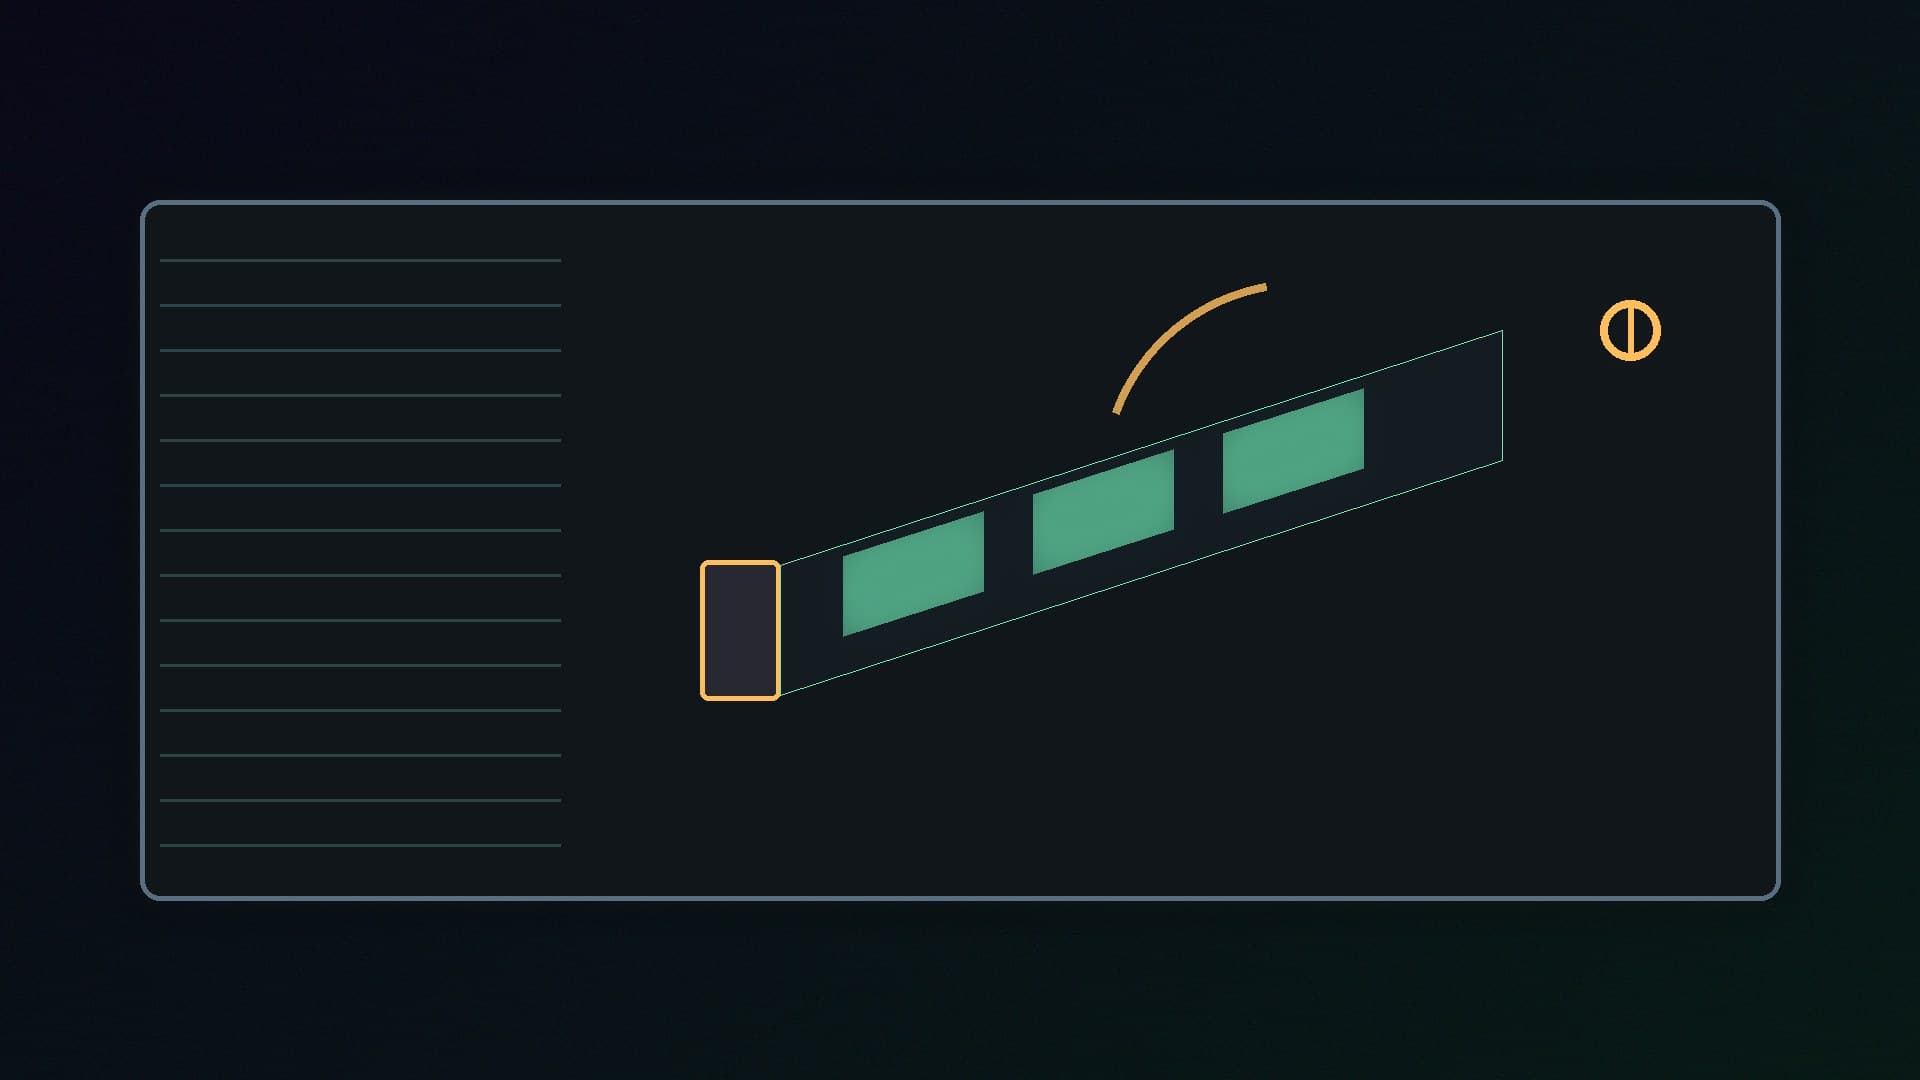
Following Crucial's guidance, insert it at about a 30-degree angle. It should slide in smoothly; do not force it.
Press the raised end down gently and secure it with the screw or latch. Crucial warns not to overtighten the screw.
If your SSD came with its own heatsink and your board has one too, you will normally use only one of them, as both rarely fit together; check your motherboard manual and the drive maker's advice.
Step 4: Reassemble and boot
Refit the motherboard heatsink, reinstall the graphics card if you removed it, close the case and reconnect the power. Switch on.
It is worth entering the BIOS once to confirm the drive appears in the storage or NVMe information page. If it does not, power off, unplug and reseat the drive, then check the manual for any slot that needs enabling.
Step 5: Set up the drive in Windows 11
A new, empty drive will not appear in File Explorer until it is initialised and formatted. Microsoft's Disk Management steps are:
Right-click the Start button and select Disk Management. You need to be signed in as an administrator.
Find the new disk. If it is listed as Offline, right-click it and select Online.
Right-click the disk and select Initialize Disk. Make sure the correct disk is selected. Microsoft advises GPT for a modern system with UEFI firmware, which covers any recent PC.
Right-click the unallocated region on the new disk and choose New Simple Volume.
Follow the wizard: accept the maximum size, accept or choose a drive letter, and format the volume with the default settings (NTFS on Windows).
Warning: Microsoft's documentation notes that initialising a disk erases all data on it. Only do this with a new, empty drive, and double-check you have selected the right disk.
The drive now appears in File Explorer, ready for games or files.
Moving Windows to the new drive
If you want the new SSD to be your boot drive, you have two options:
Either way, make sure the BIOS boot order puts the new drive first.
After installation
Check the drive's health and temperature with the tools in our SSD health guide.
Install the maker's software, such as Samsung Magician, WD Dashboard or Kingston SSD Manager, for firmware updates.
Expect lower prices later, not soon. SSD prices have risen sharply this year; our Black Friday 2026 UK PC parts guide covers what to expect from the sales.
Popular PCIe 4.0 drives in our database include the WD_BLACK SN7100 2TB, Samsung 990 EVO Plus 2TB and Lexar NM790 2TB.
Troubleshooting
Drive not in BIOS: reseat it, try another M.2 slot and check whether that slot is disabled when certain SATA ports are in use.
Drive in BIOS but not in File Explorer: it needs initialising and formatting in Disk Management (Step 5).
Slower than expected: check that it is in a slot with the right PCIe generation and four lanes, and that the heatsink is fitted with its film removed.
Our verdict
Installing an M.2 NVMe SSD comes down to checking your motherboard manual for the right slot, removing the heatsink and thermal-pad film, inserting the drive at an angle without forcing it, and securing it without overtightening. The step people most often miss is initialising and formatting the drive in Disk Management, using GPT, before it appears in Windows. Forge PC has not produced new test results for this guide; it follows Crucial's installation guide and Microsoft's Disk Management documentation.