If you have an NVIDIA graphics card, you don't need extra software to record games. The NVIDIA app, which NVIDIA says incorporates many of the top features from GeForce Experience, includes NVIDIA ShadowPlay recording: a manual Record mode, a rolling Instant Replay buffer that saves moments after they happen, screenshots and automatic Highlights in supported games. This guide is based on NVIDIA's own documentation; Forge PC hasn't measured the performance impact of recording.
What you need
Step 1: Open the NVIDIA overlay
Press Alt+Z, or click the overlay button at the top right of the NVIDIA app window. NVIDIA says this opens the overlay panel with its video, screenshot, filter and performance overlay options. You can also use each feature's hotkey without opening the overlay.
Step 2: Set your video quality and codec
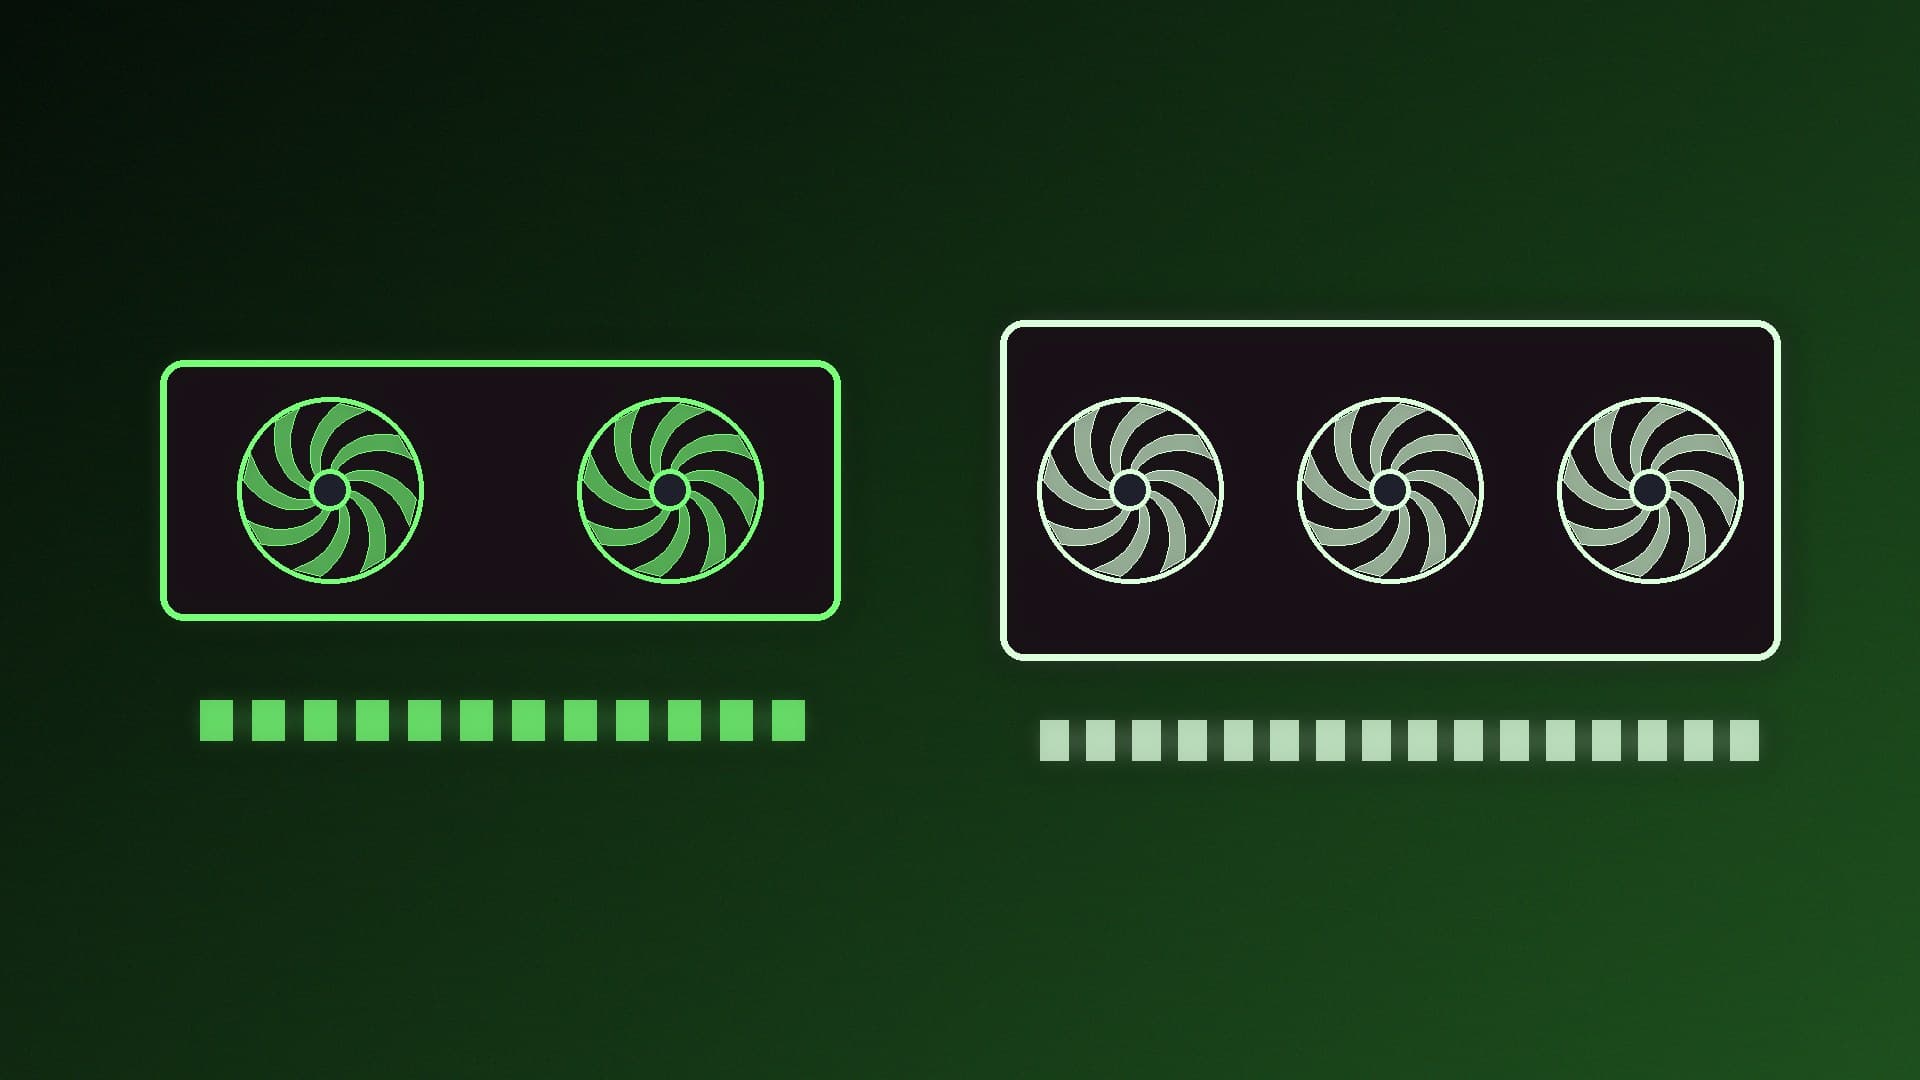
Click the Settings cog at the top of the overlay and choose Video capture. This is where you set recording quality and, on supported cards, switch to the AV1 codec. NVIDIA says recordings can be captured at up to 4K and 120fps, and that AV1 improves encoding efficiency by 40% on GeForce RTX 40 Series GPUs, giving higher-quality video without using more disk space. Those are NVIDIA's figures. For the differences between codecs, see AV1 vs HEVC vs H.264.
Step 3: Choose where files go and how much space they can use
In the same Settings area, NVIDIA says you can change where files are saved and limit how much disk space recordings use. NVIDIA also points out that the space AV1 saves can help if you record to the same drive the game runs from. If you have a second drive, you can point recordings there instead.
Step 4: Set up audio
The overlay's Microphone control turns recording of your voice on or off, or sets a push-to-talk key. In Settings you can change the sound sources for videos and turn on multi-track audio, which NVIDIA says makes your microphone input a separate recording.
If your microphone isn't picked up at all, see how to fix a microphone not working in Windows 11.
Step 5: Record a full session
Press Alt+F9, or click Record in the overlay, to start recording your game, app or desktop. Press it again to stop. This is the mode for full matches, walkthroughs and tutorials.
Step 6: Use Instant Replay for highlights
Instant Replay keeps a rolling recording in the background, so you can save something after it happens. Turn it on in the overlay and set the length of the replay in Settings. NVIDIA's launch post says that once it's running, you press Alt+Shift+F10 when something memorable happens and the clip is saved.
Hotkeys can be changed in the overlay's Settings, so if a shortcut doesn't do what you expect, check the list there; your settings may differ from NVIDIA's defaults.
Step 7: Screenshots and Highlights
Press Alt+F1 for a screenshot (SDR or HDR, according to NVIDIA). Photo Mode (Alt+F2) works in compatible games, and Highlights automatically saves key moments in games that support it.
Step 8: Find your clips
After your first capture, a Gallery appears in the overlay. NVIDIA says it sorts captures by game, lets you filter screenshots or videos, and opens the files on your drive for sharing.
NVIDIA app vs other recorders
The NVIDIA app is the simplest option on an NVIDIA card. OBS Studio is a free alternative built around scenes and sources; see how to record gameplay with OBS Studio and how to use the OBS replay buffer. Windows also has a built-in recorder, covered in how to use Xbox Game Bar. On an AMD card, see NVIDIA app vs AMD Software for AMD's equivalent, and our best free screen recording software for other choices.
Our verdict
To record gameplay with the NVIDIA app, press Alt+Z, set quality, codec, save location and audio under Settings, then use Alt+F9 for full recordings or turn on Instant Replay to save moments after they happen. Check the hotkey list in Settings, and record to a drive with plenty of free space.