Recording every gaming session just in case something good happens wastes a lot of disk space. OBS Studio's Replay Buffer is the free alternative: it keeps a rolling window of recent video in memory and saves it to a file only when you ask. This guide follows OBS's own knowledge base and guides posted on the official OBS forums. Forge PC hasn't measured how much memory or performance the buffer uses on different PCs, so there are no figures here.
How the Replay Buffer works
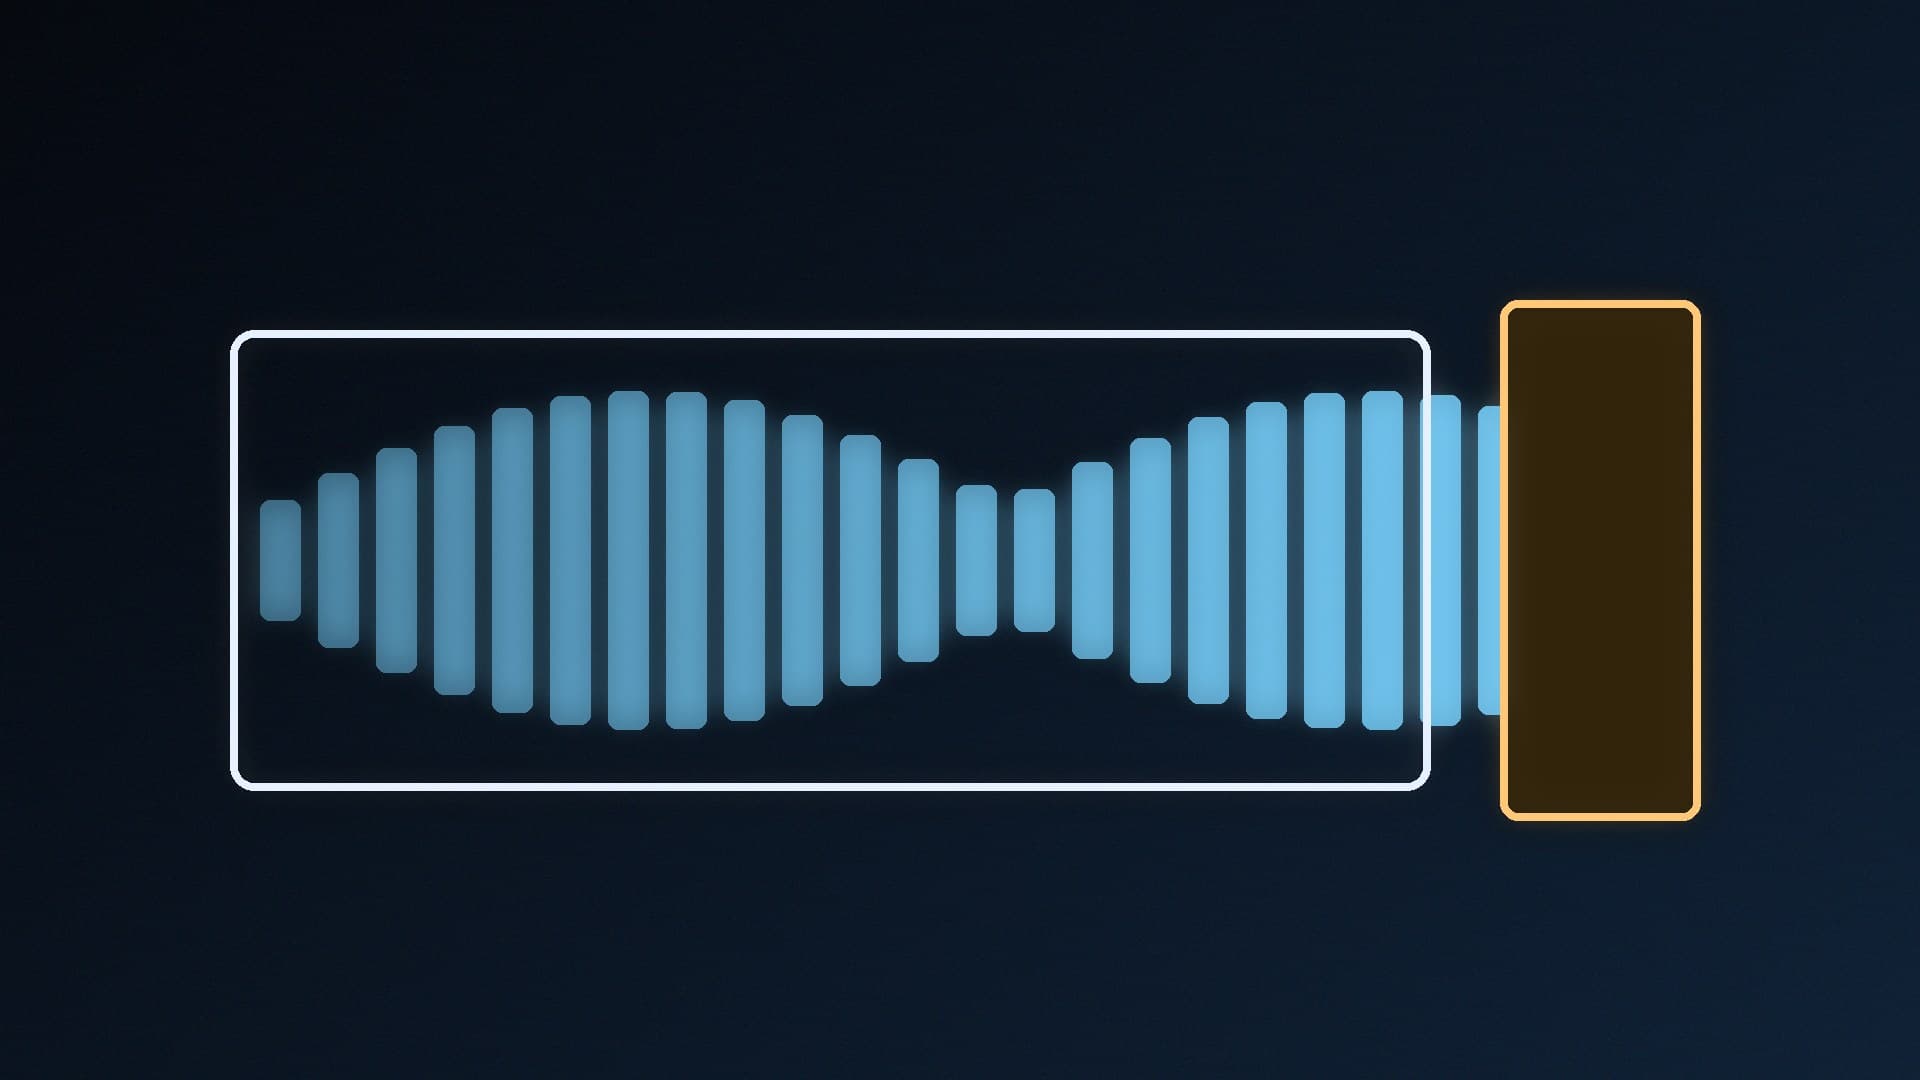
When the Replay Buffer is running, OBS records continuously but holds the footage in RAM rather than writing it to your drive. As one OBS forum volunteer puts it, there's no permanent recording to disk unless you explicitly save the replay buffer. When you press the save hotkey, OBS writes the last stretch of footage (as long as you've set the buffer to be) to a video file and carries on buffering.
The trade-off is memory. The official OBS forum guide notes that longer replay buffers require more memory, so a five-minute buffer will use more RAM than a 30-second one. If you're short on RAM, see how much RAM you need for gaming.
Before you start
Set OBS up to capture your game first. If you haven't done that yet, follow our guide to recording gameplay with OBS Studio, which covers adding a Game Capture or Display Capture source and choosing an encoder.
Step 1: Turn on the Replay Buffer
Open OBS Studio and open Settings.
Select Output.
In the Recording section, tick Enable Replay Buffer.
In the Replay Buffer settings below it, set how much footage you want kept, in seconds. One OBS forum answer uses 300 seconds (five minutes) as an example.
OBS's overview guide describes this option in Simple output mode, which is the default. Advanced output mode gives you more control over recording settings, but the defaults are recommended unless you know why you need to change them.
Step 2: Set a hotkey to save replays
The Replay Buffer is only useful with a save hotkey. OBS's overview guide says the hotkey to save the buffer must be set in the Hotkeys section.
In Settings, select Hotkeys.
Find the Replay Buffer entries.
Click the box next to Save Replay and press the key combination you want, for example Ctrl+Shift+S as used in OBS's forum guide.
Save your settings.
Make sure you set Save Replay, not just Start Replay Buffer and Stop Replay Buffer. As the OBS forum answer points out, those two only start or stop buffering; they don't save anything.
Choose a key combination your games don't already use, so you don't trigger an in-game action at the same time.
Step 3: Start the buffer and save a clip
In the main OBS window, click Start Replay Buffer.
Play as normal. OBS can sit minimised in the background.
When something worth keeping happens, press your Save Replay hotkey. You can also click the small save button with the download icon next to the Replay Buffer button.
To stop buffering, click Stop Replay Buffer.
Test it once before relying on it: start the buffer, wait a minute, press the hotkey and check the file.
Step 4: Find your clips
The OBS forum answer says you can find your saved replays by choosing File > Show Recordings. The OBS forum guide notes that by default the file is in your Videos folder and its name starts with "Replay". OBS's overview guide shows where to set your recording path in Settings > Output.
Optional: start it automatically when streaming
If you stream, the OBS forum guide shows a setting in Settings > General to Automatically start replay buffer when streaming, so you don't forget to start it.
Replay Buffer or Xbox Game Bar?
Windows 11's built-in Xbox Game Bar can also save recent gameplay. It's quicker to set up, but OBS gives you far more control over sources, scenes and encoder settings. See how to use Xbox Game Bar in Windows 11 and our pick of the best free screen recording software to compare.
Our verdict
The OBS Replay Buffer is the easiest way to capture great moments without recording hours of footage. Tick Enable Replay Buffer under Settings > Output, choose how many seconds to keep, set a Save Replay hotkey under Hotkeys, then click Start Replay Buffer before you play. Keep the length reasonable, because longer buffers use more memory.