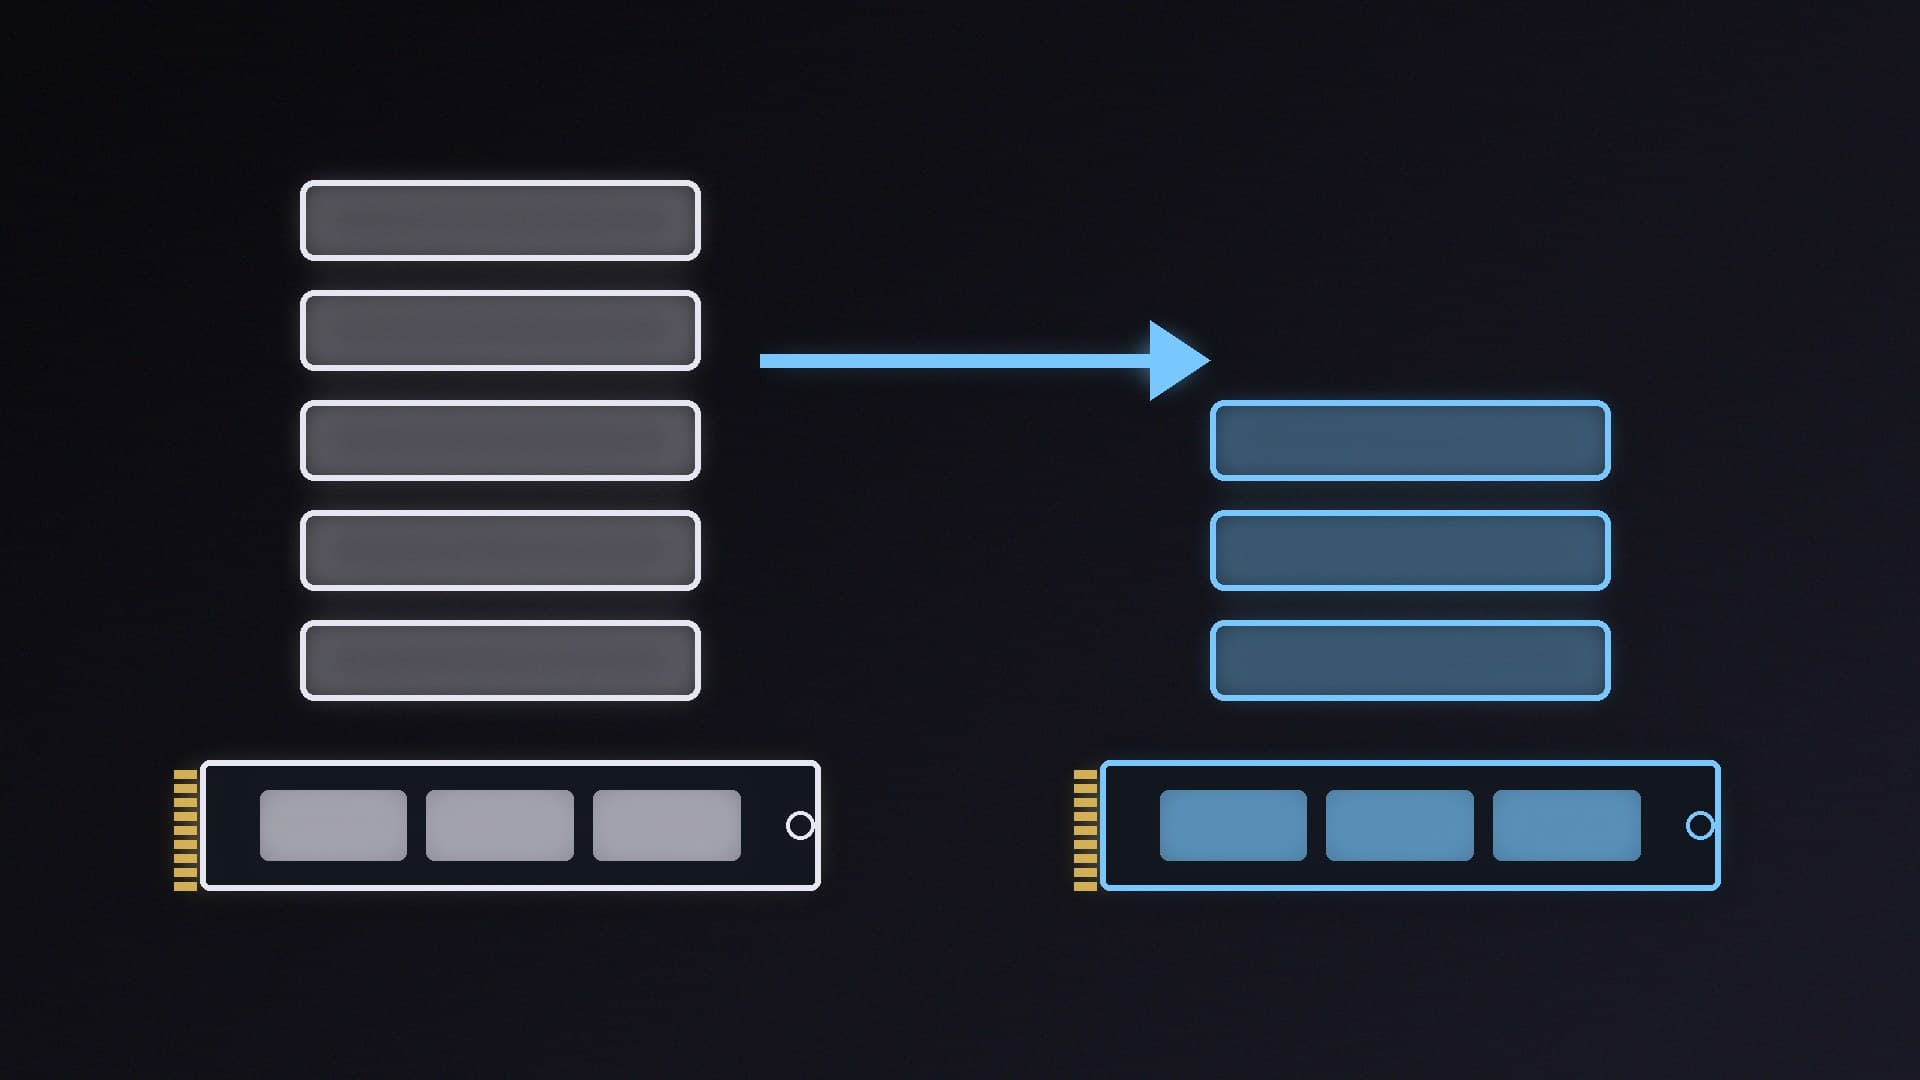
Modern games, Windows updates and app caches fill an SSD quickly. Once the system drive is nearly full, Windows can struggle to install updates, and games may refuse to install or patch. The good news is that Windows 11 has several built-in tools that can recover tens of gigabytes without deleting anything you care about.
This guide follows Microsoft's own support documentation. Forge PC has not measured how much space each step saves, because that depends entirely on your PC. Work through the steps in order, from the safest to the more permanent, and make sure your important files are backed up first using our Windows 11 backup guide.
Step 1: See what is using the space
Go to Start > Settings > System > Storage. Windows shows how your system drive is being used, split into categories such as apps, temporary files and other files. Microsoft says you are in a low disk space state when the capacity bar on this page turns red.
To check your other drives, open Advanced storage settings > Storage used on other drives.
Step 2: Use Cleanup recommendations
This is the safest place to start, because Windows suggests items and shows how much space each would free.
Go to Settings > System > Storage > Cleanup recommendations.
Review each category: Temporary files, Large or unused files, Files synced to the cloud and Unused apps.
Select only items you are sure you do not need, then clean them up.
A note on Windows.old. If it has been fewer than 10 days since you upgraded Windows, Microsoft says your previous version appears as a system file you can delete. That frees a lot of space, but it removes the Windows.old folder that lets you go back to the previous version. If you have just installed a feature update, such as the one in our Windows 11 26H2 guide, wait until you are happy with it.
Step 3: Turn on Storage Sense
Storage Sense automatically deletes things you are unlikely to need, such as temporary files and old items in the Recycle Bin. Microsoft says it is off by default.
Go to Settings > System > Storage and set Storage Sense to On.
Click Storage Sense to choose how often it runs.
Set how long files can stay in the Recycle Bin and the Downloads folder before they are deleted. Leave Downloads set to "Never" if you keep things there.
If you use OneDrive, you can choose when files you have not opened become online-only.
Keep in mind that Storage Sense only works on the system drive, usually C:. Microsoft says it does not manage your Downloads folder or cloud content unless you tell it to, and it cannot run unless you have been signed in and online for more than 10 minutes.
Step 4: Use OneDrive Files On-Demand
If your documents and photos are in OneDrive, Files On-Demand keeps a small placeholder on the PC instead of the full file, and downloads it when you open it. Microsoft notes that since Windows 11 version 22H2, Storage Sense's default for OneDrive is to make files online-only if they have not been opened for more than 30 days. This can save a lot of space if you have a large photo library, but you will need an internet connection to open those files.
Step 5: Move games to another drive
Games are often the biggest users of space. Do not drag and drop game folders in File Explorer; use the launcher's built-in tools so the game keeps working. In Steam, Seagate's guide explains the process:
Open Steam > Settings > Storage, and add your second drive as a library folder if it is not listed.
Select the drive the game is on, tick the games you want to move, and click Move.
Choose the destination drive and click Move again.
Afterwards, right-click the game and choose Properties > Installed Files > Verify integrity of game files to check it.
You can also tell Windows to save new apps, documents, music and other content to another drive at Settings > System > Storage > Advanced storage settings > Where new content is saved.
Step 6: Run Disk Cleanup for system files
The older Disk Cleanup tool can still remove some system files.
Search for Disk Cleanup in the Start menu and open it.
Select Clean up system files, choose the drive, and click OK.
Tick the types of file you want to delete, such as Windows Update cleanup files, and click OK.
Microsoft notes that the option to clean up updates helps reduce the size of the component store, the WinSxS folder.
Step 7: Shrink the WinSxS folder the right way
The WinSxS folder can look huge, but do not delete it. Microsoft is explicit: reduce it with Windows' own tools instead. Windows already runs a scheduled task, StartComponentCleanup, that removes old component versions at least 30 days after an update. To do it straight away, open Terminal or Command Prompt as administrator and run:
Dism.exe /online /Cleanup-Image /StartComponentCleanup
Microsoft says this deletes previous versions of updated components immediately, without the 30-day grace period. There is a more aggressive option with /ResetBase added. It removes all superseded component versions, but Microsoft warns that existing updates can then no longer be uninstalled. Only use it if your PC is stable on its current updates.
Step 8: Turn off hibernation (optional)
Windows reserves a hidden file, Hiberfil.sys, for hibernation. Microsoft says it is roughly the same size as your installed RAM, so on a 32GB PC it can take up a lot of space. If you never use hibernation:
Open Terminal or Command Prompt as administrator.
Run powercfg.exe /hibernate off.
Microsoft notes that hybrid sleep stops working when hibernation is turned off, and you can turn it back on with powercfg.exe /hibernate on. Laptop users who rely on hibernation should skip this step.
Step 9: Compress the drive (last resort)
If you only need a little room to install an update, Microsoft says you can compress the OS drive. In File Explorer, right-click the C: drive, choose Properties, tick Compress this drive to save disk space, then click Apply. Microsoft says this does not delete anything, and you can decompress it afterwards. On a gaming PC, freeing space with the steps above or adding storage is a better long-term fix.
What not to do
Do not delete files from the Windows, WinSxS, Program Files or System32 folders by hand.
Do not use "registry cleaner" or "PC booster" apps that promise to free space; Windows' own tools are safer.
Do not fill an SSD right to the brim. Keeping some free space helps updates and day-to-day use.
When it is time for a bigger drive
If you keep running out of room, more storage is the real fix. Our best SSD guide covers drives for every budget, and our SSD cloning guide shows how to move Windows to a larger drive without reinstalling. It is also worth checking your current drive with our SSD health guide.
Our verdict
Start with Cleanup recommendations and Storage Sense, which are safe and reversible, and move large games to a second drive using Steam's own tools. If you need more, run Disk Cleanup and the DISM StartComponentCleanup command, and turn off hibernation if you do not use it. Never delete the WinSxS folder or other system folders by hand. If space keeps running out, a larger SSD is the better fix. Forge PC has not measured the space savings, which vary from PC to PC; the steps here come from Microsoft's own documentation.