Most local AI image apps start from a text prompt. Krita AI Diffusion works the other way round: it plugs into Krita, the free open-source painting program, so you can sketch, select and paint, and let AI fill in, extend or refine parts of your picture. It can run entirely on your own graphics card.
Forge PC hasn't tested the plugin on a range of hardware. The steps and requirements below come from the plugin's official installation handbook and its GitHub page. At the time of writing, the latest release on GitHub was version 1.53.0, and the plugin is free and licensed under GPL-3.0.
What it can do
According to the developer, the plugin's features include:
Inpainting: use selections for generative fill, to expand an image, or to add or remove objects.
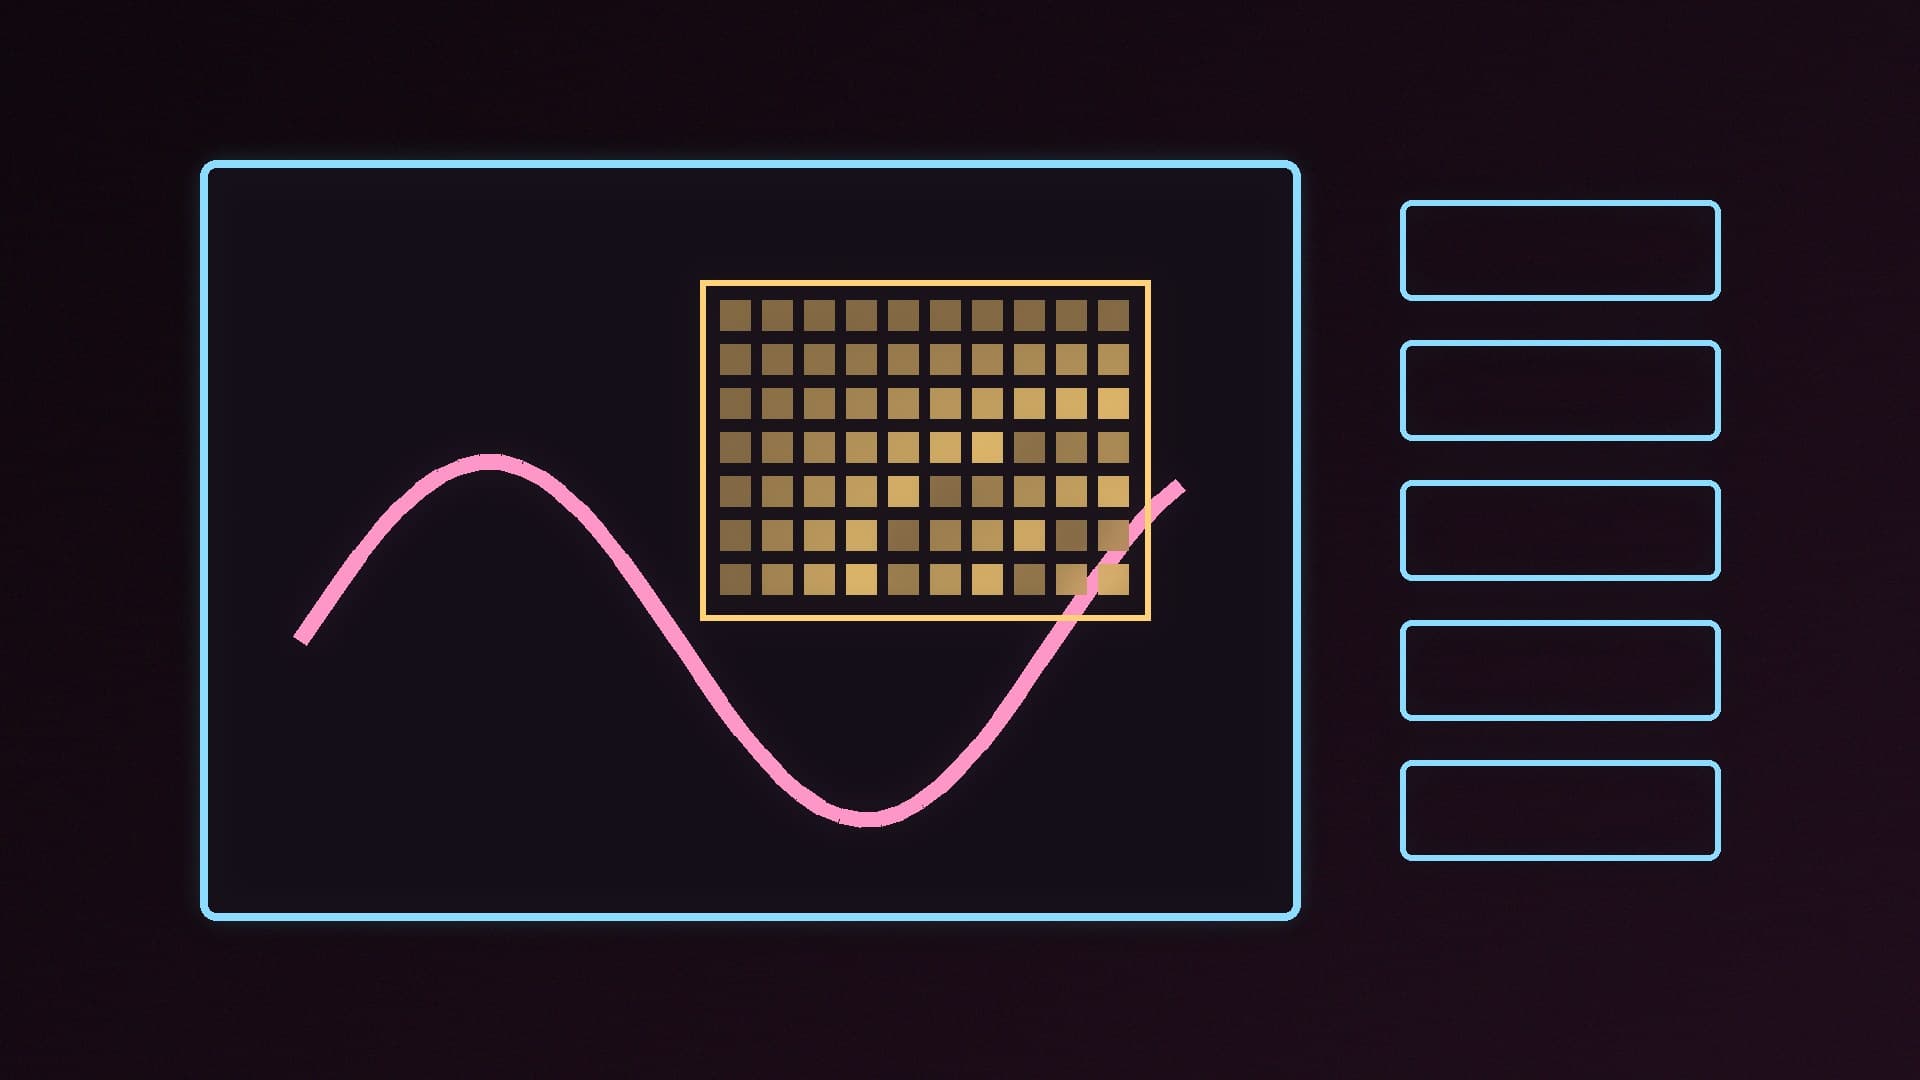
Live Painting: the AI interprets your canvas in real time as you paint.
Upscaling to 4K, 8K and beyond.
ControlNet guidance from scribbles, line art, poses, depth and more.
IP-Adapter for reference images and style transfer.
Regions, which let you give different text descriptions to areas defined by layers.
It supports a range of image models, including Stable Diffusion 1.5 and XL, Flux 2 and others listed on its GitHub page.
What you need
Krita 5.2 or later. The developer says Krita 5.x users should use the latest 1.x release of the plugin. On Windows, it recommends downloading Krita directly from krita.org, because some packages can't be installed while running the Microsoft Store or Steam versions.
A capable graphics card if you want to generate locally. The GitHub page recommends an NVIDIA card with at least 6GB of video memory, and warns that otherwise generation may take very long or fail due to insufficient memory. The installation handbook lists NVIDIA RTX 2060 or better, Intel Arc cards with 8GB or more, and ROCm-enabled AMD cards. AMD (ROCm) and Intel (XPU) GPUs are supported on Windows and Linux. CPU-only generation works but is very slow.
Plenty of storage. The handbook warns that AI models can be very large: 10GB is the minimum, and 50GB or more isn't unusual depending on what you install.
An up-to-date graphics driver.
Not sure how much video memory you have? See how to check VRAM usage in Windows and our guide to how much VRAM you need.
Step 1: Install the plugin
Install Krita 5.2 or later from krita.org.
Download the latest 1.x release of the plugin from its GitHub releases page as a ZIP file, and note where you saved it. Don't unzip it.
Run Krita and go to Tools > Scripts > Import Python Plugin from File…
Select the ZIP file. When asked whether to enable the plugin, choose Yes.
Restart Krita.
Step 2: Open the AI Image Generation docker
Create a new document. The handbook suggests starting with a low resolution.
Enable the plugin's panel from the menu bar: Settings > Dockers > AI Image Generation.
Step 3: Choose a server
Click Configure in the docker. The plugin offers three backends:
Local Managed Server: the plugin downloads and installs the server on your PC. The developer says this needs a powerful GPU.
Online Service: create an account and generate on cloud GPU workers, with no installation or hardware needed. The developer's service has its own pricing and terms.
Custom Server: connect to an existing ComfyUI server, local or remote. This is the most flexible option, but you have to install the required custom nodes and models and run the server yourself. If you already use ComfyUI, see our guide to installing ComfyUI on Windows.
Step 4: Install the local server
If you chose Local Managed Server, the handbook's steps are:
Choose where to install it, on a drive with plenty of free space.
Choose the backend before installing: CUDA for NVIDIA graphics cards, ROCm for AMD and XPU for Intel.
Select the workloads you want. Each one installs a set of recommended models, and the download grows with every model you add.
Optionally, use the Individual Packages tab to pick specific models. You can come back later to add more.
Click Install and wait for the download to finish.
Step 5: Start creating
Once the server is running, you can type a prompt in the docker and generate onto your canvas, or make a selection to inpaint just that area. Switch to Live Painting mode to see the AI respond as you paint. Start with small images while you learn how long generation takes on your card, then upscale your favourites.
Getting help
The developer asks users to search the plugin's GitHub issues first, then open a new issue, use GitHub Discussions or join its Discord. The handbook notes that official Krita channels can't offer support for issues with the plugin.
If you're on an AMD graphics card, our guide to running local AI on AMD Radeon covers drivers and ROCm, and ComfyUI vs Amuse compares two other popular image apps. For a whole system, see building a PC for Stable Diffusion and Flux.
Our verdict
Krita AI Diffusion is a free way to bring local AI image generation into a proper painting app, with inpainting, live painting and upscaling. Install Krita 5.2 or later from krita.org, import the plugin's ZIP via Tools > Scripts > Import Python Plugin from File, enable the AI Image Generation docker, and let it install a local server on an NVIDIA card with 6GB or more of video memory, or on supported AMD or Intel cards. Forge PC hasn't tested it across hardware; these steps follow the developer's documentation.