A second monitor makes it much easier to keep a guide, chat or browser open while you game, work or stream. Windows 11 supports multiple displays out of the box, and most graphics cards have three or four video outputs. This guide shows how to connect, arrange and configure two monitors, and what to do if one isn't detected.
Forge PC hasn't tested this on every setup. The steps follow Microsoft's official Windows 11 support guides; menu names can vary slightly between Windows 11 versions.
What you need
Two monitors and a cable for each, such as DisplayPort or HDMI.
Enough video outputs. On a desktop with a graphics card, check the ports on the card itself.
Up-to-date Windows and graphics drivers. Microsoft recommends checking for Windows updates before changing display settings.
Microsoft warns that a display splitter won't let you extend your desktop across two monitors, because it duplicates the same signal rather than creating two independent ones. If your PC has only one video output, you'll need a dock or a USB-C adapter that adds another output.
Step 1: Connect both monitors to the graphics card
On a desktop with a dedicated graphics card, plug both monitors into the ports on the graphics card, not the motherboard's video outputs. The motherboard ports use the processor's integrated graphics, if it has any, and are often disabled when a graphics card is installed.
Turn both monitors on and choose the right input on each one.
Step 2: Open Display settings and identify your monitors
Right-click the desktop and select Display settings, or go to Settings > System > Display.
When Windows detects more than one display, it shows numbered boxes at the top of the page.
Select Identify to show each display's number on its screen.
If a monitor you've connected doesn't appear, expand Multiple displays and select Detect.
Step 3: Choose Extend or Duplicate
Press Windows key + P to choose how Windows uses your displays:
PC screen only: shows things on one display only.
Duplicate: shows the same thing on all displays.
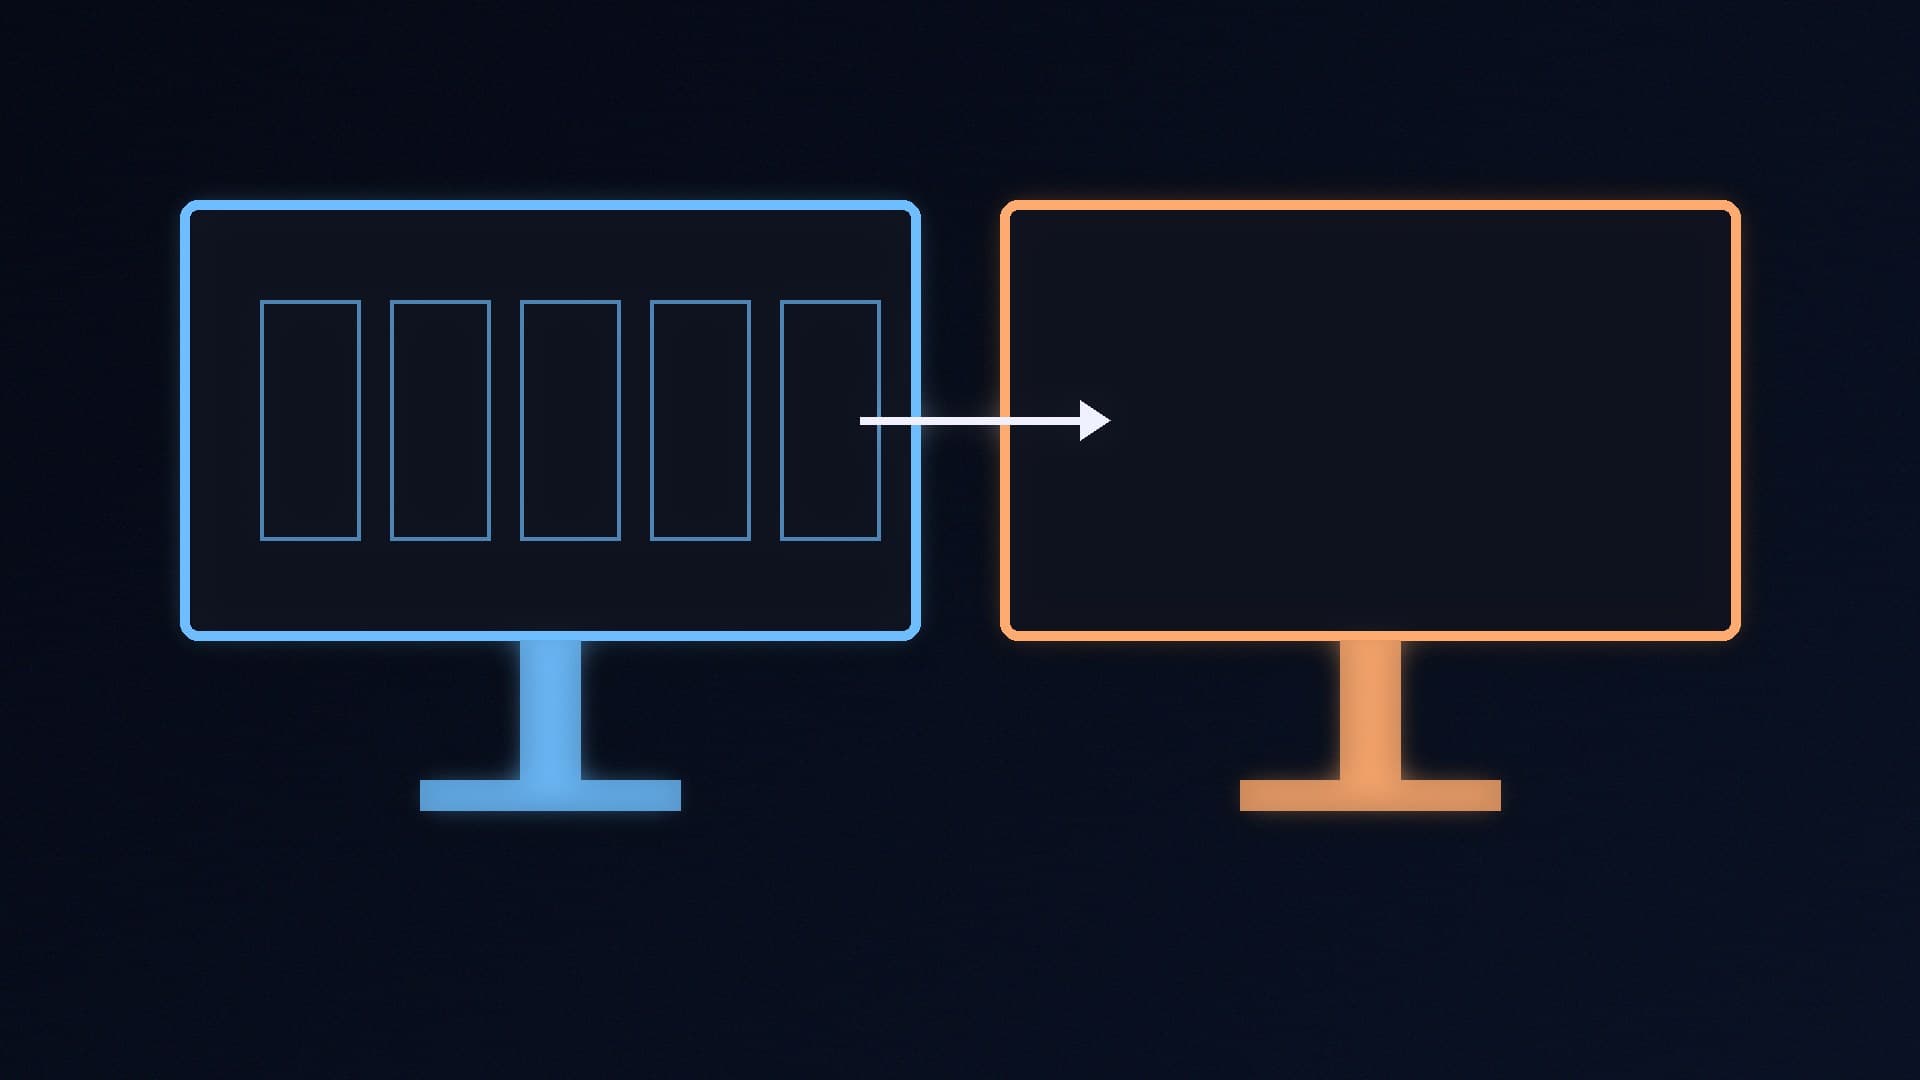
Extend: spreads your desktop across both screens so you can move windows between them. This is the one most people want.
Second screen only: shows everything on the second display only.
You can also choose these options from the drop-down menu in Display settings.
Step 4: Arrange your monitors
In Display settings, drag the numbered boxes so they match how your monitors sit on your desk, for example side by side or one above the other. Line up the edges so your mouse moves smoothly between screens, then select Apply. Test the layout by moving your mouse pointer across both displays.
Step 5: Choose your main display
Select the monitor you want as your main screen, usually the one in front of you that you game on, and tick Make this my main display. Most games open on the main display by default.
Step 6: Set resolution and refresh rate for each monitor
Select each monitor in turn and check its resolution and scale under Display settings. If you have a high-refresh gaming monitor, Windows may default to 60Hz, so set the refresh rate separately for each display. Our guide on how to change your monitor's refresh rate shows how, and our HDR setup guide covers HDR monitors.
Step 7: Set what happens when a monitor is disconnected
Under Multiple displays, Microsoft lists two checkboxes you can turn on or off:
Remember window locations based on monitor connection puts windows back where they were when you reconnect a monitor.
Minimize windows when a monitor is disconnected minimises the windows that were on a monitor when you unplug it, rather than leaving them open on your remaining screen.
If a monitor isn't working
Microsoft's troubleshooting guide suggests these steps:
Check the cable is secure at both ends, and try a different cable to rule out a faulty one.
Try another video output on your PC.
Try the monitor with a different PC to see whether the problem is the monitor or your PC.
Disconnect docks, adapters and other accessories that might conflict.
Press Windows key + Ctrl + Shift + B to reset the graphics driver, then restart if that doesn't help.
If the problem started after a driver update, roll back or reinstall the display driver from Device Manager. Our clean graphics driver install guide explains a full reinstall.
If one external monitor works but a second doesn't, Microsoft notes your graphics card may not support that many displays, so check its specifications.
Gaming tips for two monitors
Run games in full screen on your main display. If a game opens on the wrong monitor, set the right one as your main display before launching it.
Mixing different refresh rates, such as a 165Hz gaming monitor and a 60Hz second screen, works, but set each monitor's refresh rate yourself.
If you're choosing a second monitor, our best 1080p gaming monitor and IPS vs VA vs TN guides can help.
Our verdict
Setting up dual monitors in Windows 11 takes a few minutes: plug both into your graphics card, press Windows key + P and choose Extend, then arrange the displays, pick your main screen and set each monitor's refresh rate in Settings > System > Display. If a monitor isn't detected, try Detect, check cables and ports, and reset or reinstall the graphics driver. These steps follow Microsoft's official Windows 11 support guides.