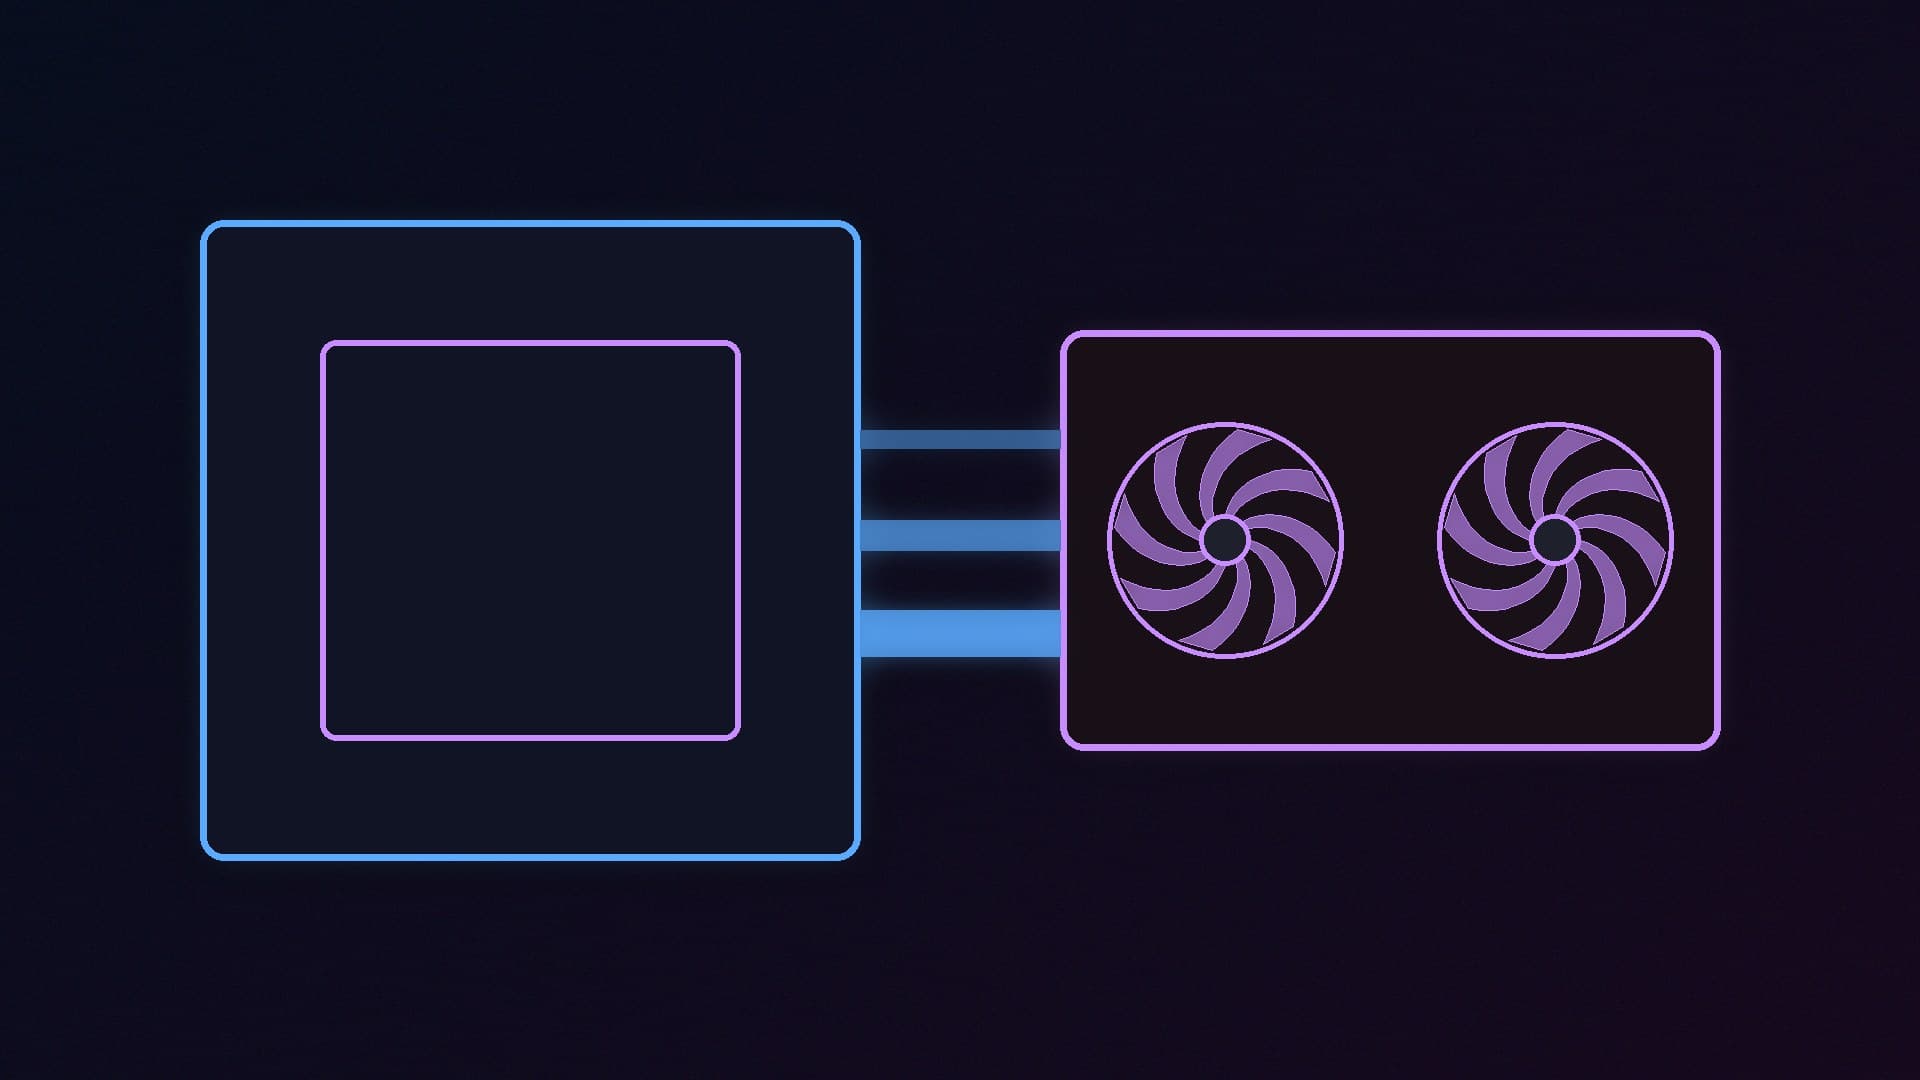
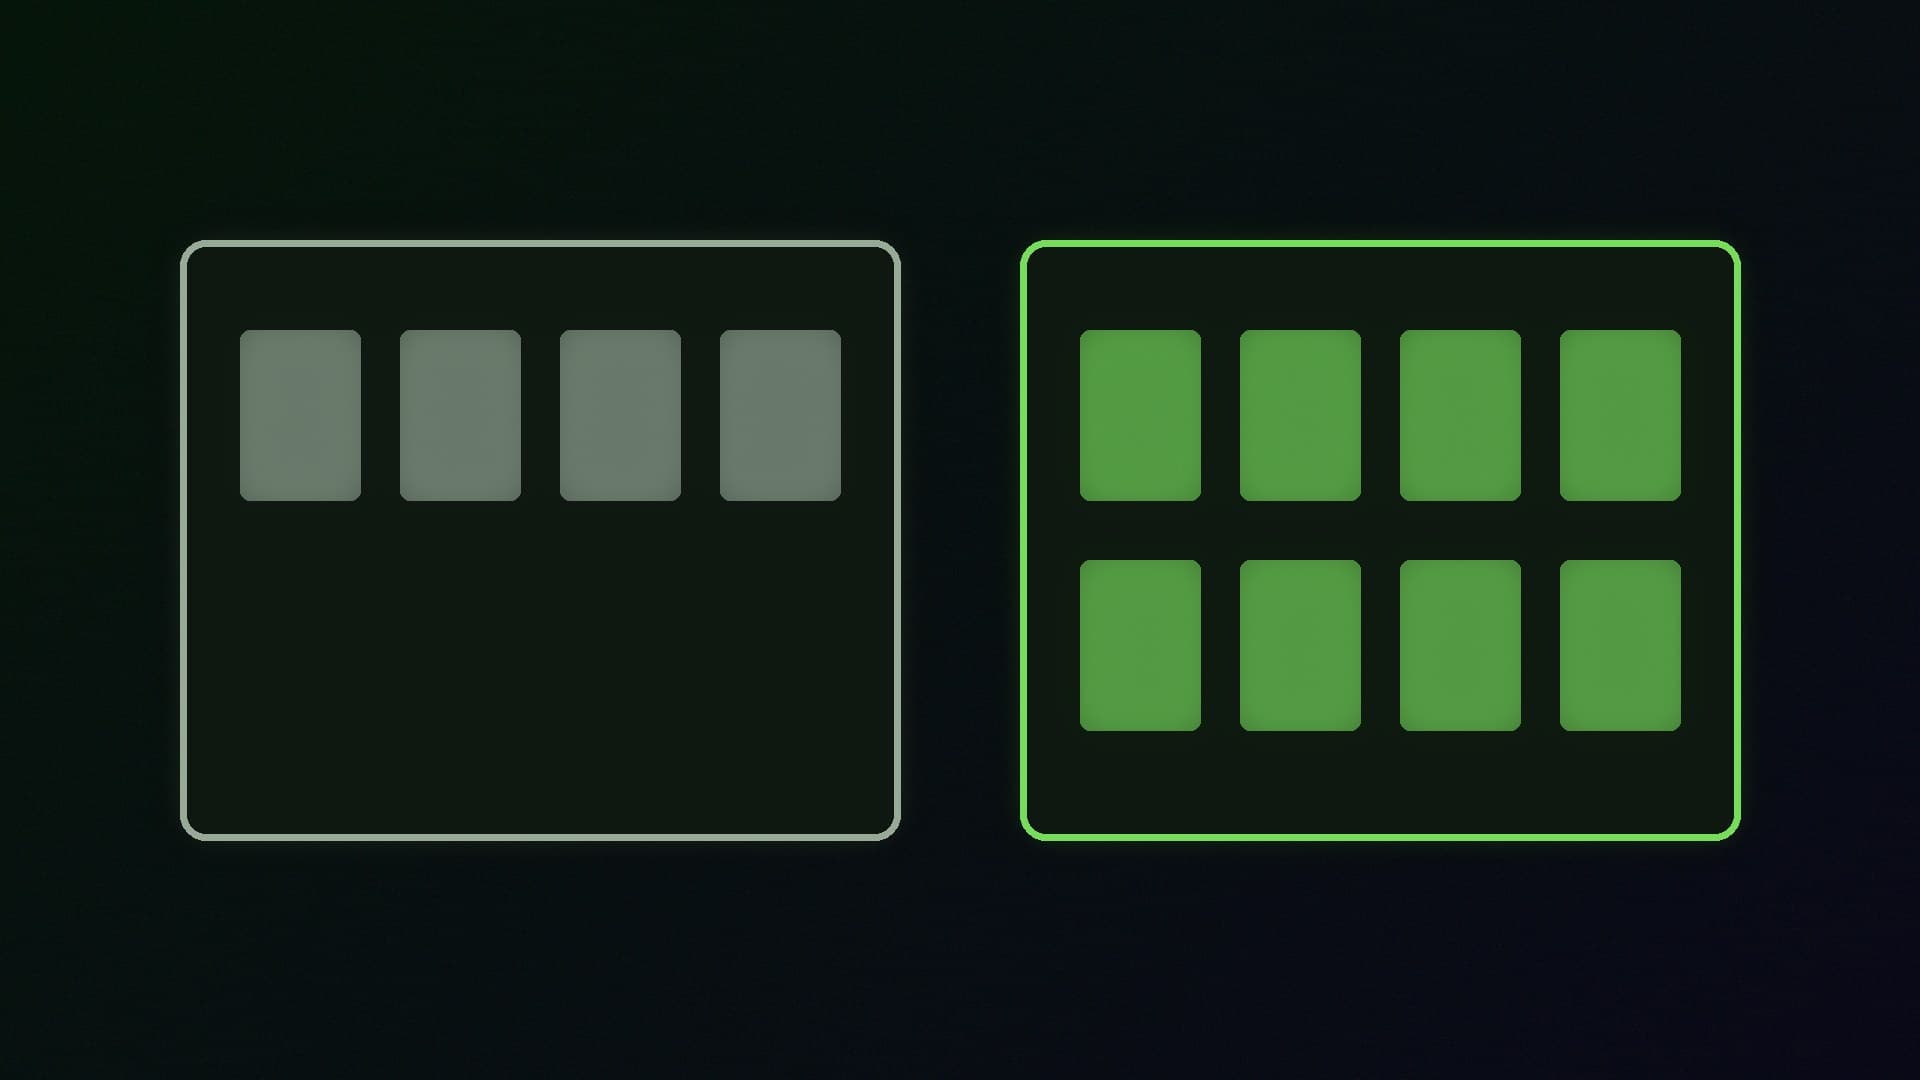
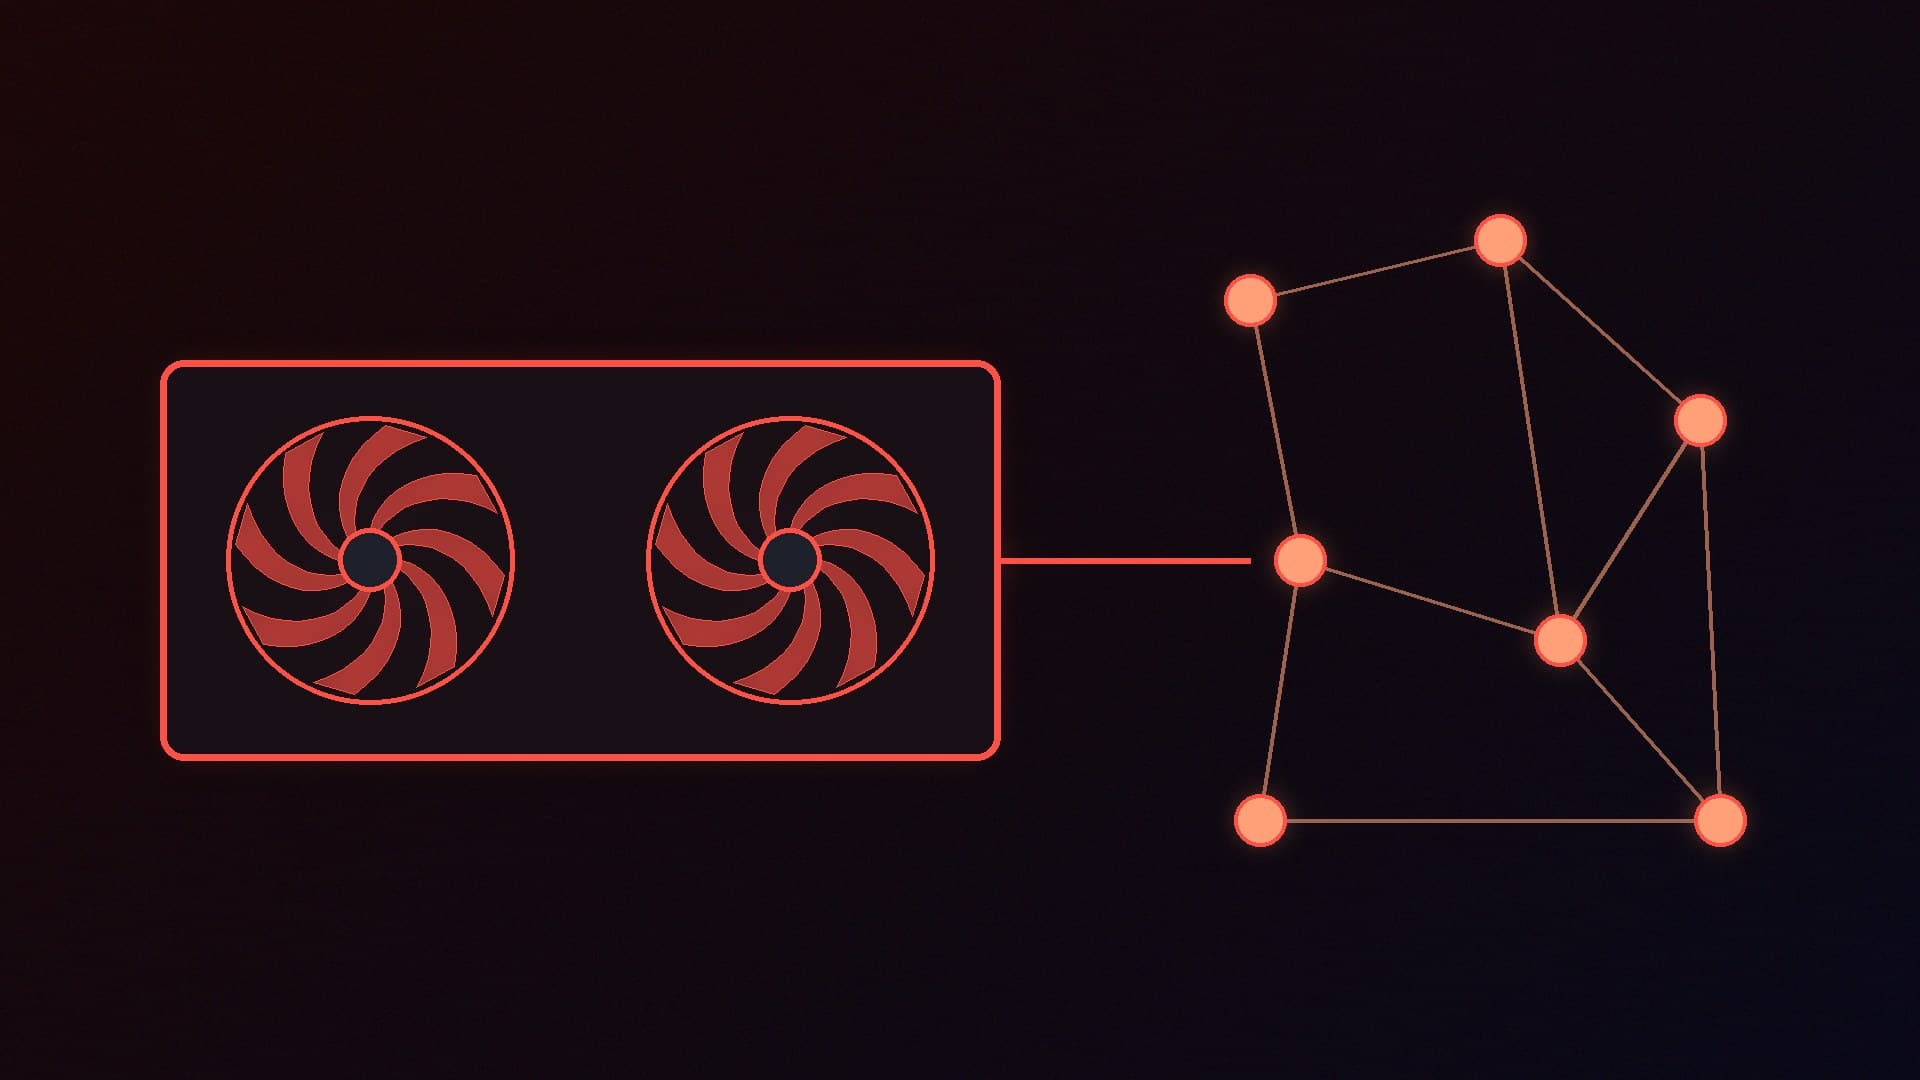
Resizable BAR is a PCI Express feature that lets your processor access your graphics card's memory more efficiently. AMD calls its version Smart Access Memory, and some boards call it Re-Size BAR or Clever Access Memory, but they all refer to the same setting. It is not always switched on, so it is worth checking, particularly on an older system that has had a graphics card upgrade. Turning it on takes a few minutes in your motherboard's firmware.
Forge PC has not measured the performance effect of Resizable BAR on our own hardware. The steps below follow Intel's, NVIDIA's, AMD's and Microsoft's official documentation. Menu names vary between motherboard makers, so keep your board's manual to hand.
What you need
A graphics card that supports Resizable BAR. NVIDIA added support from the GeForce RTX 30 series, and current AMD Radeon and Intel Arc cards support it.
A processor and motherboard that support it, with up-to-date firmware. NVIDIA says the CPU, motherboard and system BIOS all need to support it, and Intel advises using your board's latest firmware with Resizable BAR support.
Windows installed in UEFI mode on a GPT disk. Intel says Compatibility Support Module (CSM) or Legacy mode must be disabled and UEFI boot enabled.
An up-to-date graphics driver. Our graphics driver update guide covers each brand.
If your board needs a firmware update first, follow our guide to updating your BIOS safely. Note that some firmware updates reset your settings, including memory profiles, so you may need to turn XMP or EXPO back on afterwards.
Step 1: check your Windows disk is GPT
This is the step that catches people out. If Windows was installed years ago in Legacy/CSM mode, its disk may use the older MBR partition style, and turning CSM off will stop it booting until the disk is converted.
Microsoft's MBR2GPT tool, included in Windows\System32 on supported versions of Windows, converts the system disk from MBR to GPT without modifying or deleting data. Microsoft's documentation describes two main options:
mbr2gpt /validate /allowFullOS
mbr2gpt /convert /allowFullOS
Run these from an elevated command prompt. /validate only checks whether the disk can be converted, and /convert performs the conversion if every check passes. /allowFullOS lets the tool run from inside Windows rather than from Windows PE. Microsoft says that after conversion, the firmware must be set to boot in UEFI mode, and that BitLocker protection must be suspended before converting an encrypted disk.
Back up first, even though the tool is designed not to touch your data. Our Windows 11 backup guide covers the built-in options. If you are not sure whether your disk is MBR, run the /validate command first. One of MBR2GPT's checks is that the disk currently uses MBR, so a disk that is already GPT will not pass, and it does not need converting.
Step 2: turn off CSM and enable UEFI boot
Restart and press the key to enter your firmware settings during start-up. Intel says this is usually Delete, and AMD says it is usually Delete or F2. Find the CSM or Compatibility Support Module option, which AMD says is typically under the Boot menu, and disable it. Make sure UEFI boot is enabled.
AMD's support article, last updated on 7 August 2026, says UEFI mode is important for optimal compatibility, performance and user experience with Radeon RX 9000 series and newer cards. It warns that in CSM mode, modern graphics cards may lose access to motherboard features such as Smart Access Memory.
Step 3: enable Above 4G Decoding and Re-Size BAR
Intel's instructions are to set both of these to Enabled, or Auto if there is no Enabled option:
Above 4G Decoding
Re-Size BAR Support
Where these options sit varies by motherboard, so check your manual if you cannot find them. Save your settings and restart.
Step 4: check it is working
How you check depends on your graphics card:
NVIDIA: open the NVIDIA Control Panel, click System Information in the bottom-left corner and look for "Resizable BAR". NVIDIA says that if it says Yes, you are set. If it says No, check the setting is enabled in your BIOS and restart.
Intel Arc: Intel says to use the Intel Driver and Support Assistant to confirm Resizable BAR is enabled.
AMD Radeon: check that Smart Access Memory is enabled in your motherboard's settings, as described above. AMD's article focuses on making sure the PC is in UEFI mode first.
What difference will it make?
Do not expect a guaranteed boost in every game. NVIDIA's original announcement said the benefit varies substantially from game to game, and that some titles even lose performance. NVIDIA uses game profiles to enable Resizable BAR only where it helps. Intel says enabling it "can result in a performance improvement". Turning it on is about making sure your card is set up the way its maker intends, not about chasing a specific number.
If anything goes wrong after changing these settings, such as a black screen or a PC that no longer boots, our no display or signal guide and PC won't boot guide will help. If you turned CSM off before converting an MBR disk, turning CSM back on should let that install start again so you can convert it.
Our verdict
To enable Resizable BAR, update your motherboard firmware, make sure Windows is on a GPT disk (converting it with Microsoft's MBR2GPT tool if necessary, after a backup), disable CSM, and enable Above 4G Decoding and Re-Size BAR Support. Then confirm it in the NVIDIA Control Panel's System Information or Intel's Driver and Support Assistant. It is especially worth doing if you have a Radeon RX 9000 card, which AMD says needs UEFI mode for the best experience. We have not benchmarked the setting; this guide follows Intel, NVIDIA, AMD and Microsoft documentation.
The bottom line
To enable Resizable BAR, update your motherboard firmware, make sure Windows is on a GPT disk (converting it with Microsoft's MBR2GPT tool if necessary, after a backup), disable CSM, and enable Above 4G Decoding and Re-Size BAR Support. Then confirm it in the NVIDIA Control Panel's System Information or Intel's Driver and Support Assistant. It is especially worth doing if you have a Radeon RX 9000 card, which AMD says needs UEFI mode for the best experience. We have not benchmarked the setting; this guide follows Intel, NVIDIA, AMD and Microsoft documentation.