Plenty of people now have two computers on one desk: a gaming PC and a work laptop, or a main PC and a small home server. You don't need two monitors and two keyboards to use them. This guide explains the four main ways to share one screen, keyboard and mouse, from free to paid. It's based on manufacturer and Microsoft documentation.
Most monitors have more than one video input, typically a mix of HDMI and DisplayPort, and some have USB-C with DisplayPort Alt Mode.
Connect the first PC to one input, for example DisplayPort.
Connect the second PC or laptop to another input, such as HDMI or USB-C.
Use the monitor's on-screen menu or its input button to switch between them.
This is free and works with any monitor that has two inputs. The downside is that you still need a keyboard and mouse for each machine, or you have to swap the cables. If you're gaming on one PC, connect that one to the input that supports your monitor's full refresh rate. Our DisplayPort vs HDMI for gaming comparison explains the differences.
Option 2: A monitor with a built-in KVM switch
KVM stands for keyboard, video and mouse. BenQ describes a KVM monitor as one with the switch built in, so you can connect several computers to a single monitor and switch between them using the monitor's own controls. Many recent monitors include one: you plug your keyboard and mouse into the monitor's USB ports, connect each PC with a video cable plus a USB upstream cable (or a single USB-C cable that carries both), and the monitor switches the keyboard and mouse with the input.
To set it up:
Plug your keyboard and mouse into the monitor's USB downstream ports.
Connect PC 1 with a video cable and a USB upstream cable (USB-B or USB-C, depending on the monitor).
Connect PC 2 the same way, often with one USB-C cable if it's a laptop.
In the monitor menu, assign each USB upstream port to the matching video input, if the monitor asks you to.
Check the manual for your model, because the names and menu options vary between brands. This is the neatest option if you're buying a new monitor anyway: look for "KVM" in the spec sheet.
Option 3: A separate KVM switch
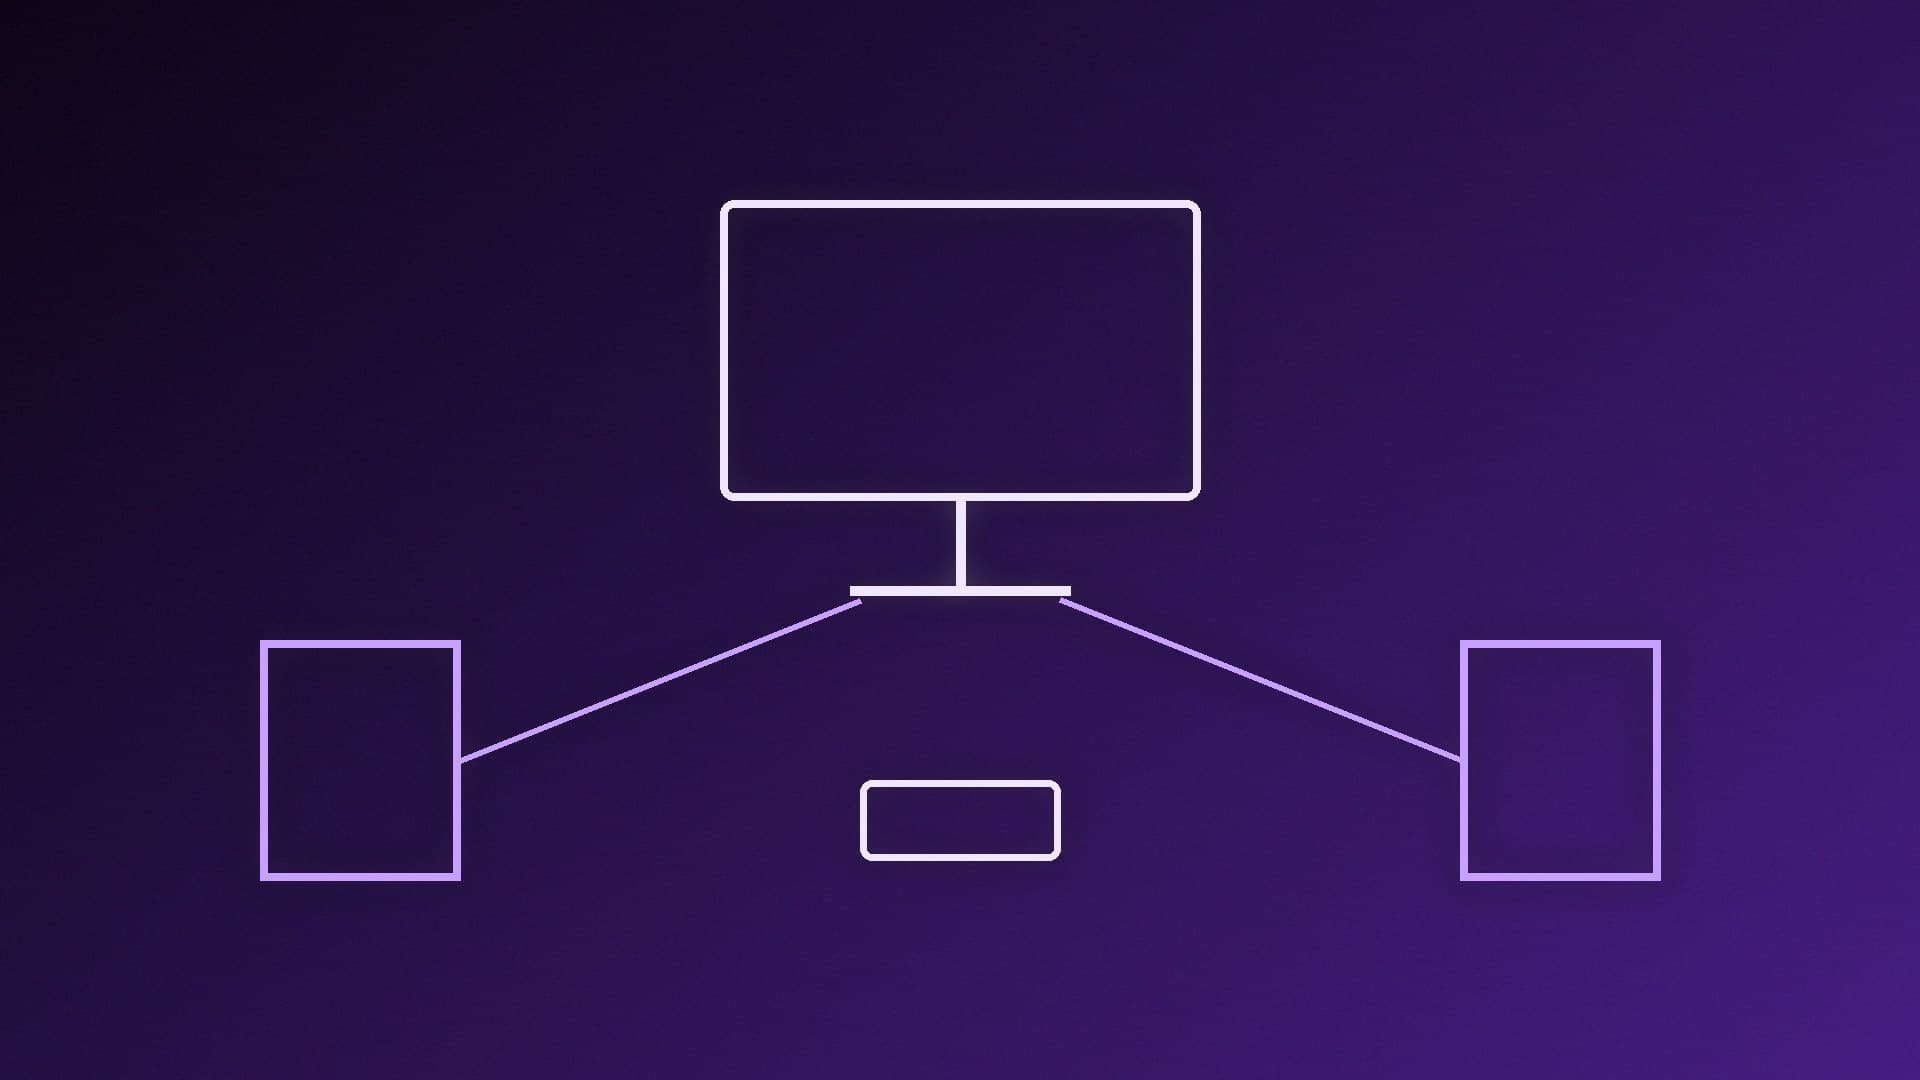
If your monitor doesn't have a KVM, a standalone KVM switch does the same job. Each PC connects to the switch with a video cable and a USB cable; the monitor, keyboard and mouse connect to the switch. A button or hotkey switches everything at once.
What to check before buying:
Video standard and bandwidth. The switch must support your monitor's resolution and refresh rate, or you'll lose high refresh rates.
Ports. Make sure it matches your PCs' outputs (DisplayPort, HDMI or USB-C).
EDID emulation. Some switches keep each PC "seeing" the monitor when it's switched away, which can stop windows jumping around when you switch back.
Option 4: Mouse Without Borders (free, keyboard and mouse only)
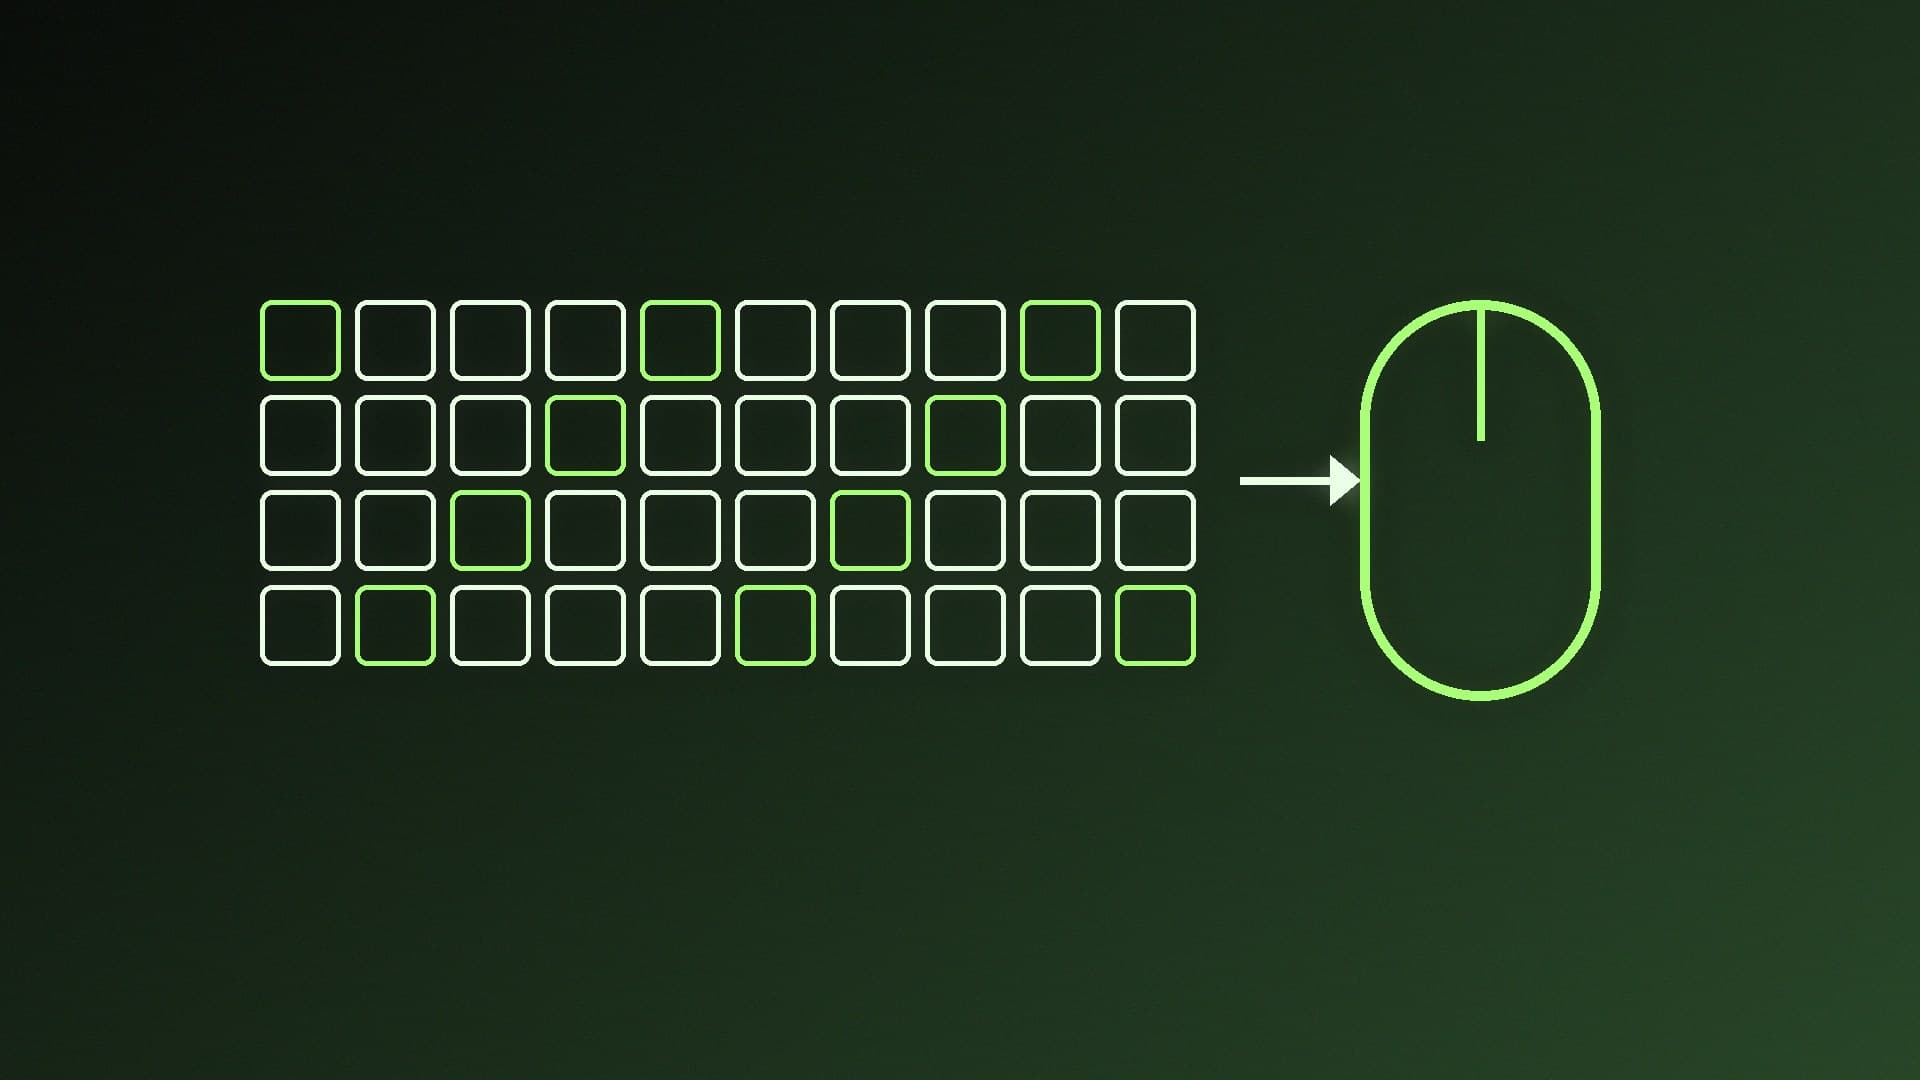
If both PCs have their own screens and you just want one keyboard and mouse, Microsoft's free Mouse Without Borders, part of PowerToys, is the simplest answer. Microsoft says it lets you control up to four computers from the same machine, share the clipboard, and transfer files between them, with a 100MB limit for files copied via the clipboard.
Install PowerToys on both PCs. Our Microsoft PowerToys guide covers installation.
Open Mouse Without Borders in PowerToys Settings on the first PC and select New Key to generate a security key.
On the second PC, enter that security key and the first PC's name, then select Connect.
Move the mouse off the edge of one screen and it appears on the other.
The PCs connect to each other over your network using the other PC's name and the security key, so both need to be able to reach each other.
Bonus: Remote desktop
If the second machine doesn't need its own screen at all, you can control it from your main PC with remote desktop software. See our best free remote desktop software guide. Remote desktop isn't suitable for gaming on the remote PC, but it's fine for a home server or work tasks.
If you'd rather use both screens side by side instead, our guide to setting up dual monitors in Windows 11 covers that.
Our verdict
For occasional switching, use your monitor's spare inputs: it's free. If you switch often, a monitor with a built-in KVM switch is the tidiest setup, and a standalone KVM switch does the same for any monitor as long as it supports your resolution and refresh rate. If both PCs already have screens, Microsoft's free Mouse Without Borders lets one keyboard and mouse control up to four PCs.