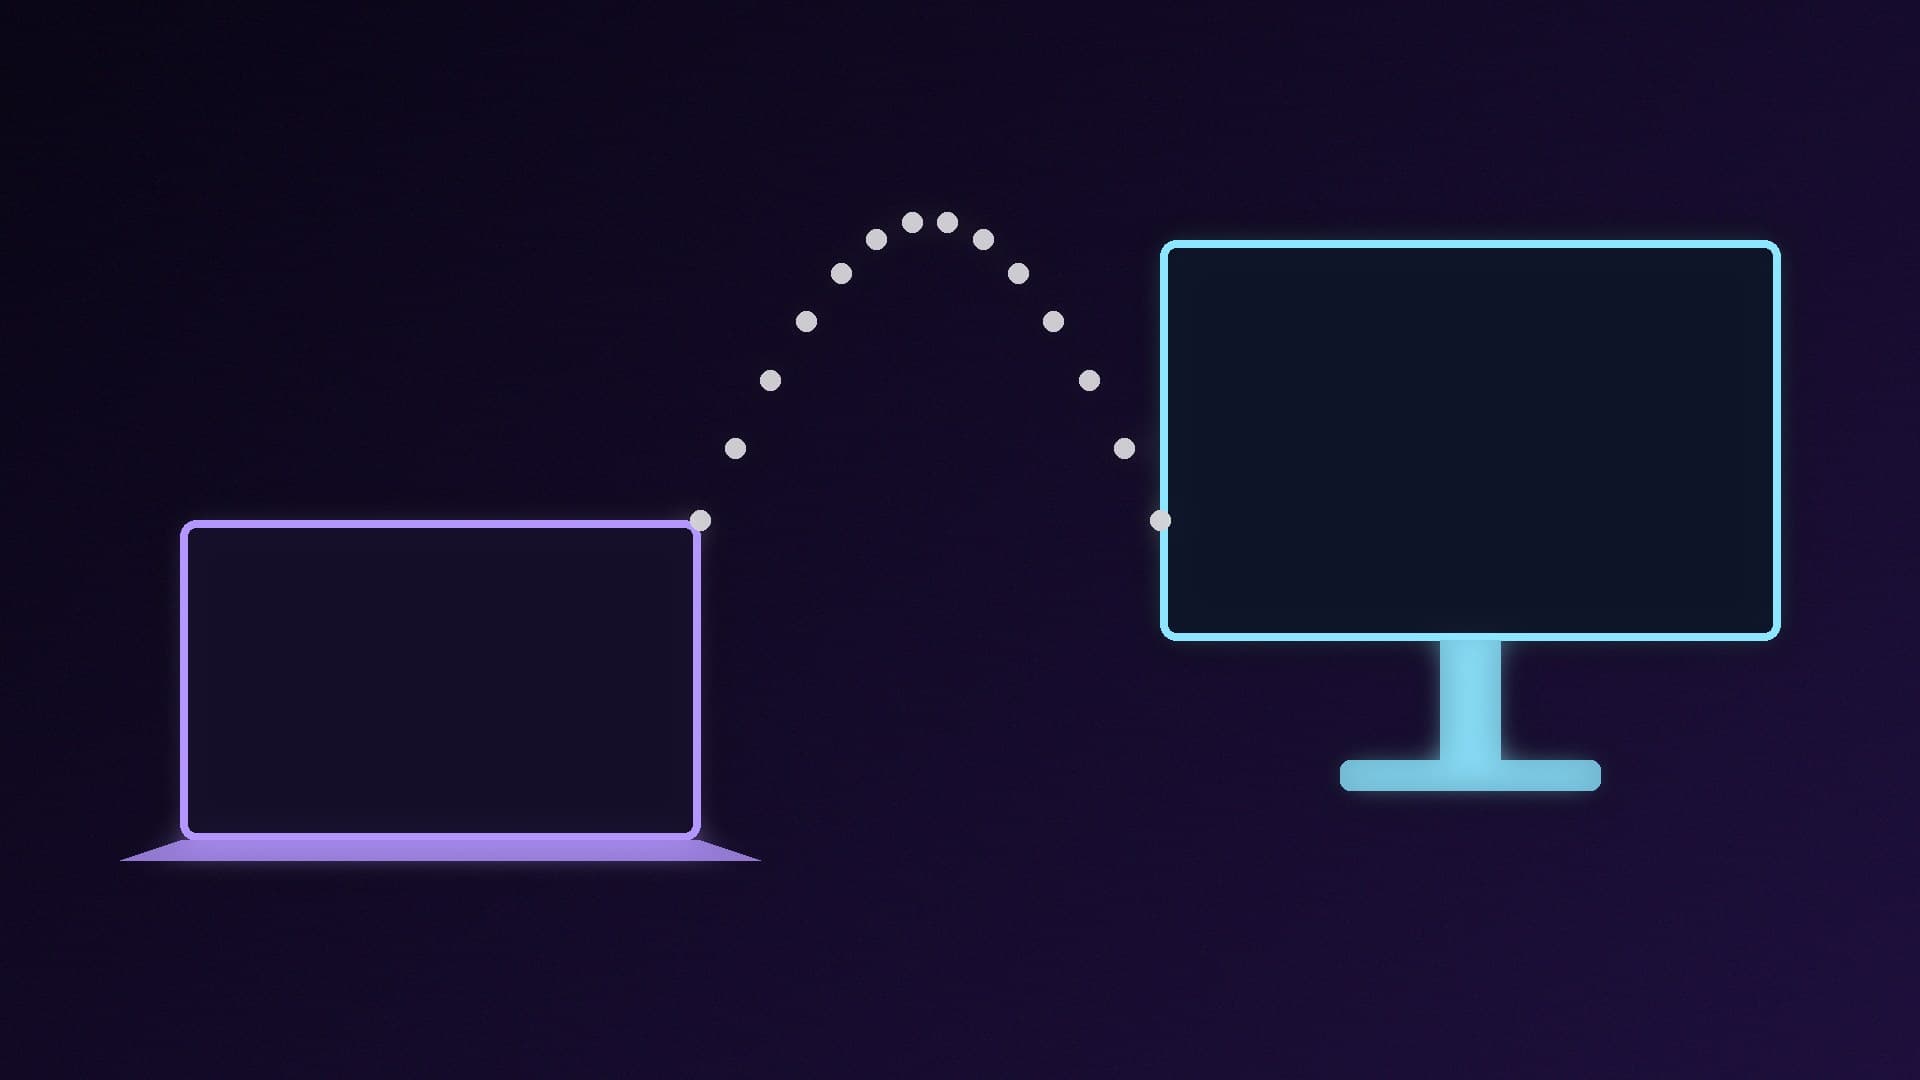
Sunshine is a self-hosted game-streaming host. You install it on the PC that runs the game, and you use a Moonlight client on a laptop, a handheld, a TV box or a phone to play that game over the network. Officially, the recommended way to run Sunshine is to use the binaries from the latest release, and on Windows the MSI installer is preferred.
Forge PC has not measured streaming bitrate, latency or battery life with this setup. The steps below follow LizardByte's official Sunshine getting-started documentation and Moonlight's official client project.
What you need
A Windows 11 PC that can already run the game you want to stream. Sunshine captures the desktop or the game on that machine.
A second device with the official Moonlight client installed. Moonlight is the client; Sunshine is the host. You can get Moonlight from the official Moonlight site, moonlight-stream.org.
A decent local network. Start on the same LAN. Remote streaming over the internet is possible later, but it is not the first setup, and it needs careful port and privacy choices we are not going to gloss over as "just open your router."
An NVIDIA, AMD or Intel GPU that Sunshine can encode with on your platform. Official documentation covers Windows hosts including Intel, AMD and NVIDIA, with HDR on supported encoders.
This is not the same job as a dedicated capture card for recording a console. Sunshine is for playing a PC game somewhere else on your network.
Install Sunshine on Windows
Download the official installer from the latest Sunshine release. For a typical Intel or AMD 64-bit PC that is Sunshine-Windows-AMD64-installer.msi. There is an ARM64 MSI as well, which the documentation currently describes as experimental.
Run the MSI. Officially this is the preferred installer going forward; uninstall an older Sunshine install first if you are moving from a different package. The docs also warn you to select or unselect options carefully rather than enabling everything blindly.
The Windows installer sets Sunshine up as a background service by default. You do not normally need to start it by hand after a reboot.
LizardByte also publishes a "lite" standalone zip. Officially that package reduces performance and is not recommended for most people, so skip it unless you know you need it.
Open the web UI and create an account
Sunshine is configured in a browser, at https://localhost:47990 by default. You can also use the PC's internal IP address. The certificate is self-signed, so the browser will warn that the site is not trusted; that warning is expected, according to the official docs. On the first run, create a username and password and write them down. That account protects the control panel on your network.
In the web UI you can:
Add games and applications
Change encoder, resolution and other settings (there is a search box for options)
Open the PIN page for pairing a client
Read logs on the Troubleshooting tab if a stream fails
Pair Moonlight
Install the official Moonlight client on your second device.
Moonlight should find the PC on the local network. If it does not, add the PC's IP address manually.
Moonlight will show a PIN. In the Sunshine web UI, open PIN, type that number, give the client a name, and confirm. Officially you should see a success message.
In Moonlight, pick an application from the list and start the stream.
If the host is running a game or a fullscreen app, you can add it as an application in the Sunshine UI. There is also a Desktop entry, which streams the desktop without launching a game. Officially, if you start an application while another is already running, the first one is terminated, and if you launch something like Steam as a normal (not detached) command, the stream can fail immediately because the process exits.
Gamepads, HDR and a few gotchas
Sunshine's Windows documentation describes two virtual gamepad backends, including a limited ViGEmBus option and a Virtual HID Driver with a paid machine licence for broader pad support. You do not need to understand all of that for a first stream: try a basic session first, then read the Input section of the official docs if a controller does not appear or if you need a specific pad type. After installing or updating virtual input drivers, the docs recommend a reboot.
HDR streaming is officially supported on Windows hosts with GPUs that can encode HEVC Main 10 or AV1 10-bit. HDR must be on in Windows, and you must also enable HDR in the Moonlight client, or the stream will be SDR and may look overexposed. Officially, you should also calibrate for the client display, because host and client HDR calibration can differ.
Other official notes worth reading before you blame the network:
On Windows, Sunshine uses the Desktop Duplication API, which captures from the GPU that is driving the display. If you want to encode on an eGPU, you need a display or dummy dongle on that GPU and you should run the game there.
Start with a wired Ethernet host if you can. A busy Wi-Fi 5 link is a common source of stutters. Our Wi-Fi 7 router guide is about new access points, not a magic fix for a congested 2.4GHz hop.
If something fails, the Troubleshooting tab in the web UI is the first place to look, not a random third-party "Sunshine tweak" pack.
Our verdict
Install the official Windows MSI on the gaming PC, open https://localhost:47990, create the web-UI account, install official Moonlight on the client, and pair with the PIN. Start on the local network, add a Desktop or game entry, and only then think about HDR, unusual gamepads or remote access. Forge PC has not measured stream quality or latency; this guide follows LizardByte's official getting-started documentation.