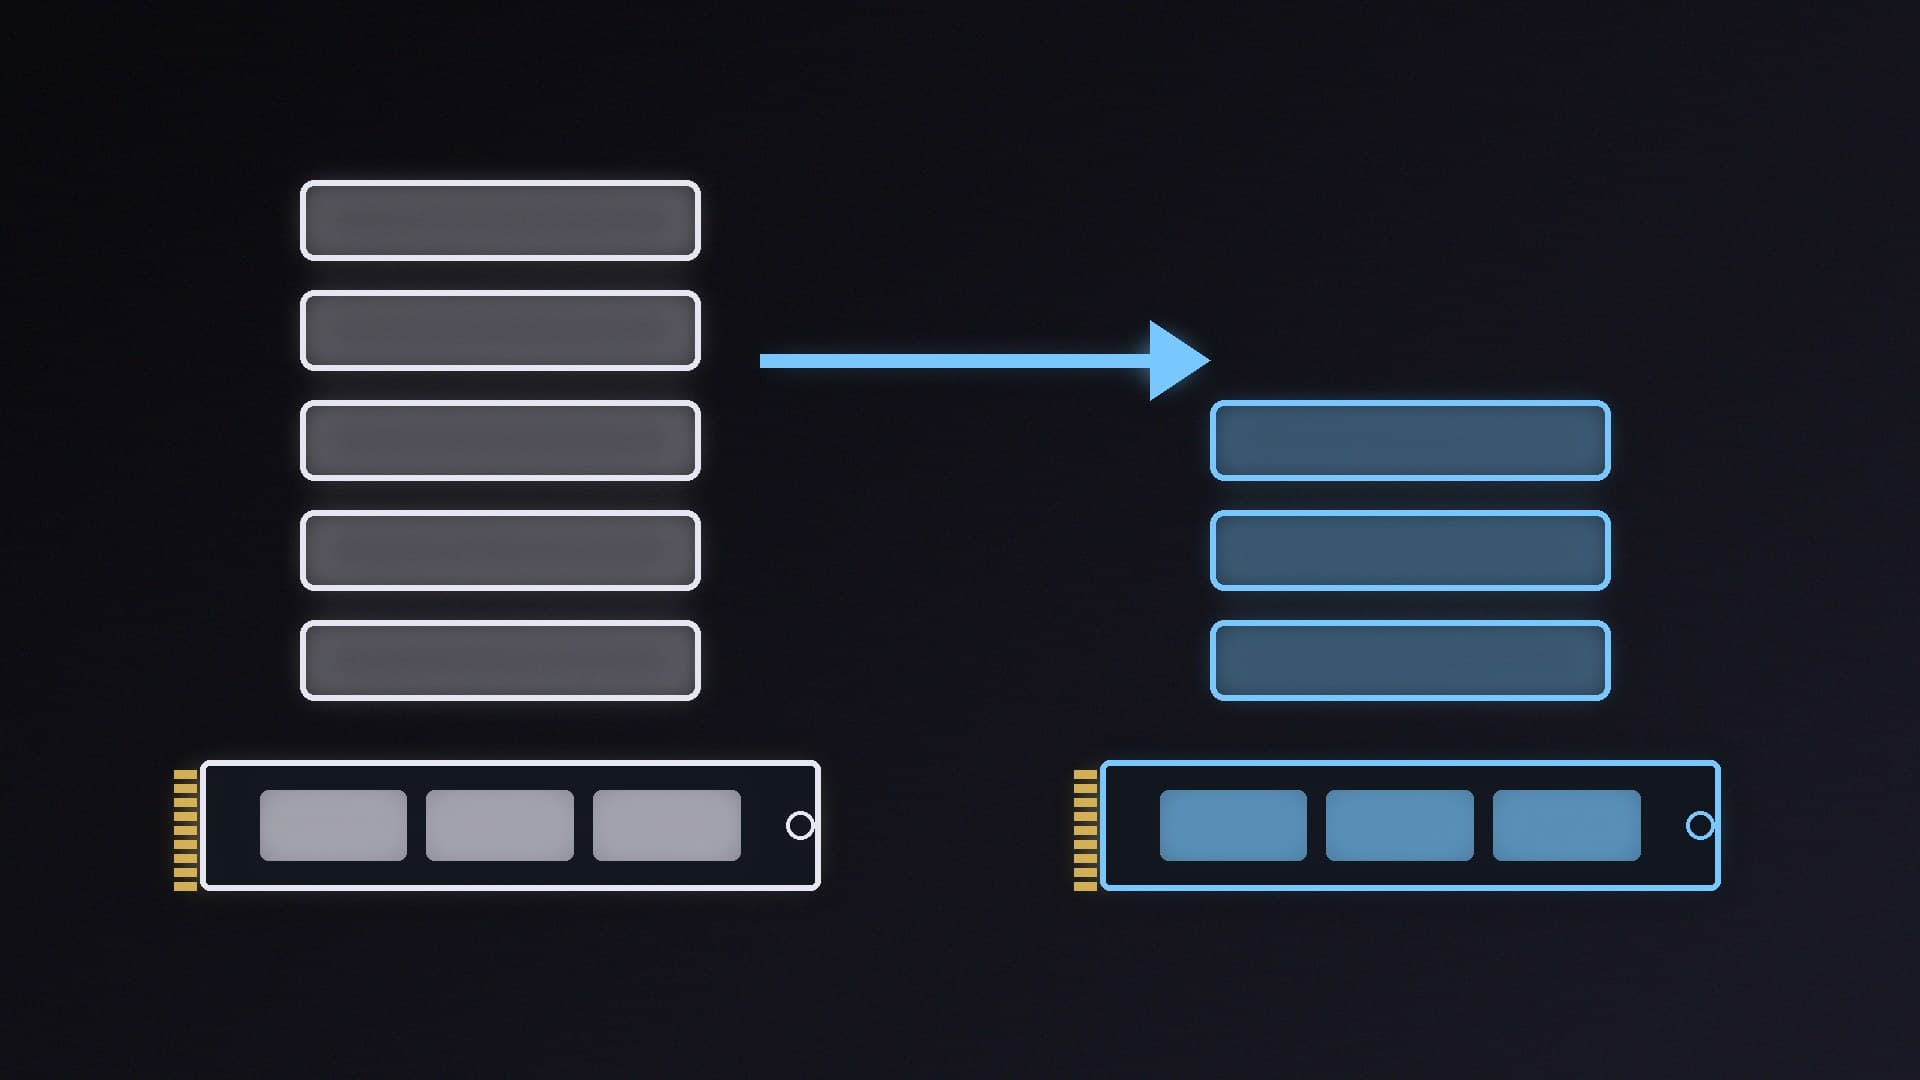
HandBrake takes a video you already have and writes a new file that is usually smaller, or more compatible with a phone, a handheld, or a streaming device. It will not turn a blurry source into a sharp one, and it is not a piracy tool: only use it on videos you have the right to convert. Officially, the default Fast 1080p30 preset is often a good first choice because it is fast and compatible with most devices.
Forge PC has not timed encodes, compared quality presets, or measured file sizes on a test bench. The steps below follow HandBrake's official Quick Start documentation.
Install HandBrake
Download HandBrake only from the official website, handbrake.fr. On Windows, install the official build, then launch it. Windows may show a SmartScreen prompt for a new installer; if that happens, confirm you came from the official site before you continue. HandBrake is free and open source.
The official four steps
HandBrake's documentation breaks a first encode into a short sequence.
1. Open your source. The video you already have is the Source. Click Open Source on the toolbar, or drag the file onto HandBrake's main window. If the disc or file contains more than one clip, use the Title control to pick the one you want. Blu-ray and DVD sources often have several titles; a single downloaded file usually has one.
2. Pick a preset. Presets are one-click combinations of resolution, encoder and compatibility settings. Officially, Fast 1080p30 is a sensible default. If you are targeting a particular device, HandBrake also ships device presets, for example under the Devices category. A slower, higher-quality preset will usually take longer and may produce a larger file; we are not going to invent a "best" quality setting beyond what the documentation recommends for a first run.
3. Choose a destination. The new file is the Destination. Save As is the file name; To is the folder. Click Browse... if you want a different folder, and note it down so you can find the file later. Do not save over the original if you want to keep it.
4. Start the encode. Click Start. HandBrake shows progress while it works and a notification when it has finished. The new file appears in the destination you chose.
That is a complete first compress. You can queue several titles or files once you are comfortable with one encode at a time.
Practical tips
Leave enough free disk space for the new file, plus a little extra. A 1080p encode can still be several gigabytes. If the boot drive is tight, our guide to freeing up disk space in Windows 11 is the place to start, and a spare SSD is better than encoding to a nearly full drive.
If the source already looks poor, compressing it will not restore detail.
Audio tracks, subtitles and crop settings can be adjusted after you are happy with a basic encode. For a first file, the official preset is enough.
Hardware encoders, if your copy of HandBrake offers them for your GPU, can be much faster than the default software encoder, usually with some quality trade-off. Try the official default first so you have a reference, then experiment if you need more speed.
If an encode fails, HandBrake's documentation has a troubleshooting section. The activity log, from the official interface, is the useful thing to keep if you need to ask for help.
Our verdict
Install HandBrake from handbrake.fr, open a source, pick Fast 1080p30 unless you have a specific device preset in mind, choose a destination that is not your original file, and click Start. That official path is enough for most "make this file smaller or more portable" jobs. Forge PC has not benchmarked presets or encoders; this guide follows HandBrake's own Quick Start.