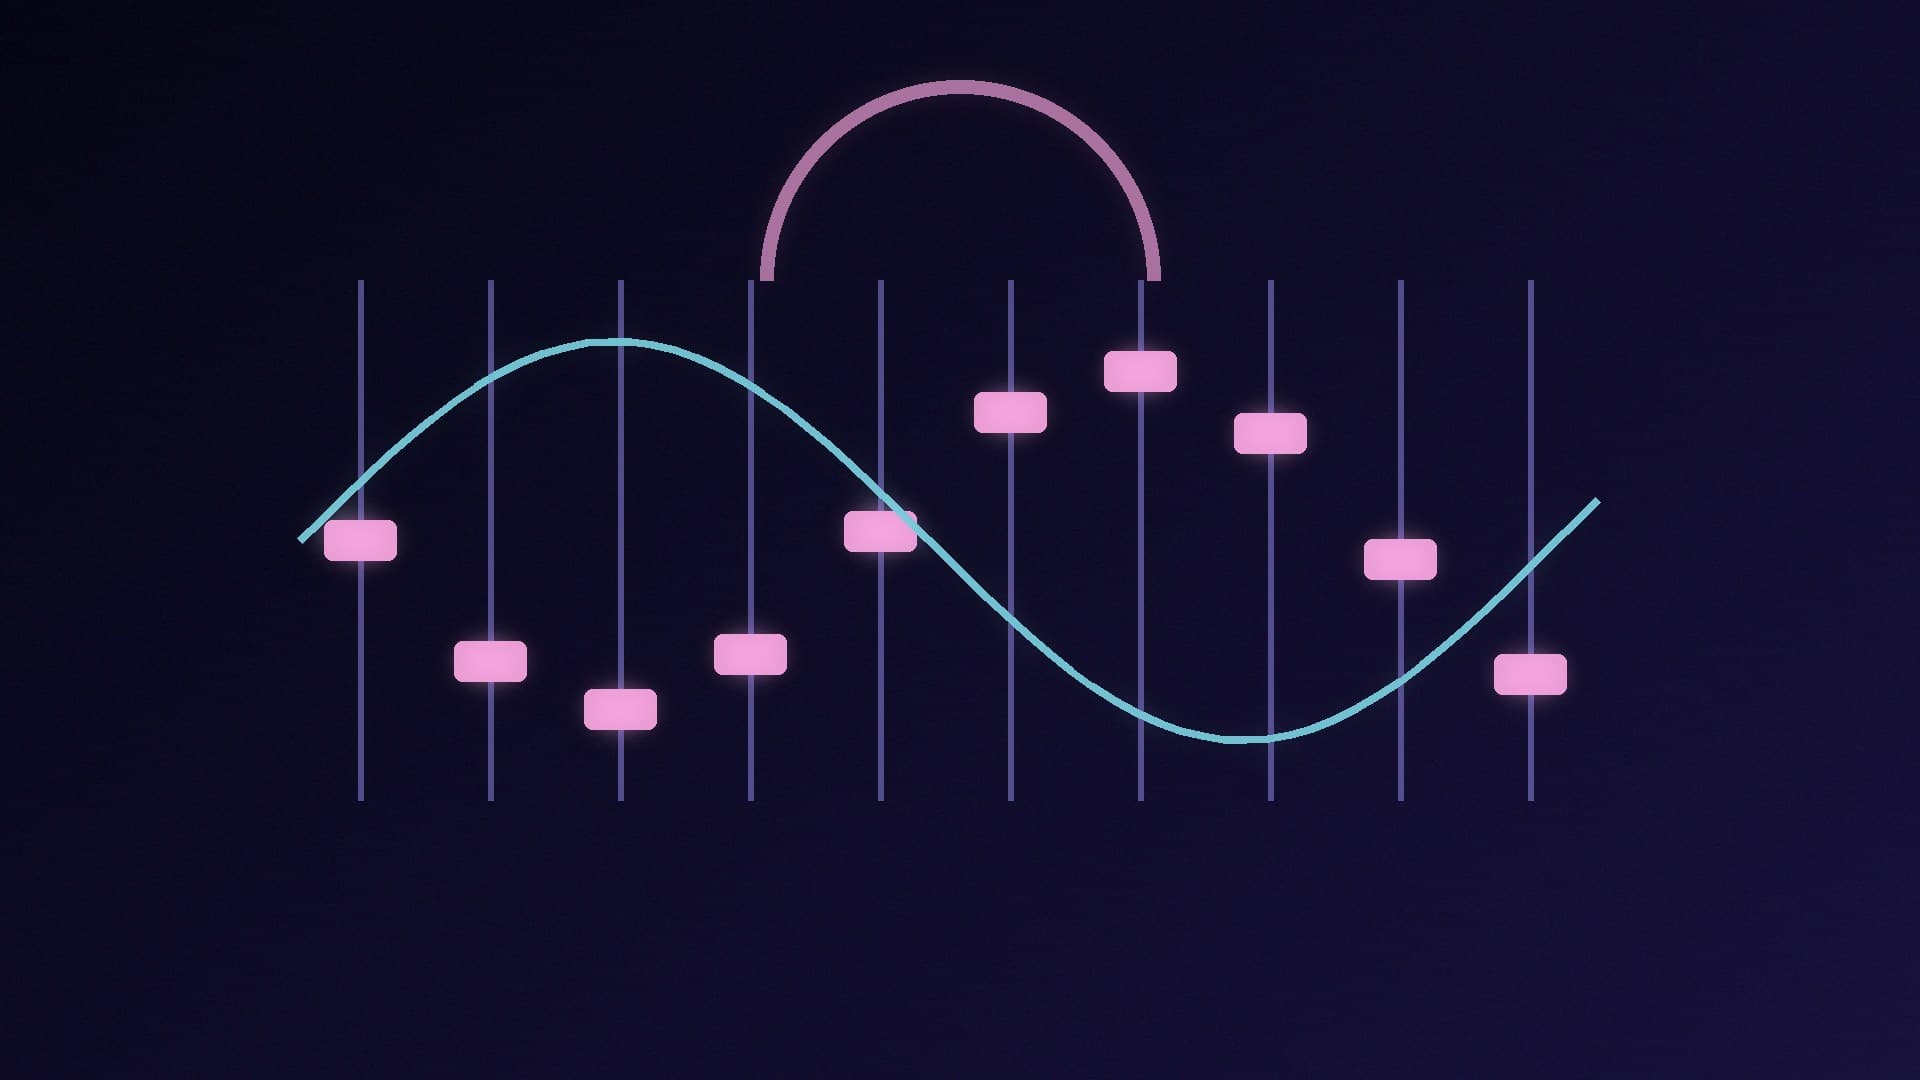
Windows 11 doesn't have a proper built-in equaliser, and many headsets ship without decent EQ software. Equalizer APO fills the gap. It's a free, open-source equaliser that hooks into Windows audio processing, so its settings apply to every app: games, Discord, Spotify and your browser.
This guide follows Equalizer APO's official documentation and configuration reference, plus the AutoEq project's documentation. Forge PC hasn't measured the results on specific headsets. EQ is personal, so treat any settings here as a starting point.
Step 1: Install it on the right audio device
Download Equalizer APO from its SourceForge project page. The documentation lists support for Windows 7 to Windows 11 and says to pick the 32-bit or 64-bit setup to match your system type (shown in Settings > System > About).
Run the installer. Note the install path. The default is C:\Program Files\EqualizerAPO.
During installation, the Configurator opens. Tick the playback device you actually use: your USB headset, your motherboard's headphone output or your speakers. If you're unsure, check which device is the default in Control Panel > Sound.
Restart the PC when asked. The documentation explains that the new APO only becomes active after the audio service restarts.
After the restart, Equalizer APO applies its example configuration, which the documentation says causes a small drop in volume and a mild bass boost. That's your sign it's working. If you change headsets later, run Configurator.exe from the install folder again and tick the new device.
Step 2: Edit your EQ
Equalizer APO reads its settings from C:\Program Files\EqualizerAPO\config\config.txt. Changes take effect as soon as you save the file, so you can tweak while music plays. You can edit the file in Notepad. Equalizer APO also has a graphical Configuration Editor, which you'll find in its Start menu folder.
A simple config looks like this:
Preamp: -6 dB
Filter: ON LS Fc 100 Hz Gain 4.0 dB
Filter: ON PK Fc 3000 Hz Gain -2.0 dB Q 1.0
Preamp lowers the overall volume.
LS is a low-shelf filter: here it lifts everything below about 100Hz by 4dB for more bass.
PK is a peaking filter: here it trims a band centred on 3kHz by 2dB. Q sets how narrow the band is.
Avoid clipping
Boosting frequencies can push the signal past its maximum and cause distortion. Equalizer APO's reference says the Preamp command exists to make sure no clipping occurs when you use filters with positive gain. A simple rule: set the preamp at least as low as your biggest boost (for example, -4dB or lower for a +4dB boost).
Step 3: Use a headphone preset from AutoEq (optional)
If you'd rather not tune by ear, AutoEq produces equaliser settings for many headphones based on published measurements from sources such as oratory1990, crinacle and Rtings. Its web app at autoeq.app lets you pick your headphone model and an equaliser app, including Equalizer APO, then download a settings file. AutoEq only generates the settings; Equalizer APO does the equalising.
Save the file into the config folder, then point config.txt at it with an Include: line. Measurements are for specific models, so a preset for a similar-looking headset won't necessarily suit yours.
If nothing changes
Check enhancements are allowed. In Control Panel > Sound, open your device's properties. On the Enhancements tab, make sure "Disable all enhancements" is unticked. If there's no Enhancements tab, check that "Enable audio enhancements" is ticked on the Advanced tab.
Check you installed it to the right device. Run the Configurator again.
Unstable or crackling audio: the documentation suggests using the Configurator's troubleshooting options and unticking "Use original APO", although you'll lose features provided by your sound card driver's own processing.
No sound at all: see our no sound in Windows 11 fixes.
The documentation also notes Equalizer APO can only process uncompressed audio, so a Dolby Digital bitstream passed straight to a receiver won't be affected. For virtual surround on headphones, Windows has its own option: see how to set up spatial audio. Choosing new headphones instead? Our best gaming headsets and open-back vs closed-back guide can help.
Our verdict
Equalizer APO gives Windows 11 a free, system-wide EQ that works with any headset or speakers. Install it, tick your output device in the Configurator and restart, then edit config.txt or use the Configuration Editor: changes apply instantly. Lower the preamp by at least as much as your biggest boost to avoid clipping, try an AutoEq preset if you want a measured starting point, and check that audio enhancements are enabled if nothing changes.